Honda CBR 600RR Forum banner

How To Remove Rear Tire

67K views 100 replies 74 participants last post by  Shoichiro_Honda  
#1 ·
Alright. Here's a write up for how to remove the rear tire on my 2005-2006.

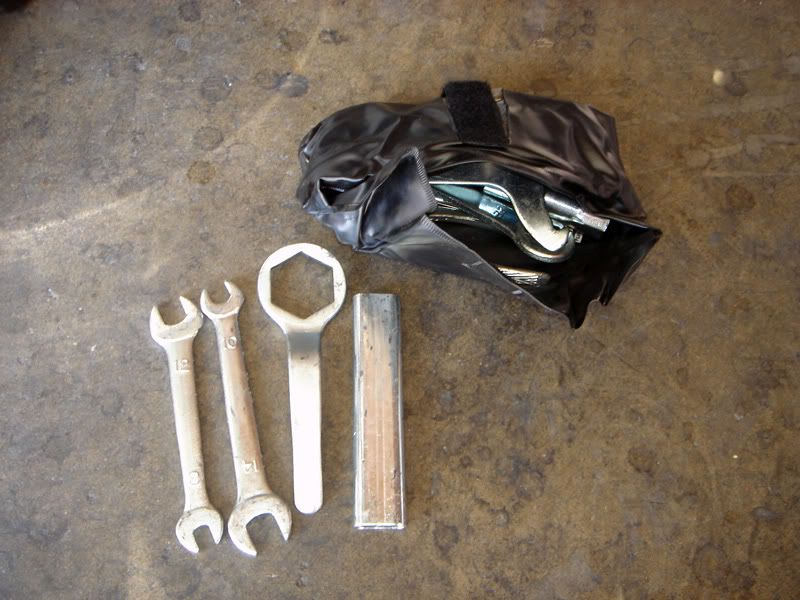
I used the tools from the toolkit to make this a little easier for some of you.
Image

This is what I normally use:
12mm wrench, 10mm wrench, 1¼" or a 32mm socket, and a long ratchet for some leverage.

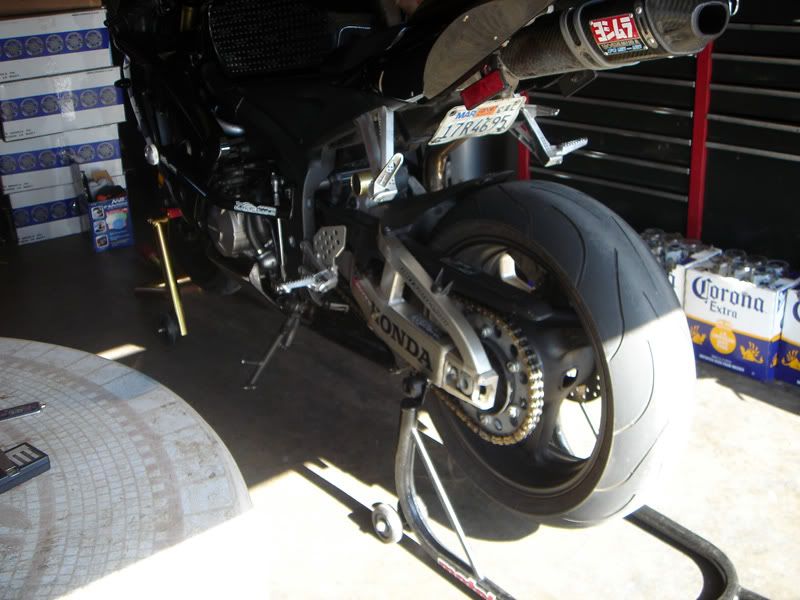
1. First, support the rear of the bike or, preferably, put the bike on a rear stand.
Image


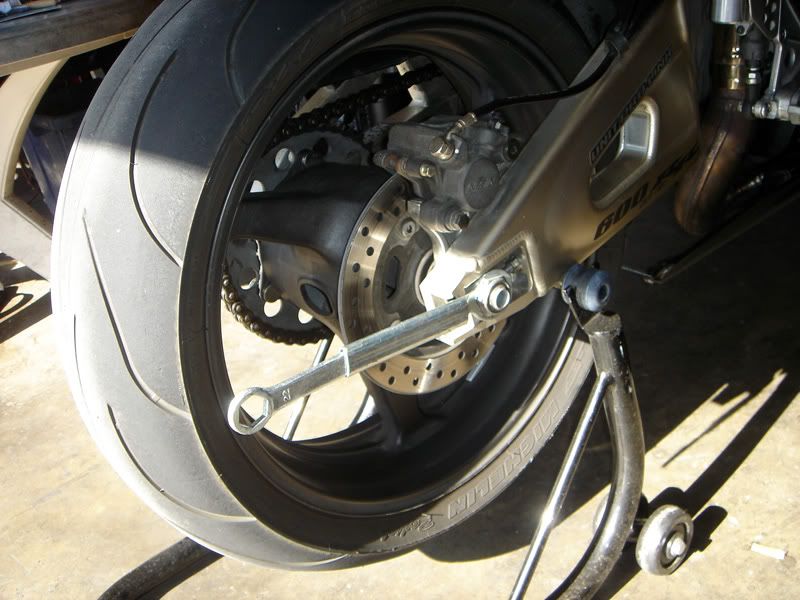
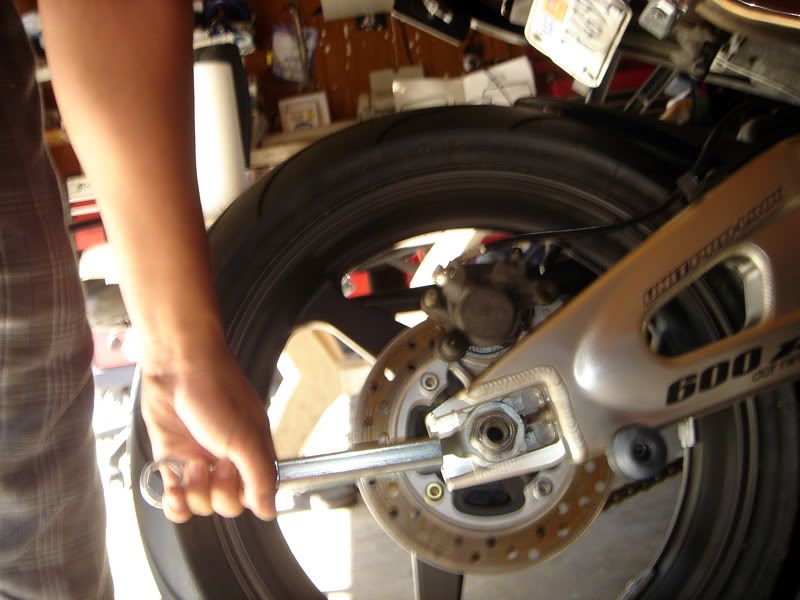
2. Remove the axle nut using the the wrench for the tool kit or 1¼"/32mm socket.
Image


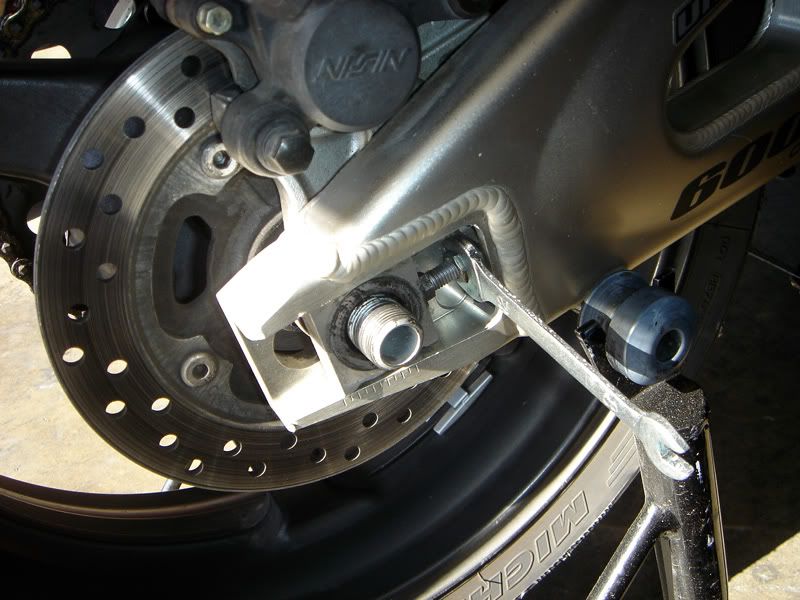
3. Loosen your chain adjuster lock nuts (BOTH SIDES OF BIKE) with a 12mm wrench.
Image


4. Tighten the 10mm adjuster nut into the swing arm.
Image


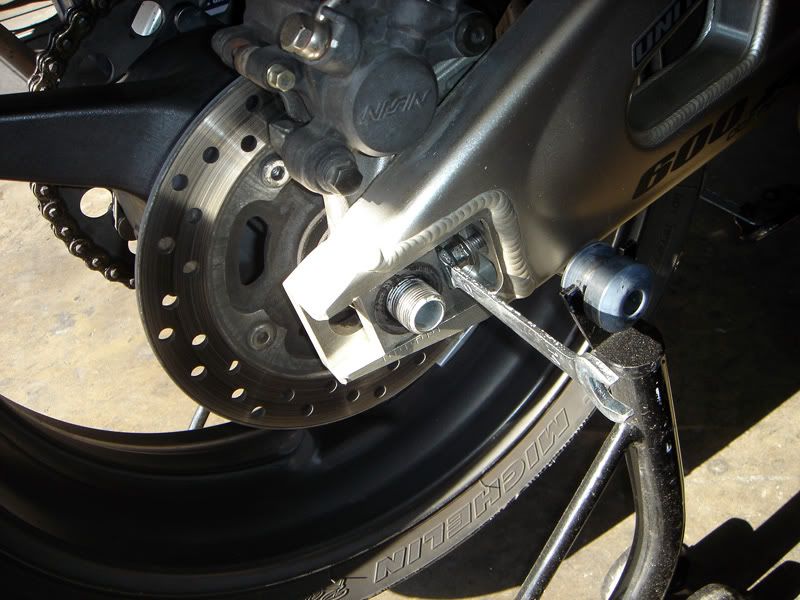
5. Remove the axle adjuster slider plate thing? :toothy12:
Image


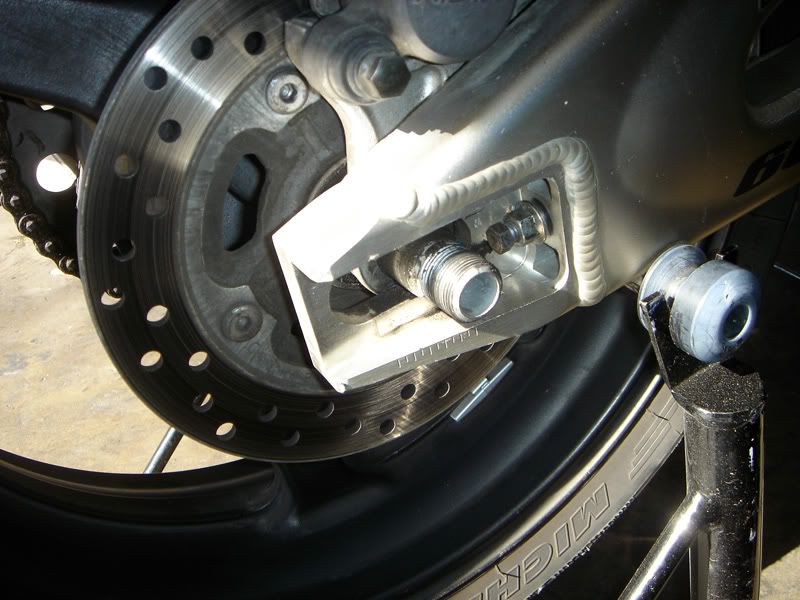
6. Push the axle to the edge of the swing arm, not all the way through.
Image


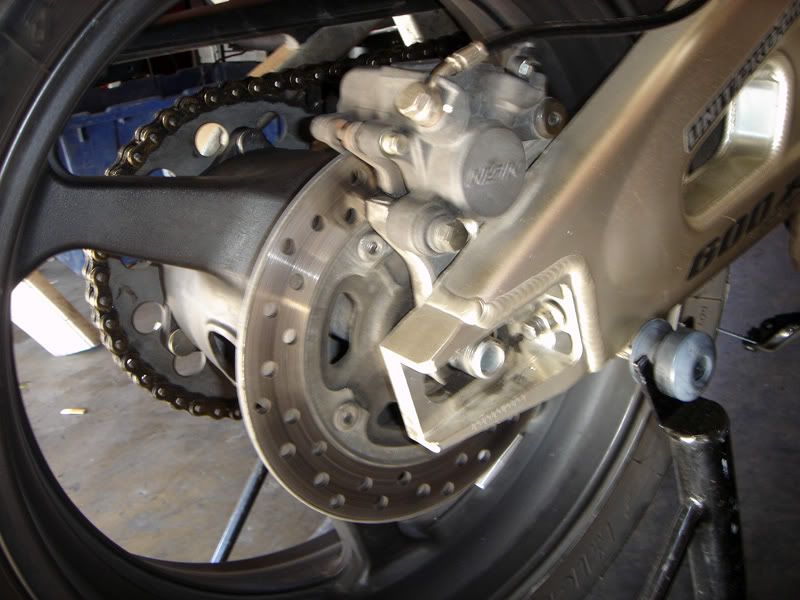
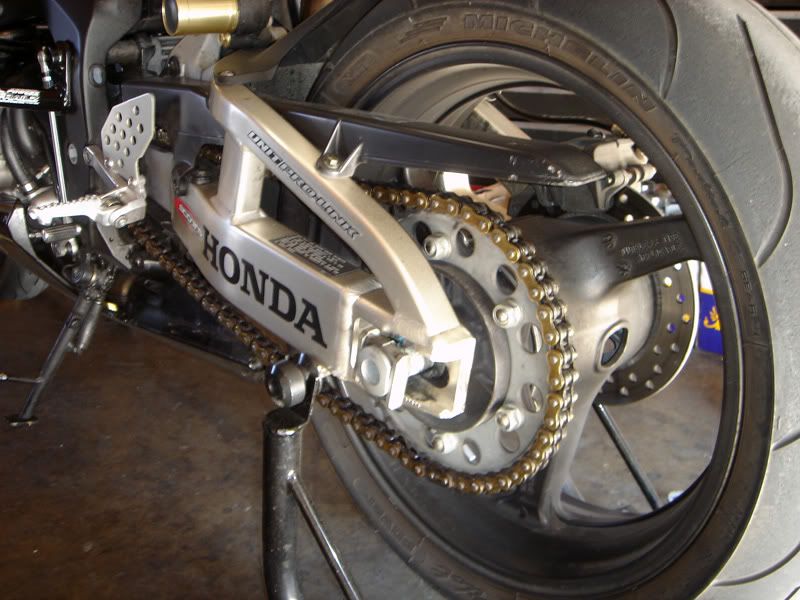
7. Go to the chain and sprocket side.
Image
 
#2 ·
8. Push the wheel forward to get lots of chain slack.
Image


9. Go to neutral, if you aren't already, and derail the chain from the sprocket.
Image


10. Slowly pull the axle all the way out.
Image


11. Pull the rear brake caliper out and put it somewhere.
Image

Image


12. Pull the wheel out. Voila! Finish.
Image
 
#4 · (Edited)
Replacing the Rear Tire

I don't really want to make another thread, so I'll just add this in here.
This is going to be a major PAIN IN THE ASS for one person.
Be sure to grease up axle and the inner wheel collars, if you need to, before putting the tire on.
1. Set the stage and place your tire in the swingarm.
Image


2. Place the rear brake caliper in the groove in the swingarm and put the rear brake disc inbetween the pads.
Image


3. The hard part starts here.
Watch out for the chain and make sure you put the axle through the inside. You have to lift the wheel while putting the axle through while not letting those damned wheel collars fall out.
I use my foot, shin and leg, in addition to both arms, to lift the wheel, until I maneuver the axle through.
Image


4. After all that hard work push the axle all the way through and replace the axle adjuster plate, washer, and axle nut. DO NOT TIGHTEN.
Image

Image


5. Go back to the chain and sprocket side.
Image


6. Put the chain around the top teeth of the sprocket and roll the wheel backwards, it should pop right in.
Image


7. Adjust your chain slack with the 10mm wrench.
Image


8. Lock the adjust nut with the 12mm wrench.
Image


9. Take the bike OFF the stand or put it back on the ground and tighten the axle nut until you can lift the rear wheel off the ground a little.
Image

If you have a torque wrench then set it to 83ft-lbs.

Go ride.
 
#33 ·
^ If you still haven't solved this problem....
It's either your riding style or you missed something on the reinstall.

2. Place the rear brake caliper in the groove in the swingarm and put the rear brake disc inbetween the pads.
Image
Check that. You can go and look at your bike and look at the brake line.
If the line doesn't look loose/slacked, you may have missed this groove.
 
#45 ·
+1 for many many Coronas needed to keep you company during the rear and front DIY write-ups (I'm surprised they haven't been stickied yet).

GOOD JOB man! :)
 
#12 ·
Slaps & I discovered a great use for those annoying phone books that you find at your front door. Stick them under you tire when taking it off and putting it back on. Makes it a hell of alot easer....

Two great write ups from Big......
 
#26 ·
wow... great writeup... really need to sticky this... whad up moeman?