
Found a write up on it earlier but his pics are [X]. So here's a quick one.
Had to take mine off to play with tripage's third light+install magic blinker for my watsens, so I thought "Hey, what the hell..."
HOW TO REMOVE FRONT FAIRING
(On my 05, shouldn't be that different from 03-04)
![Image]()
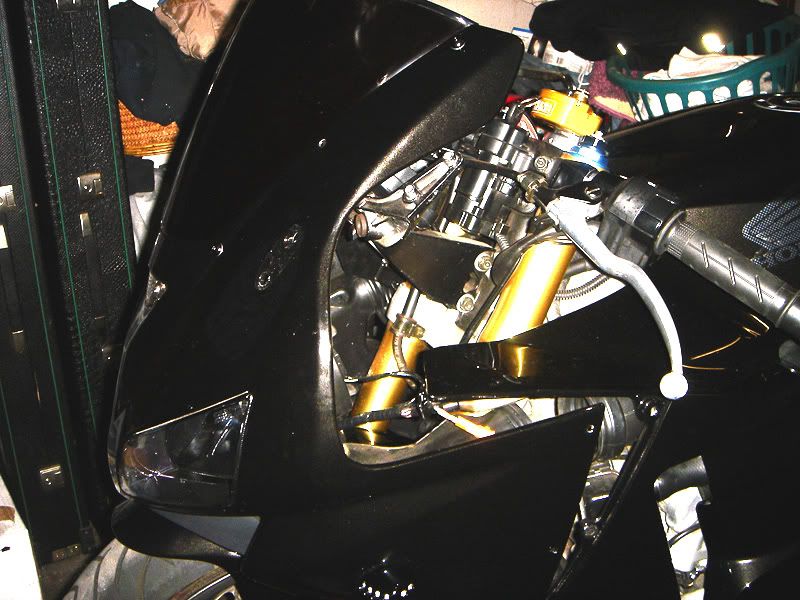
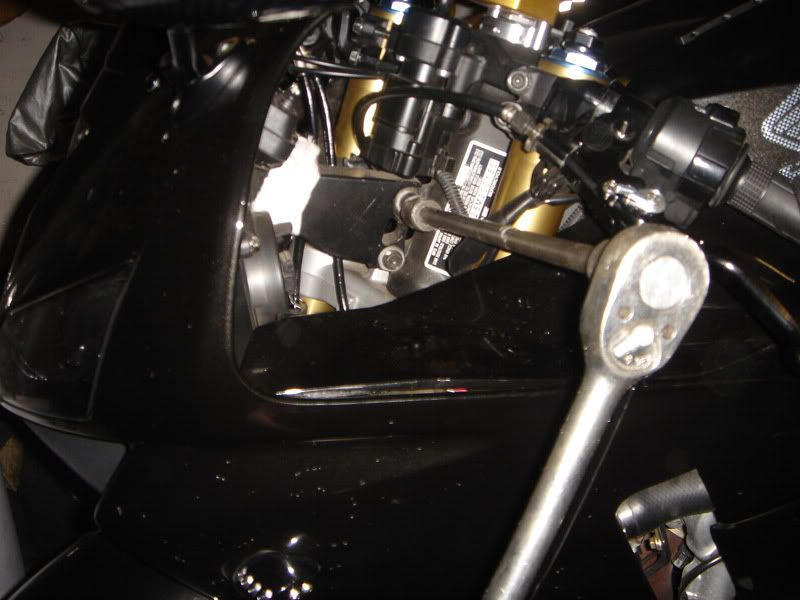
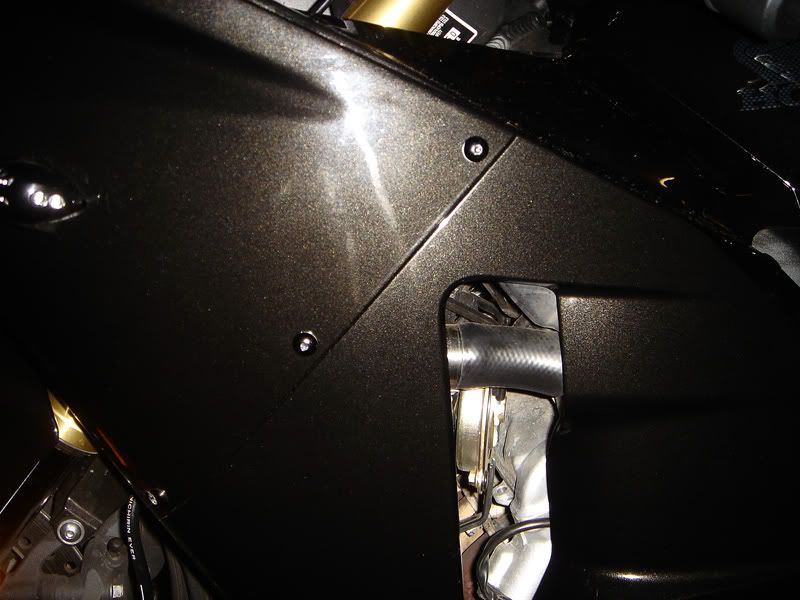
1. Start with the 3 Hex bolts on each side of the fairing.
![Image]()
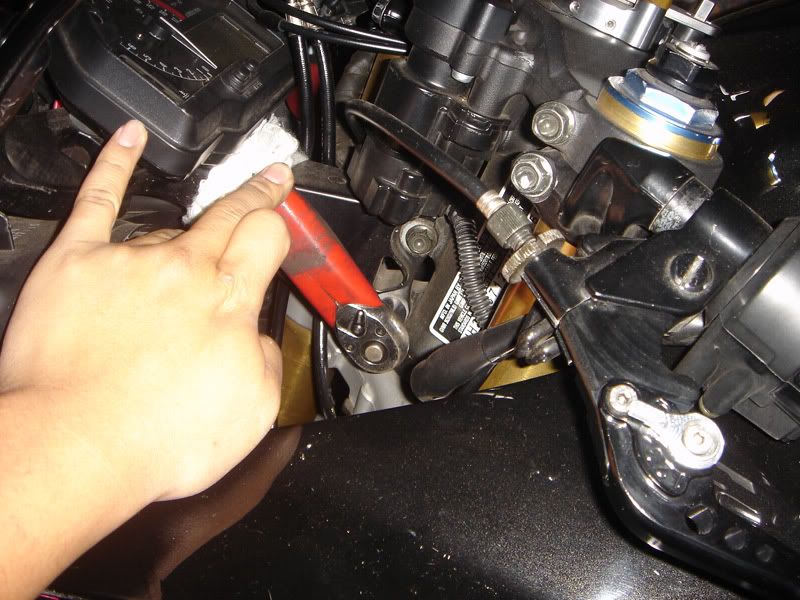
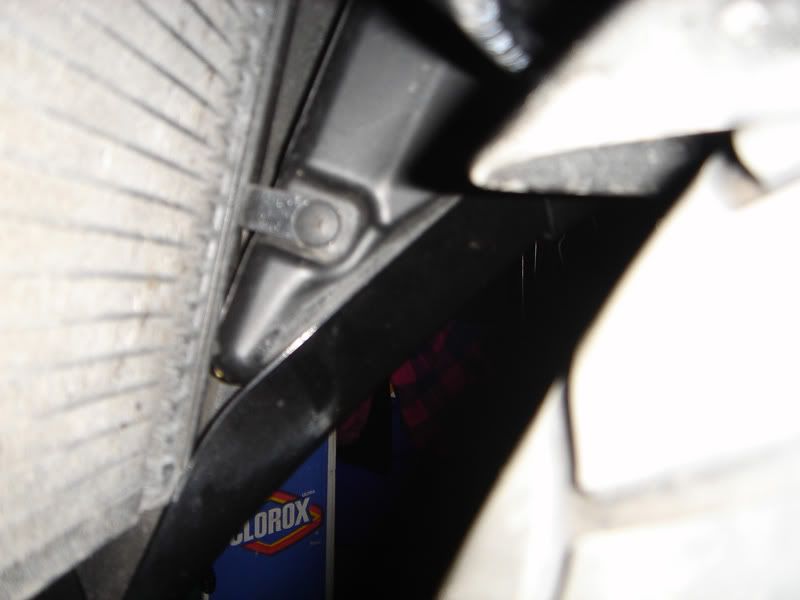
2. Go under the fairing, behind the wheel and find the last screw that connects to the radiator, loosen it until you can spin it with your fingers and yank that sucker out. Each side.
![Image]()
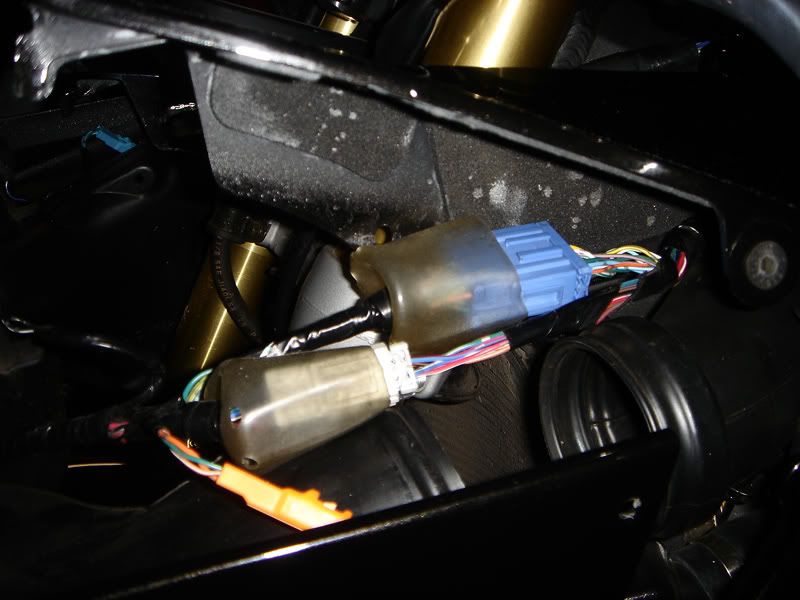
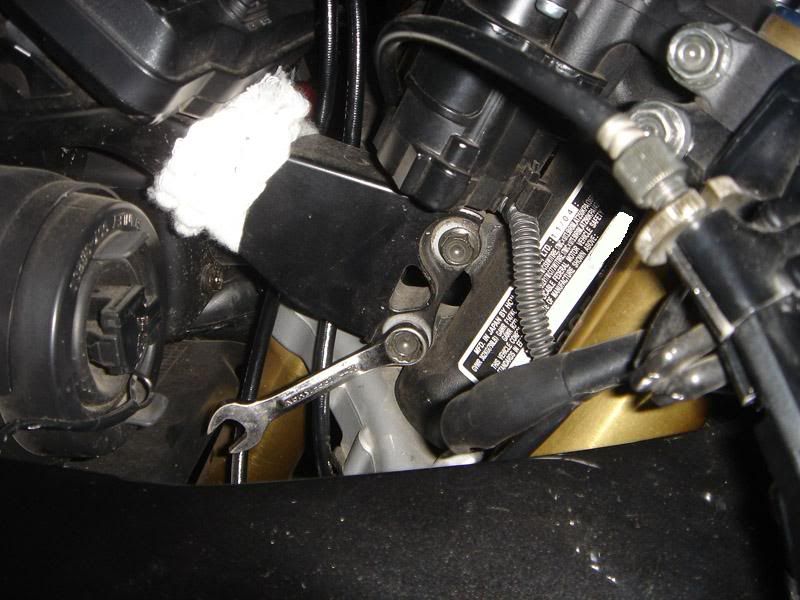
3 EDITED, BIG THANKS TO NewRedRider FOR THIS SHORTCUT!)-You don't have to take the mirrors and the windscreen off. All you need to do is remove the 2 bolts holding the main fairing stay on and the entire front clip comes off. The guage cluster and mirrors stay on the front clip. All your doing is removing the ram air covers and disconnecting the PIN connectors.
![Image]()
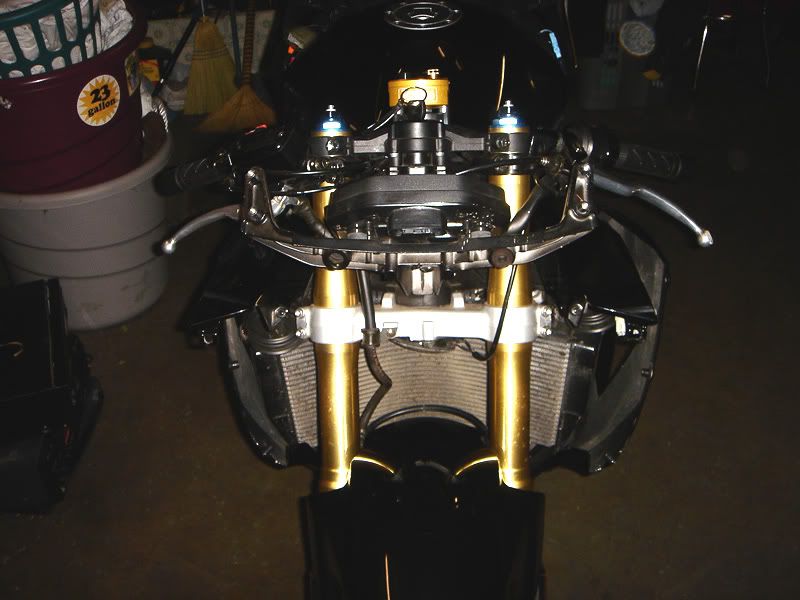
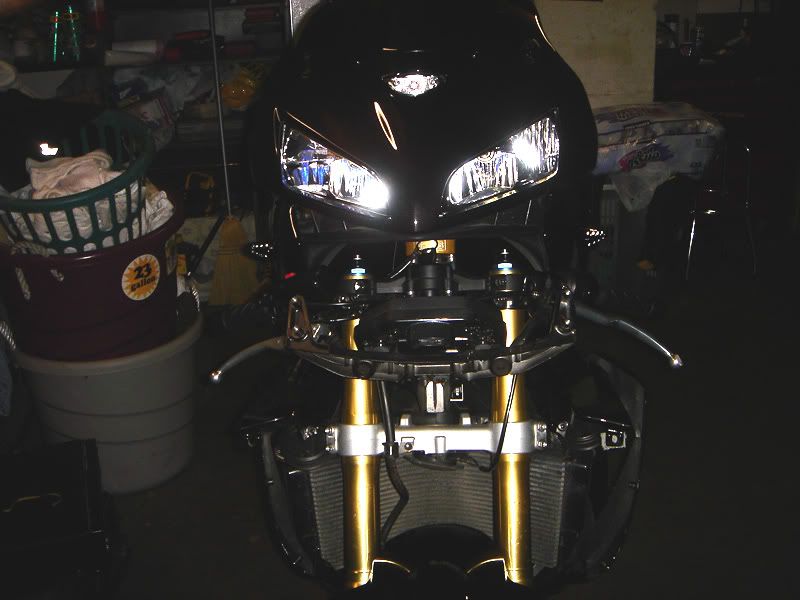
4. No go back up to the mirrors and lift/pull the fairing up to get it off with the stay and windscreen in one big piece. Might get caught around the middle fairing, reach down and guide triangle ram air tubes out.
Had to take mine off to play with tripage's third light+install magic blinker for my watsens, so I thought "Hey, what the hell..."
HOW TO REMOVE FRONT FAIRING
(On my 05, shouldn't be that different from 03-04)
1. Start with the 3 Hex bolts on each side of the fairing.
2. Go under the fairing, behind the wheel and find the last screw that connects to the radiator, loosen it until you can spin it with your fingers and yank that sucker out. Each side.
3
EDITED, BIG THANKS TO NewRedRider FOR THIS SHORTCUT!)-You don't have to take the mirrors and the windscreen off. All you need to do is remove the 2 bolts holding the main fairing stay on and the entire front clip comes off. The guage cluster and mirrors stay on the front clip. All your doing is removing the ram air covers and disconnecting the PIN connectors.
4. No go back up to the mirrors and lift/pull the fairing up to get it off with the stay and windscreen in one big piece. Might get caught around the middle fairing, reach down and guide triangle ram air tubes out.