

There are a lot of threads on here about the faster blink rate from LED turn signals. Wiring up resistors work but if you don't wanna deal with all that wiring and the heat from the resistors you can just put in a new relay.
Parts List:
CustomLED.com flasher relay
20 gauge wire
Solder
Heat shrink tubing
Electrical Tape
Double sided tape
Rubbing Alcohol
Special tools:
Soldering Iron
I got the relay from CustomLED.com but I'm pretty sure you could find a comparable relay at your auto store. I don't know the specs of the CustomLED relay so I can't help you there.
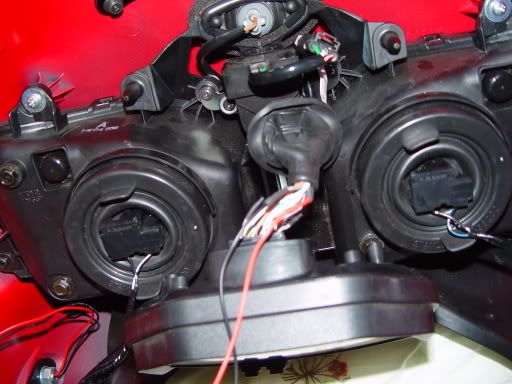
First you have to get to the harness going into the gauge cluster so it would be best if you removed the upper cowl competely. I'll leave this up to you as it is covered in detail by the service manual.
- Pull back the rubber dust cover from the connector.
- Cut the white/green wire.
- Cut the gray wire.
- Cap the white/green and gray wire coming from the connector. I just used a piece of heat shrink tubing.
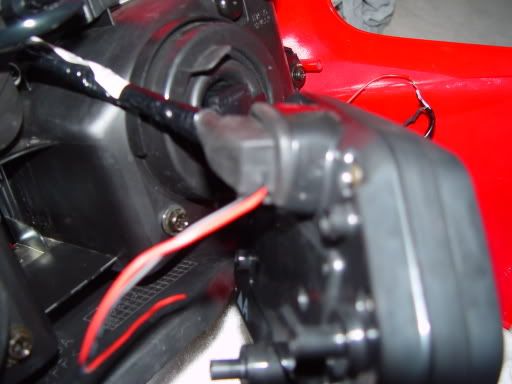
- Solder a lenght of red 20 gauge wire to the white/green wire.
- Solder a lenght of black 20 gauge wire to the gray wire.
- Heat shrink both connections.
![Image]()
- Cut a hole in the rubber dust cover.
- Work the red and black wire through the hole in the dust cover.
![Image]()
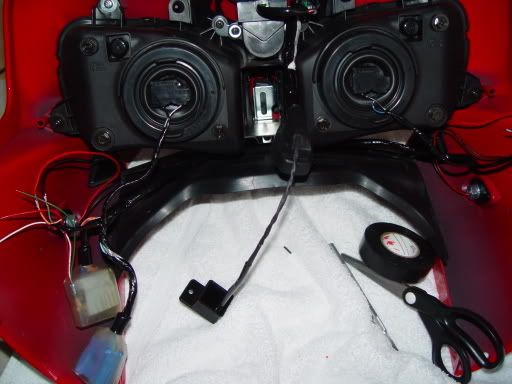
- Find a place for the relay and cut the wire accordingly.
- Solder the wires from the harness to the relay. red to red, blk to blk.
- Heat shrink the connections
- Wrap the wires with electrical tape to produce that OEM look.
![Image]()
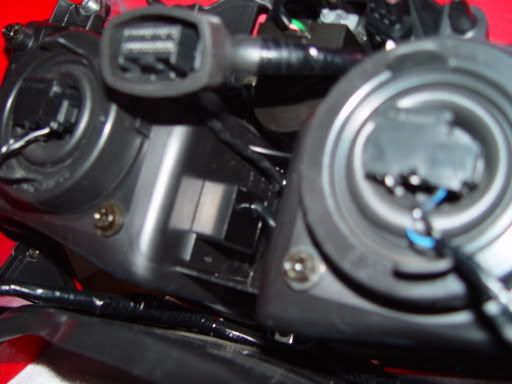
- Attach the relay using double sided tape. Clean the surfaces with rubbing alcohol first.
![Image]()
I attached mine to the inside of the headlight casing.
Now you're done. No more resistors!
You can wire up from running lights modules from watsen design if you want running lights also.
Parts List:
CustomLED.com flasher relay
20 gauge wire
Solder
Heat shrink tubing
Electrical Tape
Double sided tape
Rubbing Alcohol
Special tools:
Soldering Iron
I got the relay from CustomLED.com but I'm pretty sure you could find a comparable relay at your auto store. I don't know the specs of the CustomLED relay so I can't help you there.
First you have to get to the harness going into the gauge cluster so it would be best if you removed the upper cowl competely. I'll leave this up to you as it is covered in detail by the service manual.
- Pull back the rubber dust cover from the connector.
- Cut the white/green wire.
- Cut the gray wire.
- Cap the white/green and gray wire coming from the connector. I just used a piece of heat shrink tubing.
- Solder a lenght of red 20 gauge wire to the white/green wire.
- Solder a lenght of black 20 gauge wire to the gray wire.
- Heat shrink both connections.
- Cut a hole in the rubber dust cover.
- Work the red and black wire through the hole in the dust cover.
- Find a place for the relay and cut the wire accordingly.
- Solder the wires from the harness to the relay. red to red, blk to blk.
- Heat shrink the connections
- Wrap the wires with electrical tape to produce that OEM look.
- Attach the relay using double sided tape. Clean the surfaces with rubbing alcohol first.
I attached mine to the inside of the headlight casing.
Now you're done. No more resistors!
You can wire up from running lights modules from watsen design if you want running lights also.


