
I haven't been a member here very long, but have been enjoying checking out some build threads, and have noted a lot of familiar usernames.
For some on here, you may have already seen some of the work, on another forum, but I figured I would post up my progress here, for those who haven't seen it, and enjoy checking out builds!
No, it's not an RR, but it is a CBR 600... here goes...
I got the bike 5 years ago - it was an immaculate low mileage example, and the price was plenty reasonable.
The original owner was a fellow in his mid to late 40's, who had just gotten divorced, and I think made this bike one of his "I've always wanted to do this, but the old lady wouldn't let me" purchases, that, and/or maybe he was trying to attract some girlies... anyway, he was the type that didn't ride it hard, and actually, didn't ride it much, really.
It was always garaged, well cared for, and eventually forgotten, as it sat in the garage for a very long time.
My boss at that time, picked it up from him, and had it for about a year, before selling it to me - this guy was a very cautious type of guy, who also didn't ride hard, though a little more frequently than the first owner. I highly doubt he ever took the thing above 75 or 80... as a matter of fact, I'm almost certain of it, as he never addressed the issue of a carbureted bike sitting for so long, so it could barely get past 80mph anyway!!
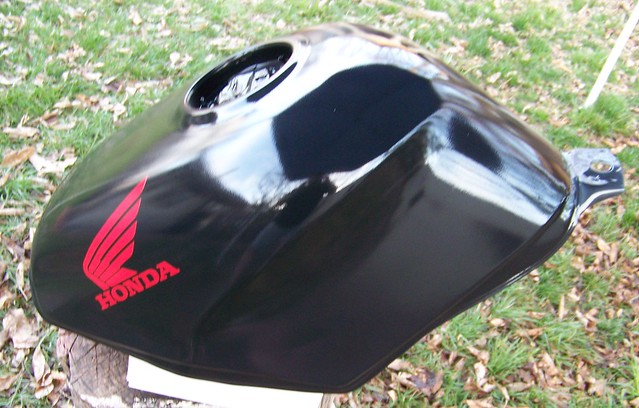
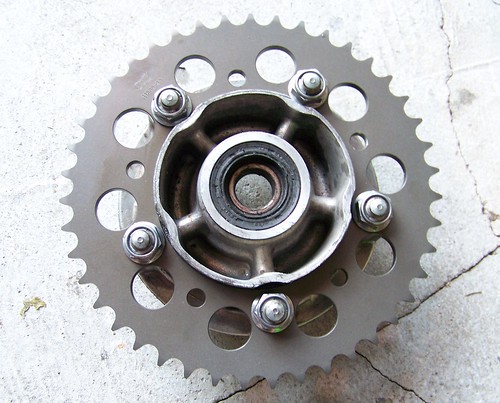
So, here it was as I received it, 16 years old and with just over 4,000 miles - the bike was completely bone stock, including tires and chain/sprockets, and brake pads.
![Image]()
It was pretty much pristine, there was one or two spots where my boss, the previous owner, had put the tiniest mark on it, but you had to be looking for those flaws, to find them.
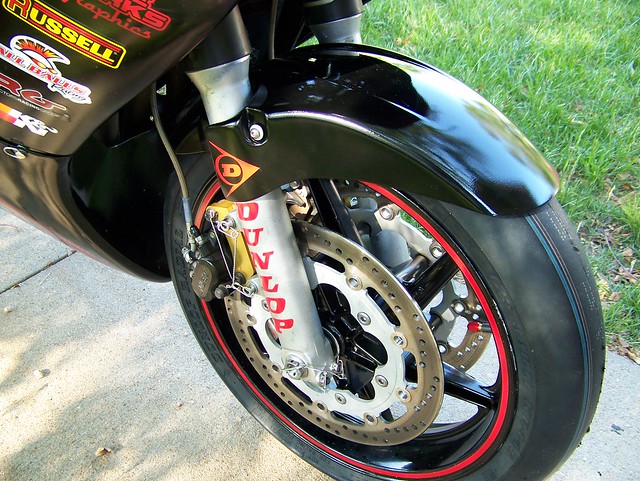
The current rubber was old, hard, worn, and seriously lacking rain sipes, so I put some Q2s on it.
![Image]()
![Image]()
![Image]()
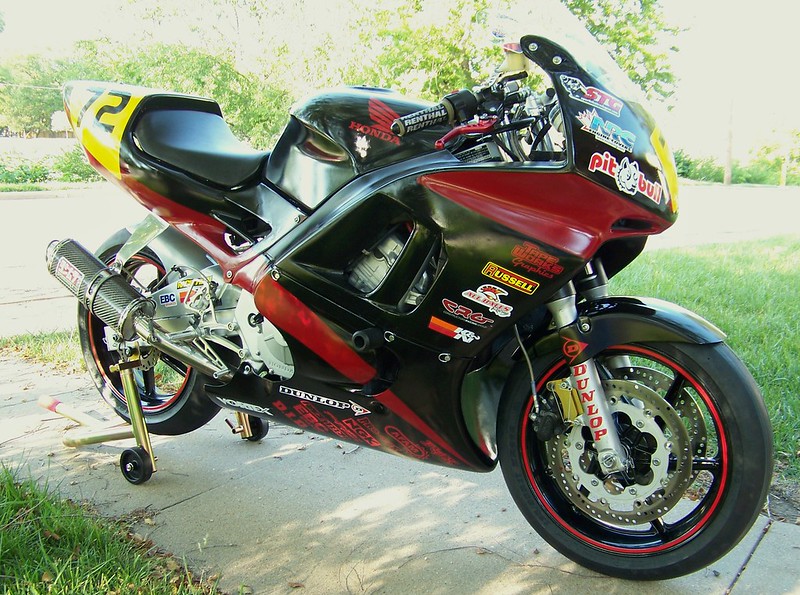
I was very proud to have such an immaculate stock bike, and in my opinion, this paint/graphics scheme was the least "dated" look the F2 had.
I had no plans of ever racing this bike, as a matter of fact, I had no thoughts of even taking it to a track day, as I was focusing on an '09 R1 project for A Superbike and A Superstock racing - I was happy to leave the thing mostly alone, with the exception of getting the carbs cleaned, so it would run as it should, but alas, several circumstances changed all that.
For starters, I was laid off from a great paying job, during the ongoing U.S. economy issues, and the R1 project had to go, so I ended up with this F2 being my only bike. It took a long time to get decent work again, and that was at a considerable loss of salary, then, to add insult to injury, I got ran off the rode by a negligent driver, and this gorgeous stock bike was no longer so gorgeous.
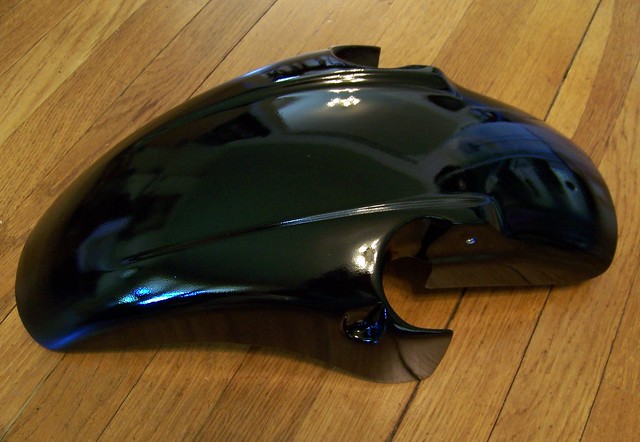
Don't get me wrong, it wasn't smashed to bits or anything, but there was considerable fairing damage, and damage to the stator cover, bars, levers, mirrors, exhaust, and the OEM fender/signal apparatus... bottom line is, as most of you know restoring OEM plastics, repainting, and replacing the original graphics, can cost as much as or more as what the bike is worth.
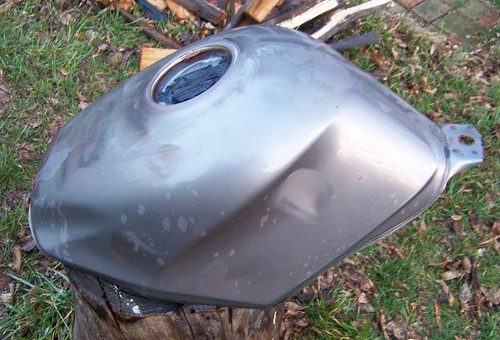
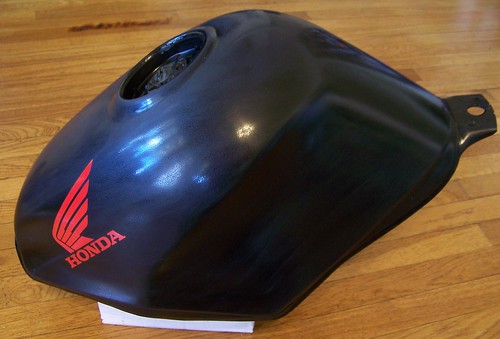
I was sad, very sad, but I got over it, my injuries healed, and since I no longer had a beautiful stock bike to keep mint, it was time to go to town on it!!
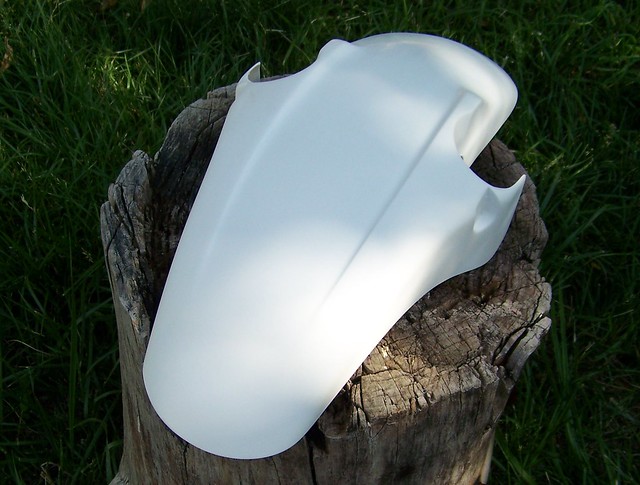
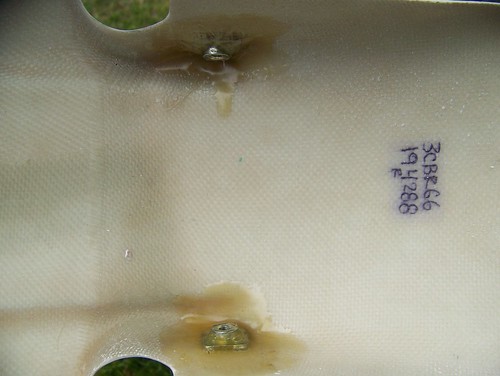
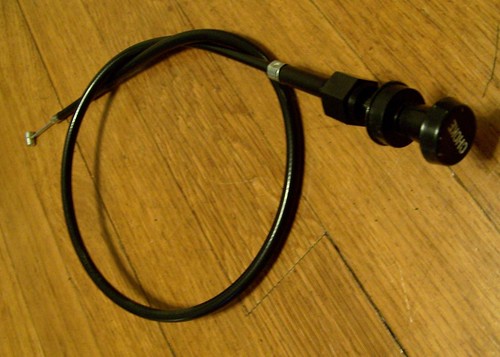
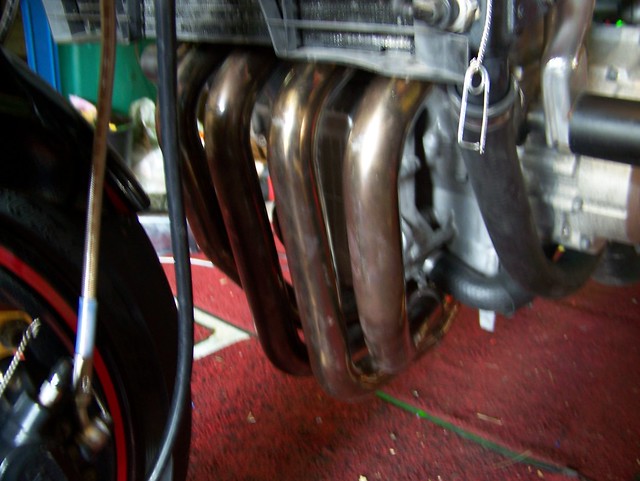
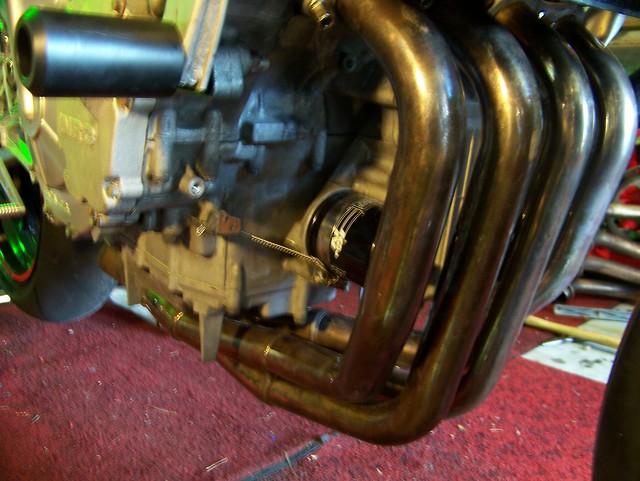
I got a fairing kit, replacement stator cover, and Yosh RS-3 carbon fiber can on the way.
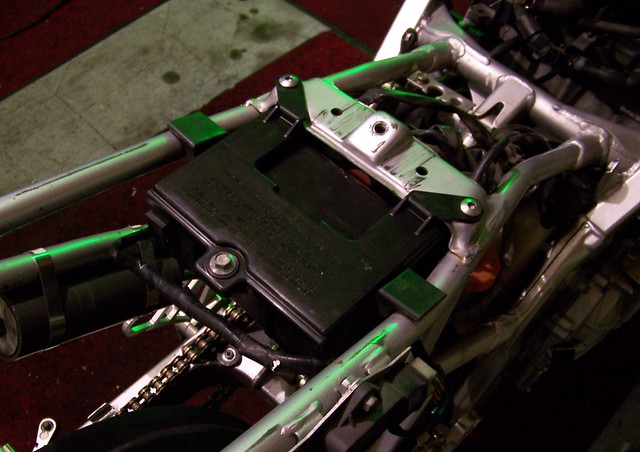
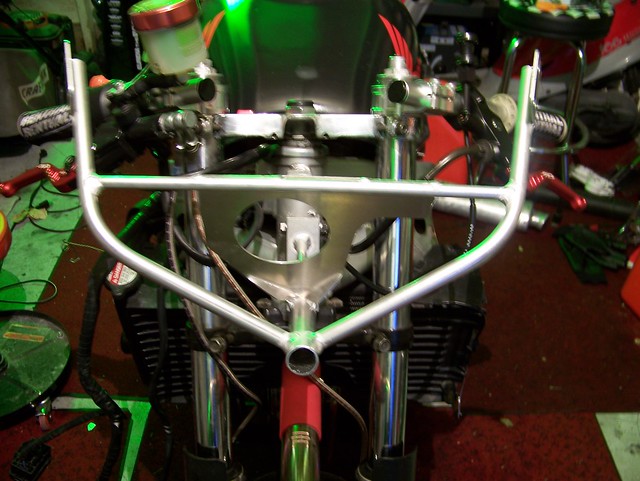
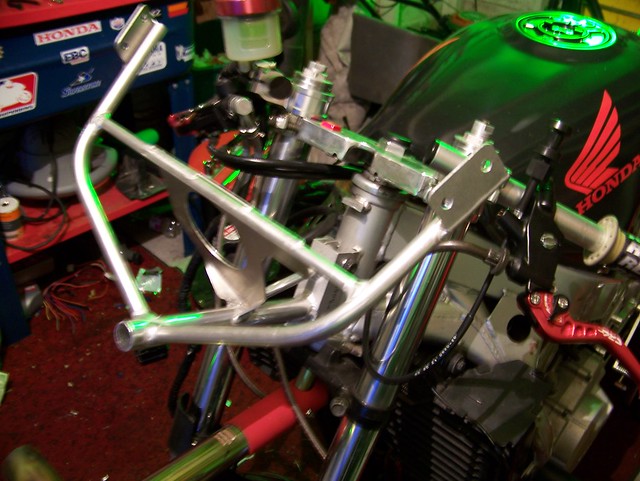
I got it stripped down, and installed the Yosh pipe and stator cover - I went with an NRC, as now I did figure I would get it to the track eventually, as the R1 project was no longer.
![Image]()
![Image]()
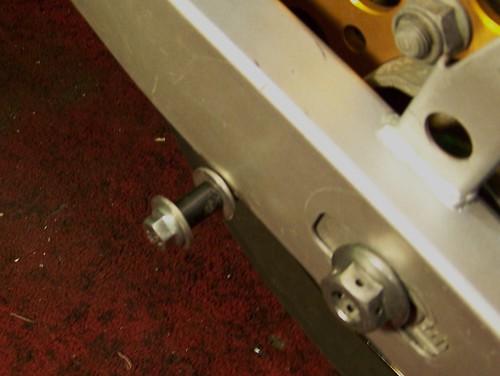
While I was at it, I cut and removed the rearmost portion of the passenger peg brackets, where the reflector mounts are, and the tabs for a cargo strap.
![Image]()
![Image]()
I filled in the brackets where the cuts took place, and painted them black - they did not look perfect, but at that point I had no intention of leaving them on for too long anyway.
![Image]()
![Image]()
For some on here, you may have already seen some of the work, on another forum, but I figured I would post up my progress here, for those who haven't seen it, and enjoy checking out builds!
No, it's not an RR, but it is a CBR 600... here goes...
I got the bike 5 years ago - it was an immaculate low mileage example, and the price was plenty reasonable.
The original owner was a fellow in his mid to late 40's, who had just gotten divorced, and I think made this bike one of his "I've always wanted to do this, but the old lady wouldn't let me" purchases, that, and/or maybe he was trying to attract some girlies... anyway, he was the type that didn't ride it hard, and actually, didn't ride it much, really.
It was always garaged, well cared for, and eventually forgotten, as it sat in the garage for a very long time.
My boss at that time, picked it up from him, and had it for about a year, before selling it to me - this guy was a very cautious type of guy, who also didn't ride hard, though a little more frequently than the first owner. I highly doubt he ever took the thing above 75 or 80... as a matter of fact, I'm almost certain of it, as he never addressed the issue of a carbureted bike sitting for so long, so it could barely get past 80mph anyway!!
So, here it was as I received it, 16 years old and with just over 4,000 miles - the bike was completely bone stock, including tires and chain/sprockets, and brake pads.

It was pretty much pristine, there was one or two spots where my boss, the previous owner, had put the tiniest mark on it, but you had to be looking for those flaws, to find them.
The current rubber was old, hard, worn, and seriously lacking rain sipes, so I put some Q2s on it.


I was very proud to have such an immaculate stock bike, and in my opinion, this paint/graphics scheme was the least "dated" look the F2 had.
I had no plans of ever racing this bike, as a matter of fact, I had no thoughts of even taking it to a track day, as I was focusing on an '09 R1 project for A Superbike and A Superstock racing - I was happy to leave the thing mostly alone, with the exception of getting the carbs cleaned, so it would run as it should, but alas, several circumstances changed all that.
For starters, I was laid off from a great paying job, during the ongoing U.S. economy issues, and the R1 project had to go, so I ended up with this F2 being my only bike. It took a long time to get decent work again, and that was at a considerable loss of salary, then, to add insult to injury, I got ran off the rode by a negligent driver, and this gorgeous stock bike was no longer so gorgeous.
Don't get me wrong, it wasn't smashed to bits or anything, but there was considerable fairing damage, and damage to the stator cover, bars, levers, mirrors, exhaust, and the OEM fender/signal apparatus... bottom line is, as most of you know restoring OEM plastics, repainting, and replacing the original graphics, can cost as much as or more as what the bike is worth.
I was sad, very sad, but I got over it, my injuries healed, and since I no longer had a beautiful stock bike to keep mint, it was time to go to town on it!!
I got a fairing kit, replacement stator cover, and Yosh RS-3 carbon fiber can on the way.
I got it stripped down, and installed the Yosh pipe and stator cover - I went with an NRC, as now I did figure I would get it to the track eventually, as the R1 project was no longer.


While I was at it, I cut and removed the rearmost portion of the passenger peg brackets, where the reflector mounts are, and the tabs for a cargo strap.


I filled in the brackets where the cuts took place, and painted them black - they did not look perfect, but at that point I had no intention of leaving them on for too long anyway.


 hyeah: :spin: :toothy: