
Hey Everyone!
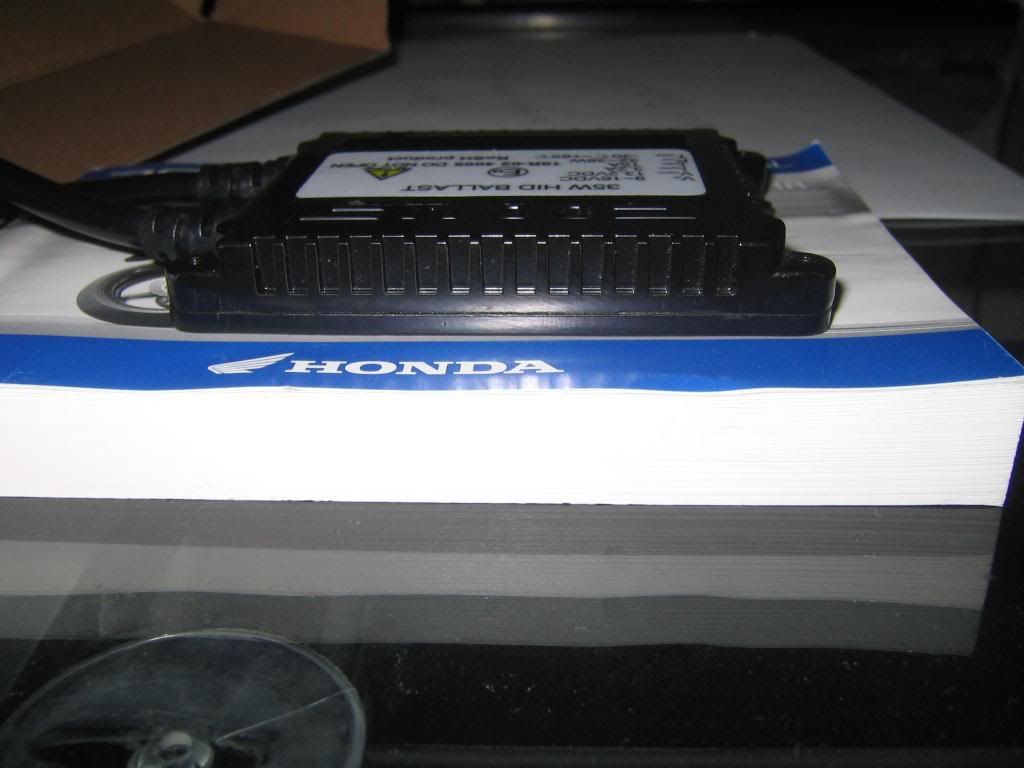
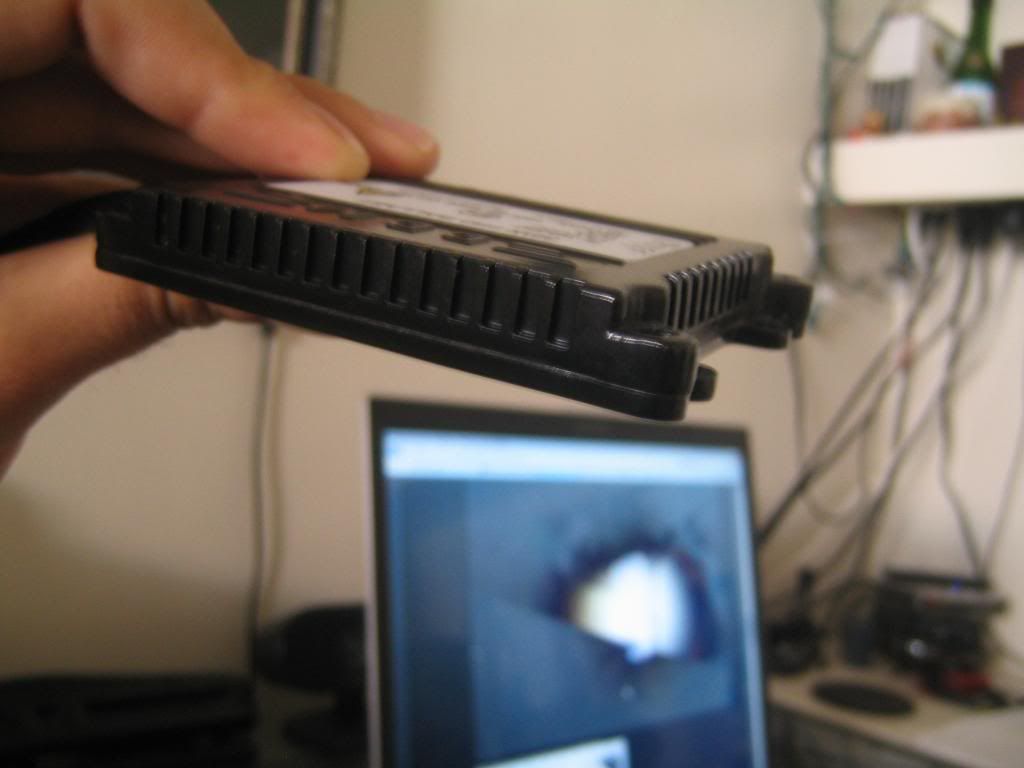
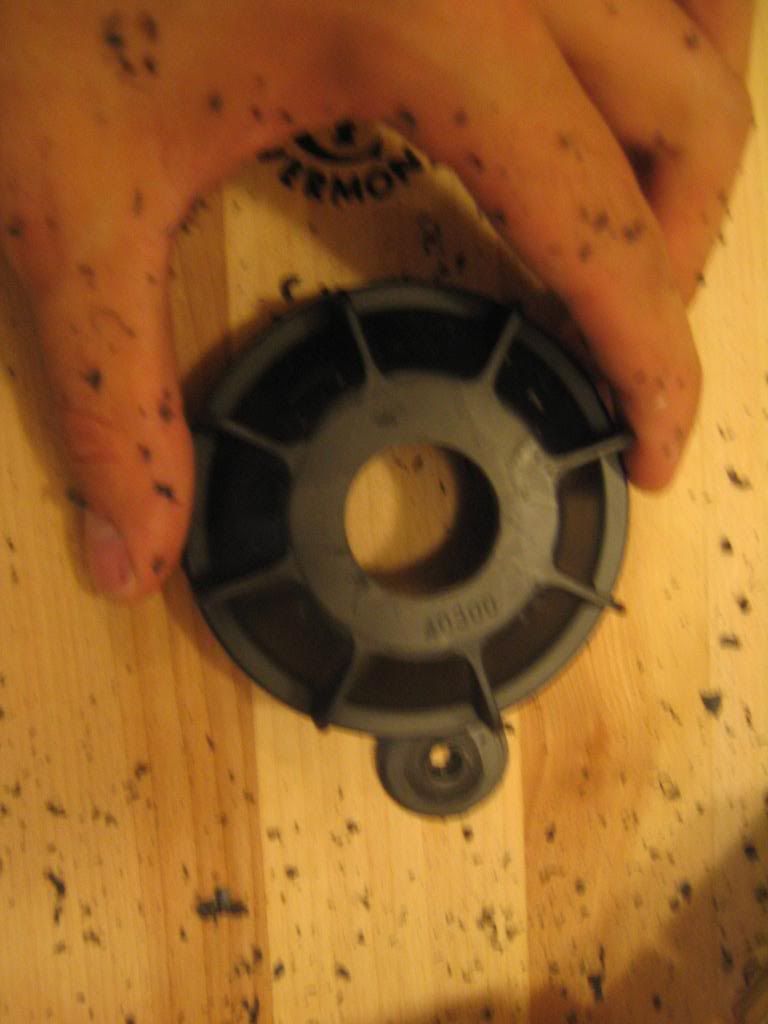
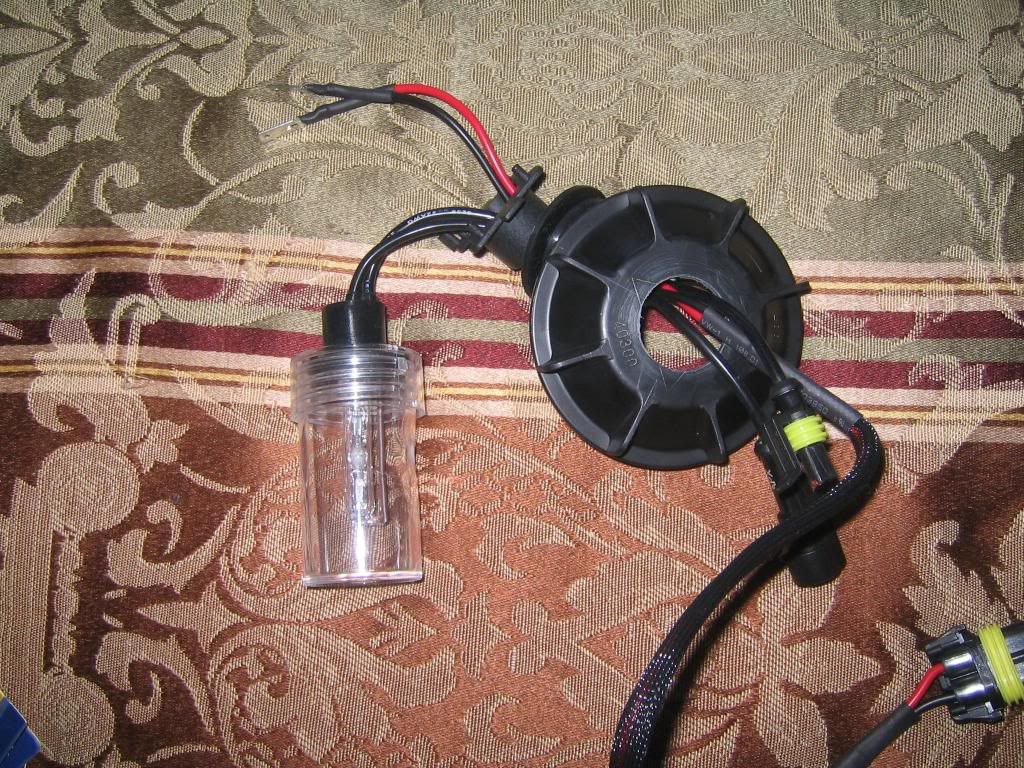
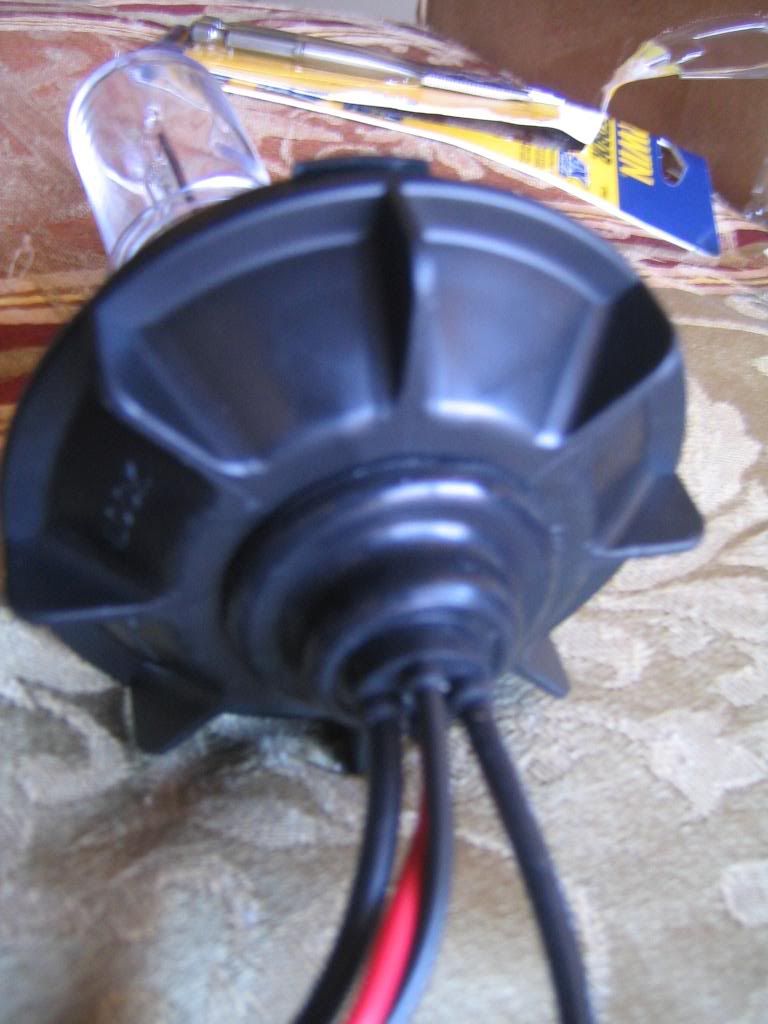
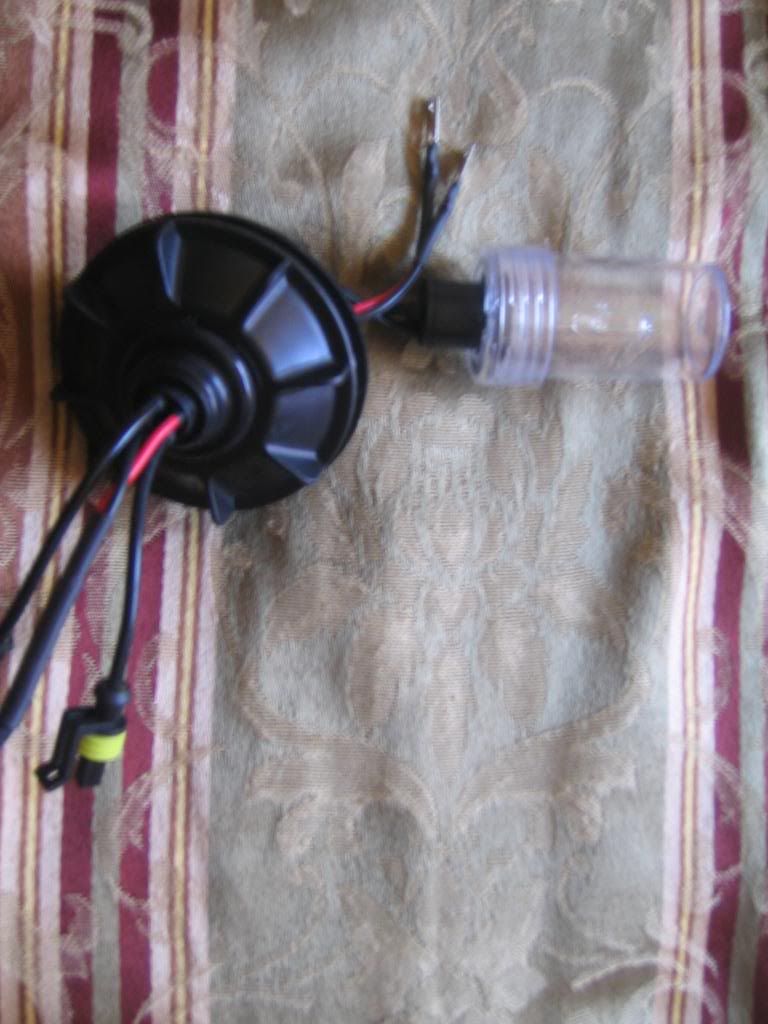
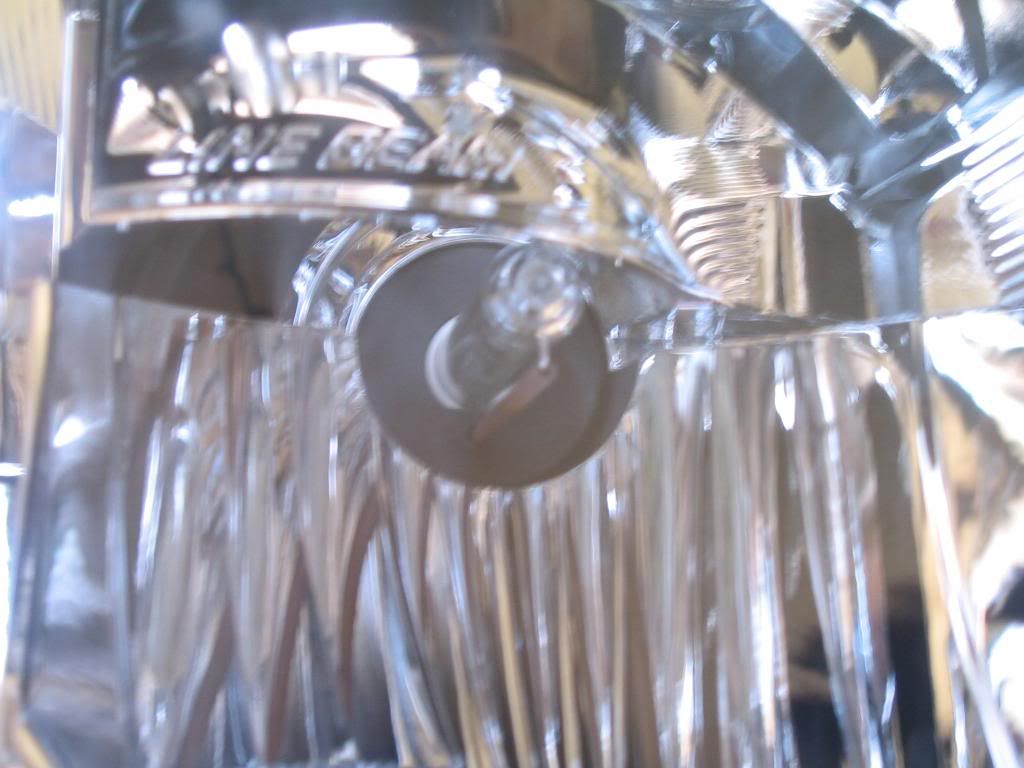
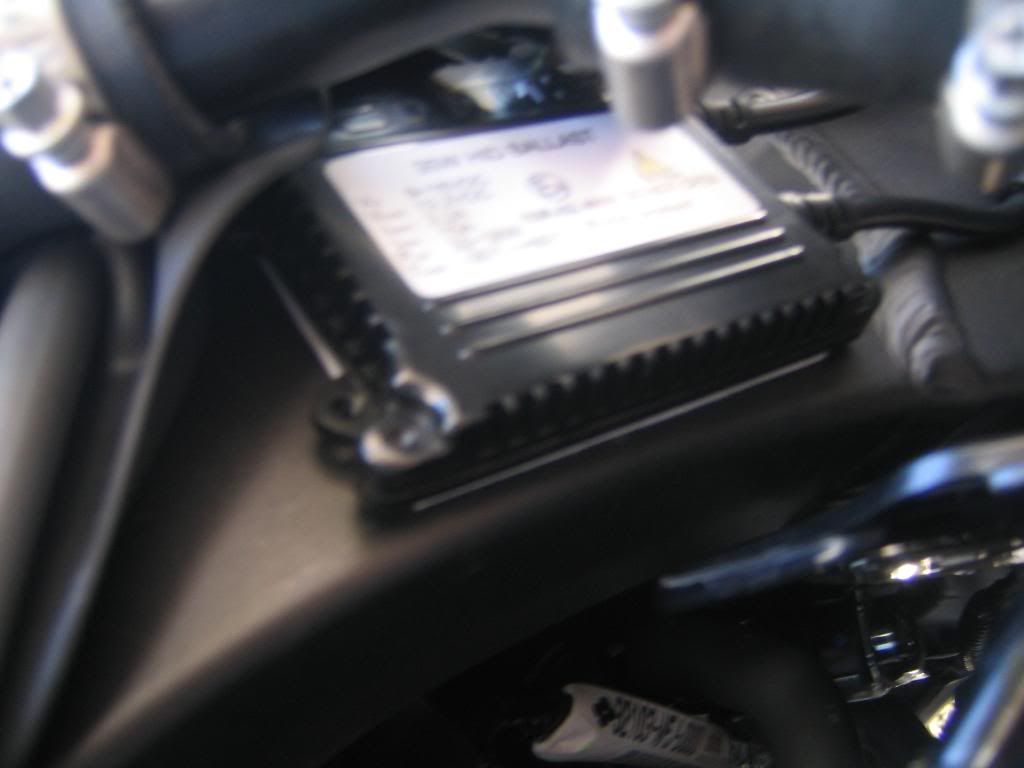
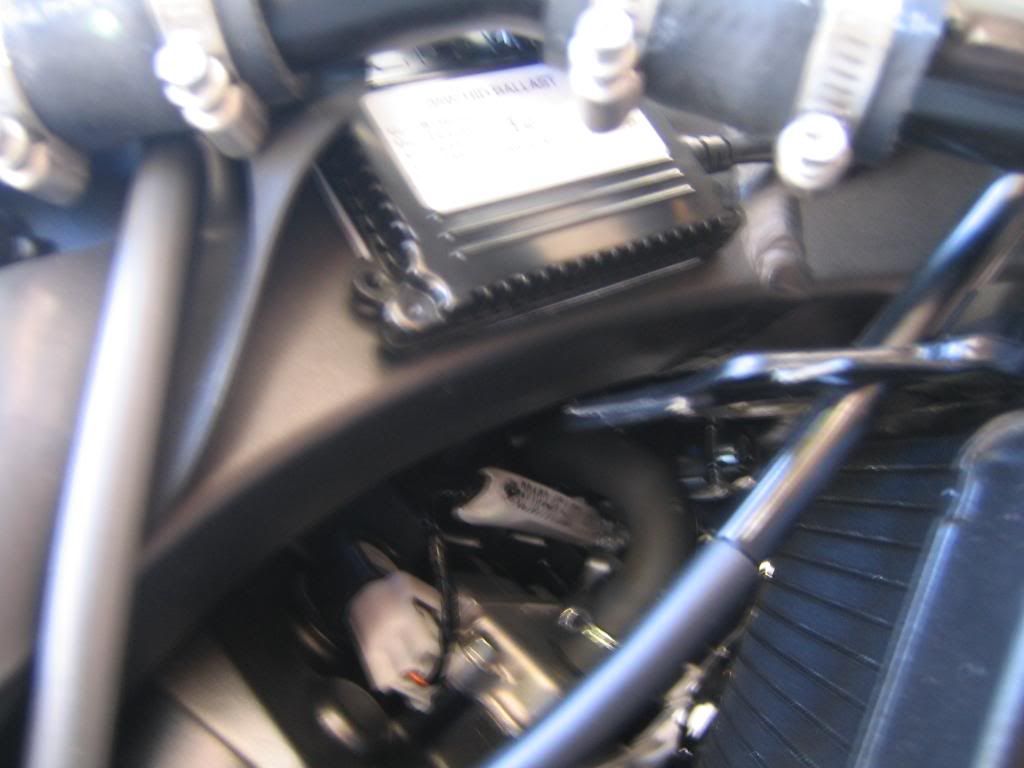
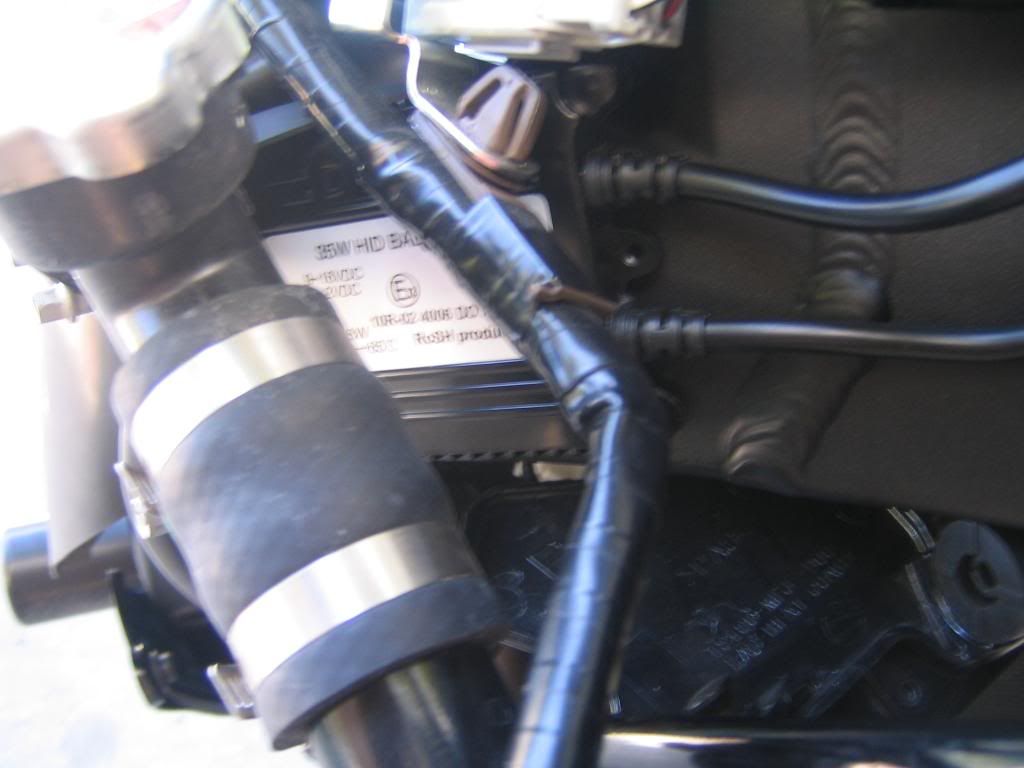
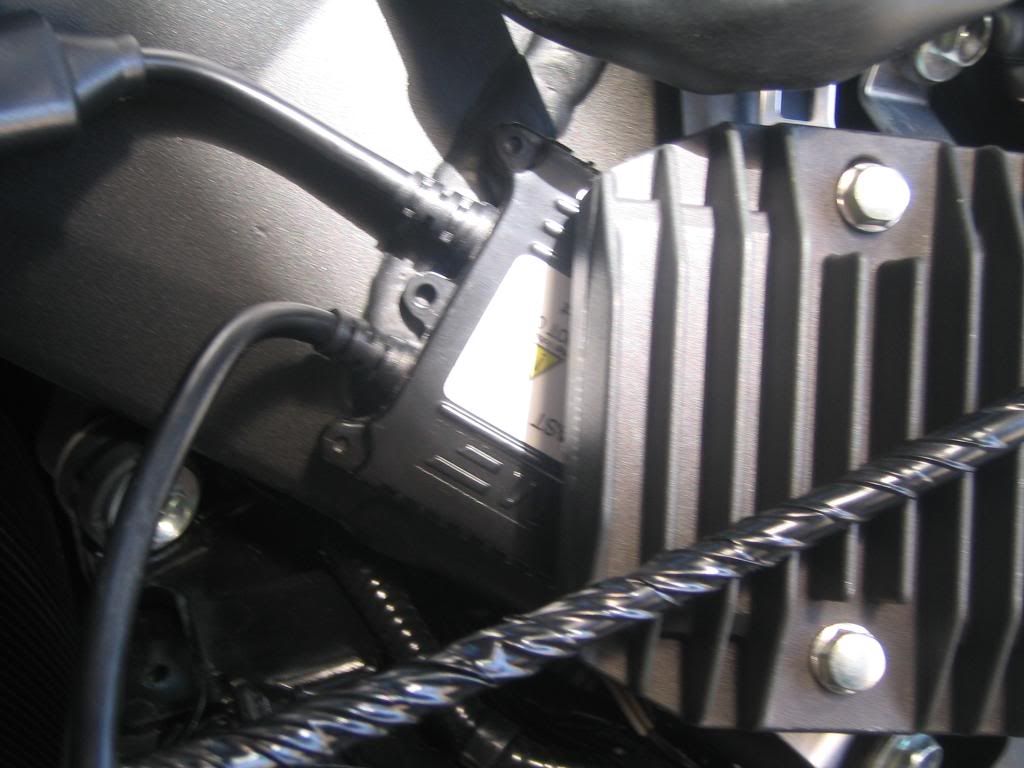
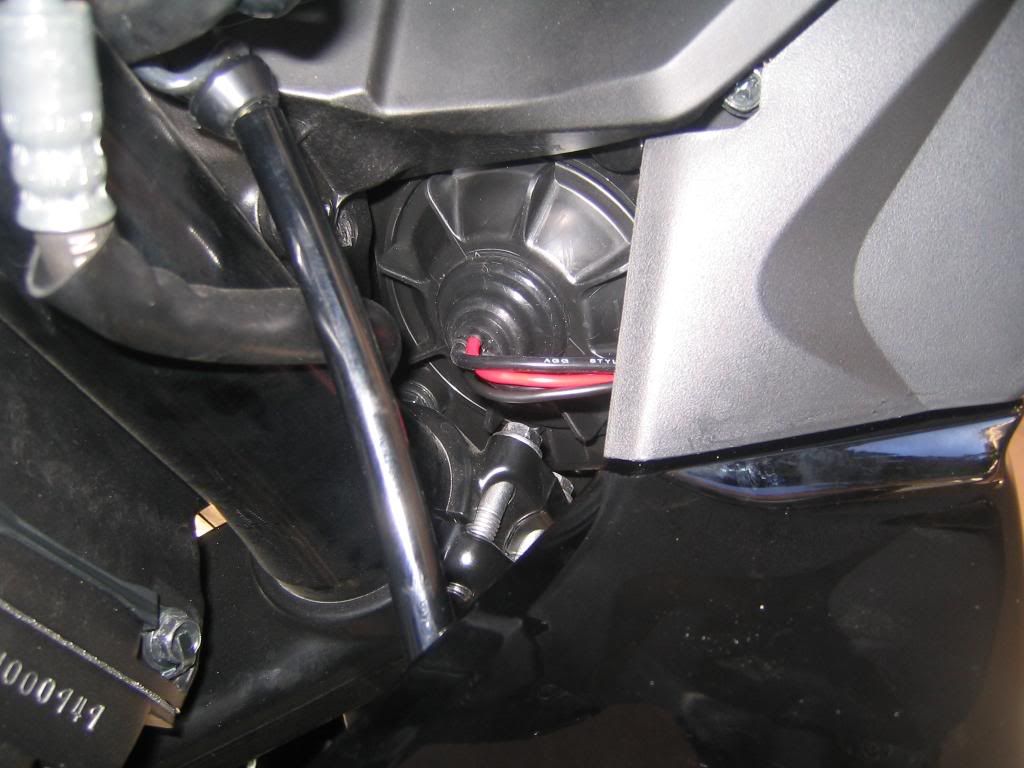
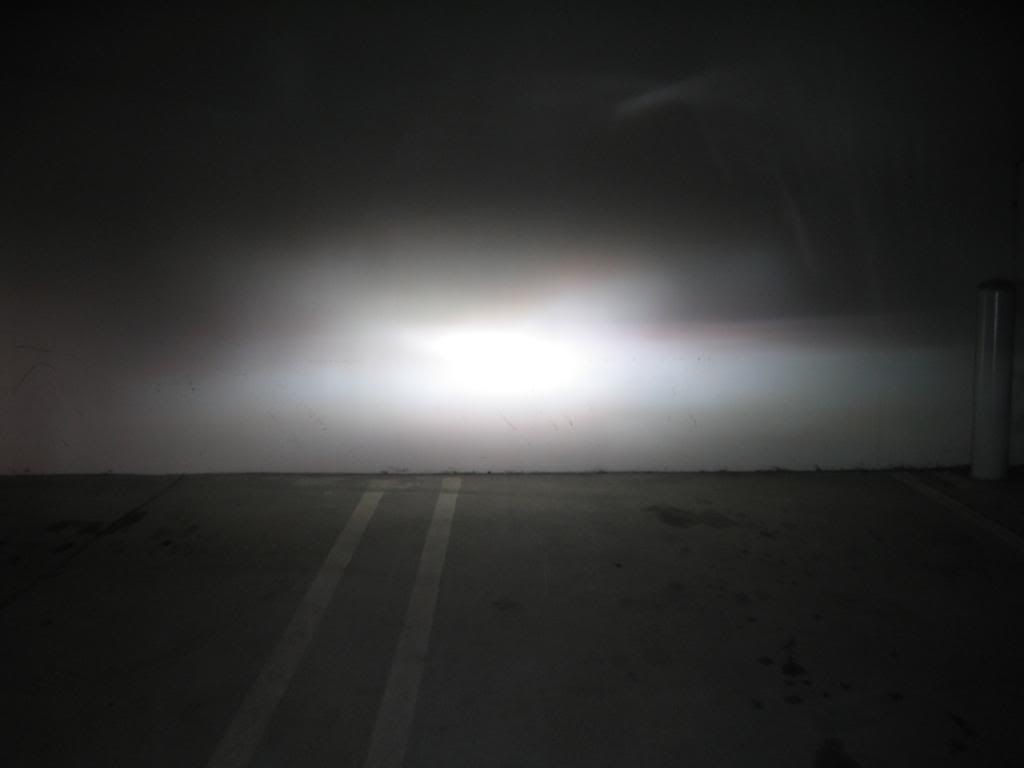
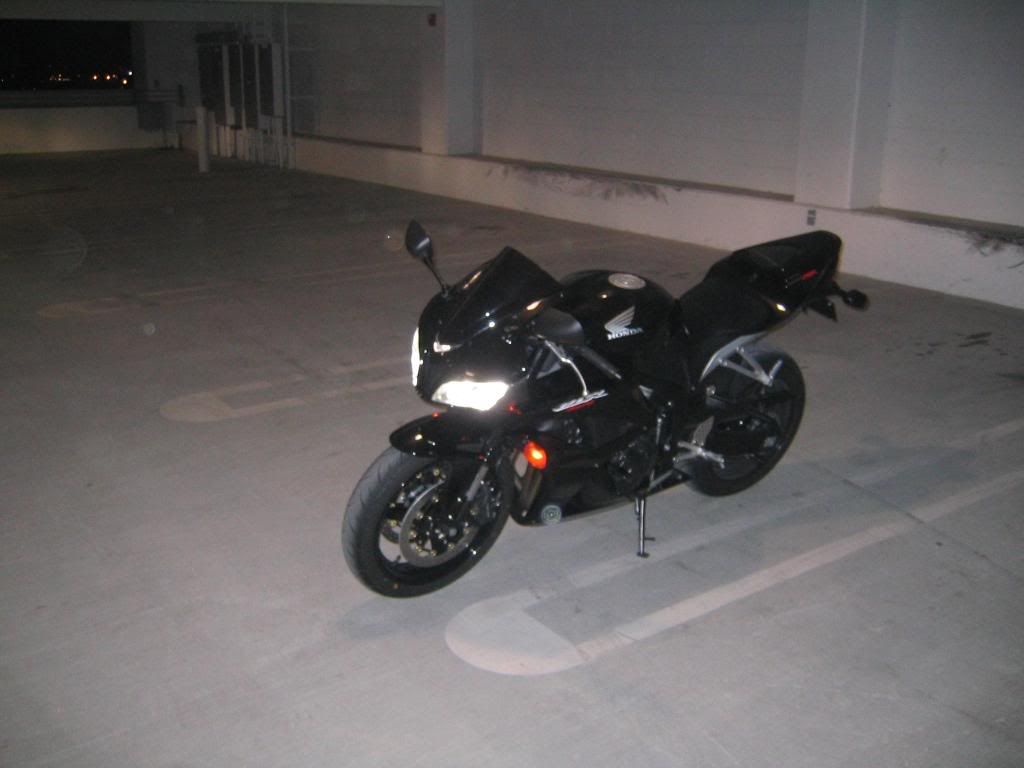
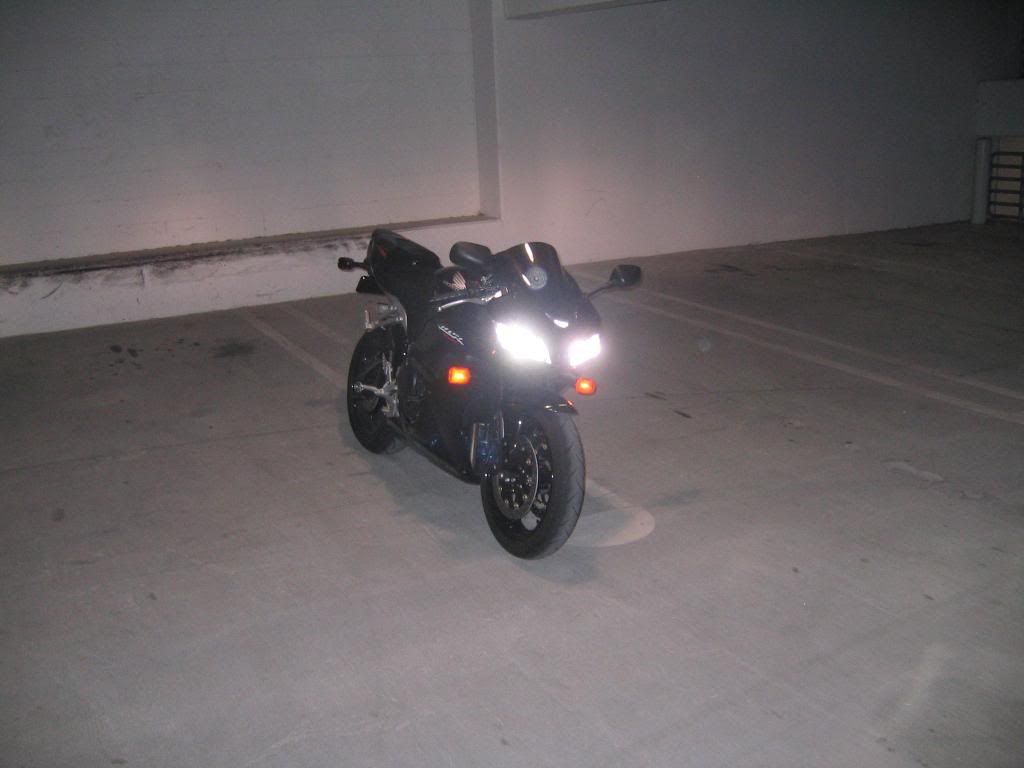
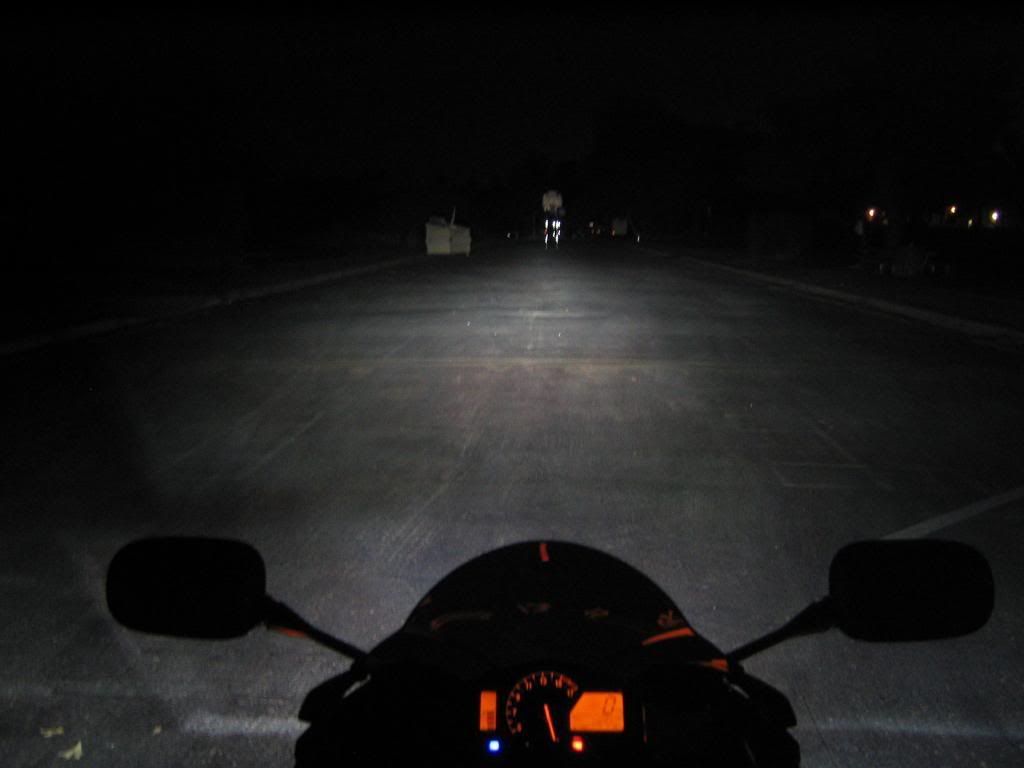
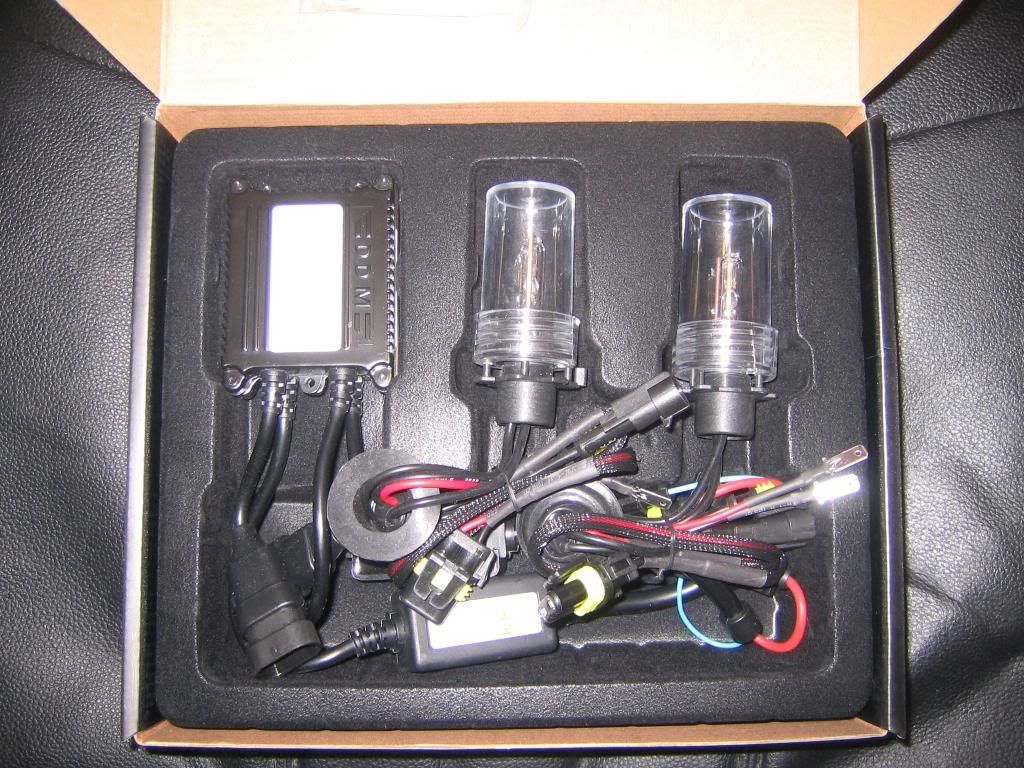
I just got my $130 DDM HID kit from http://www.xenonexpert.com/ddm_kit_sale.html! These things are so damn bright! I am so pleased with the PURE WHITE light output (4500k H7 Bulb)! It’s going to look so sick on my blacked out CBR!
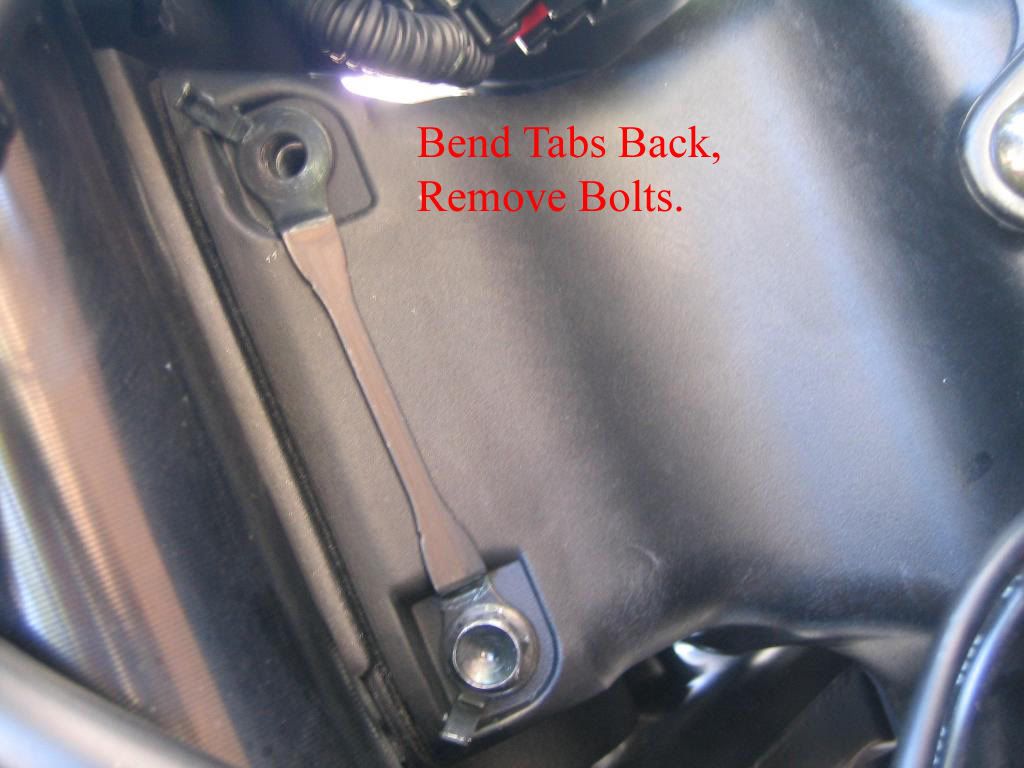
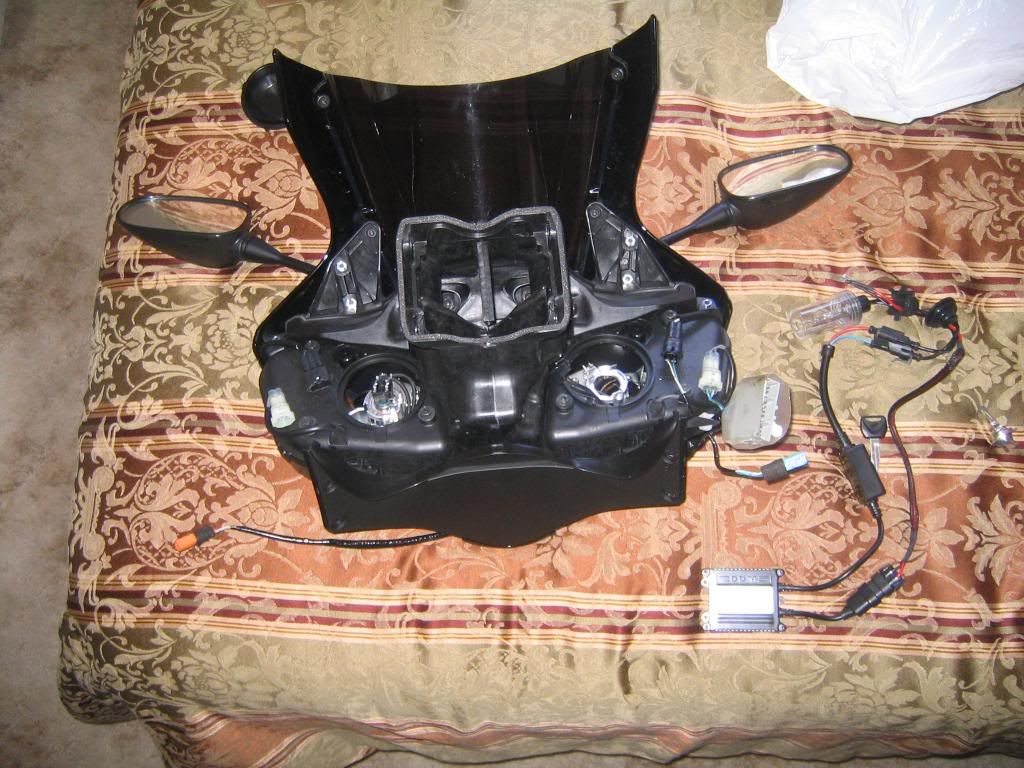
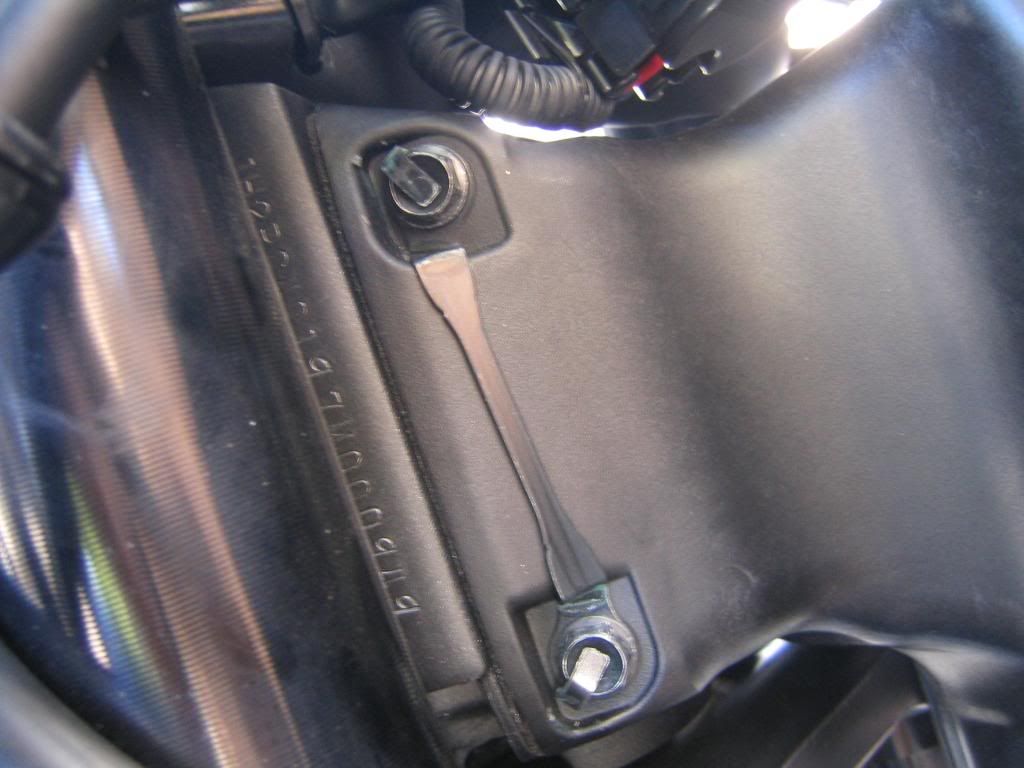
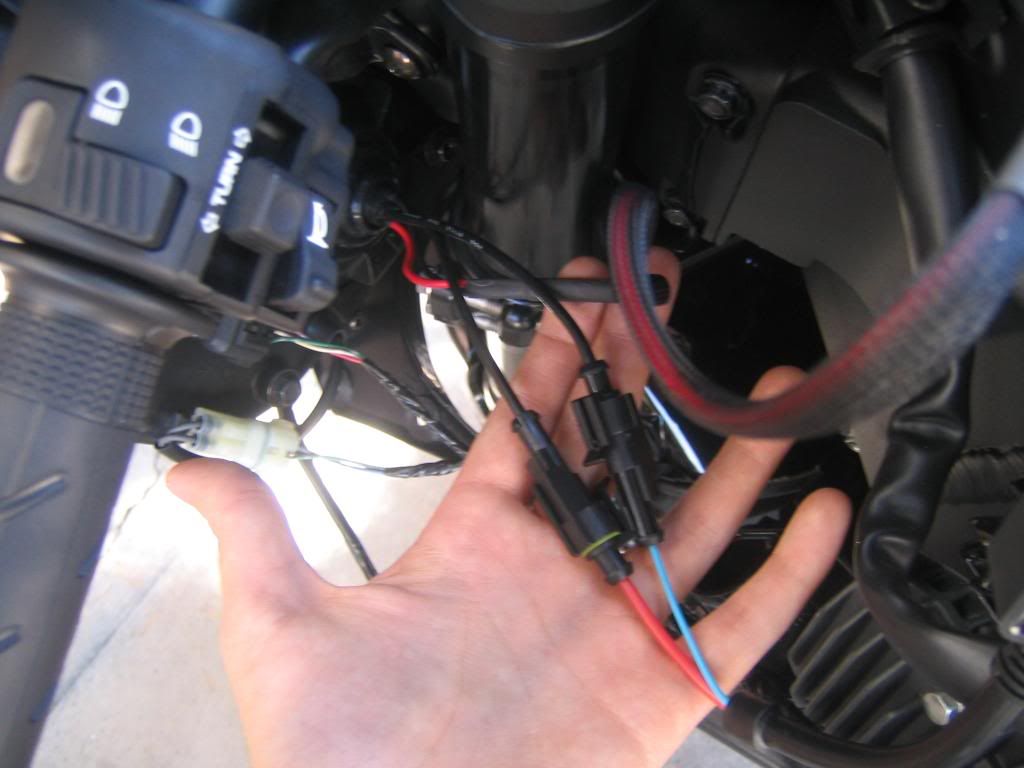
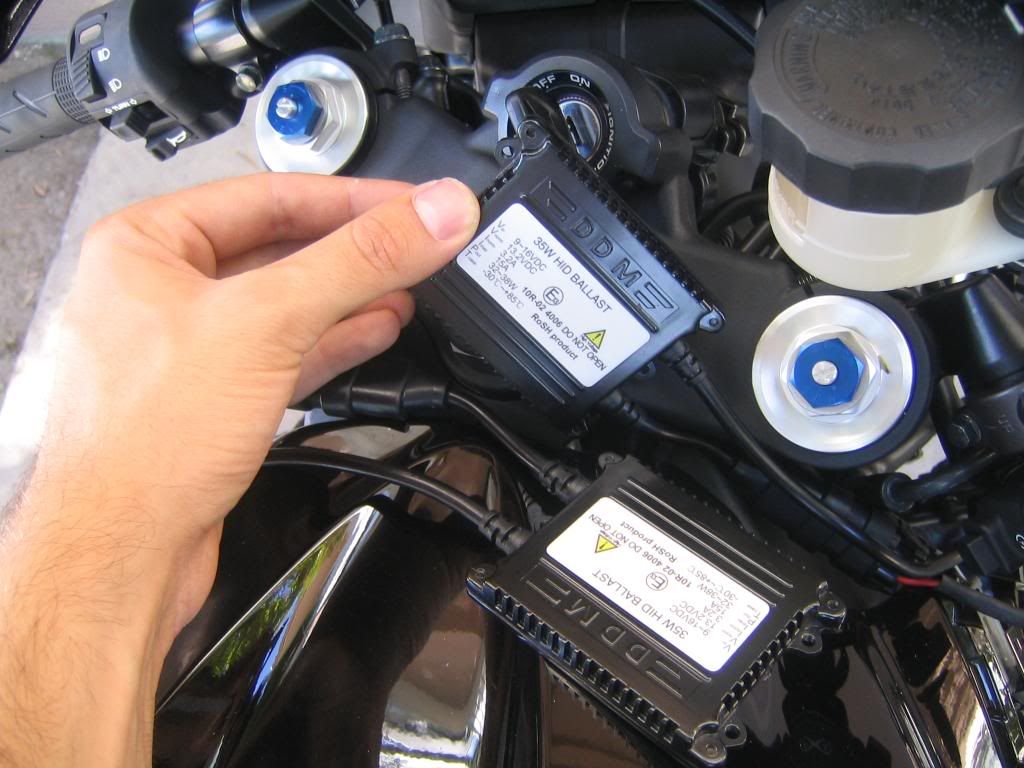
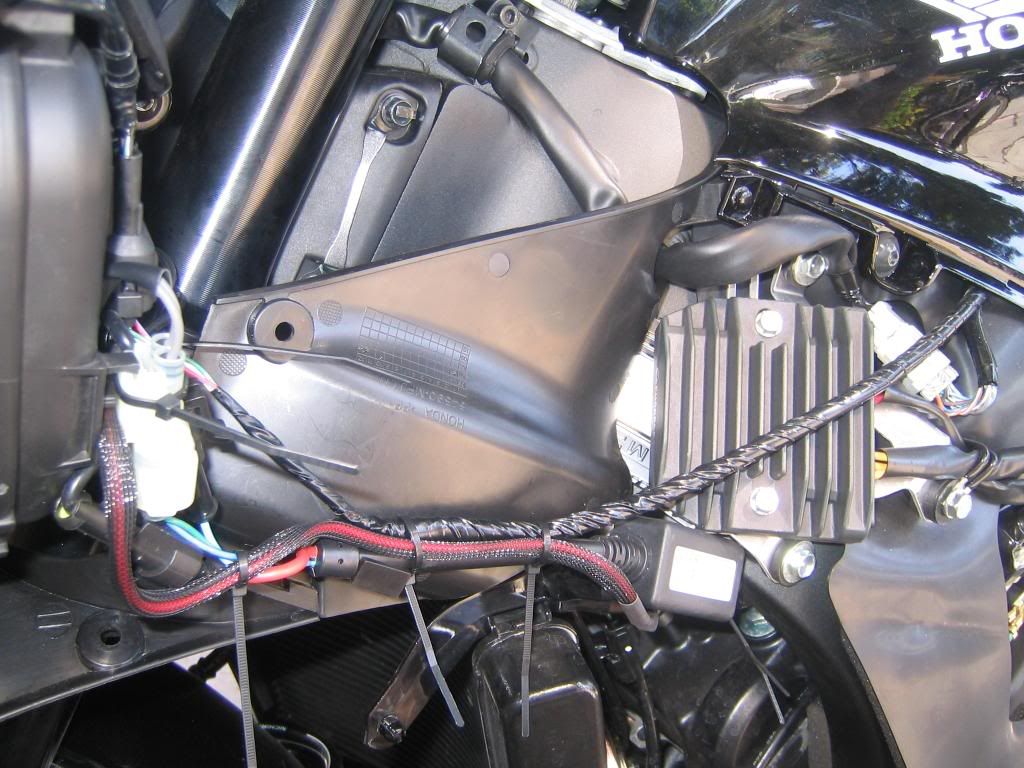
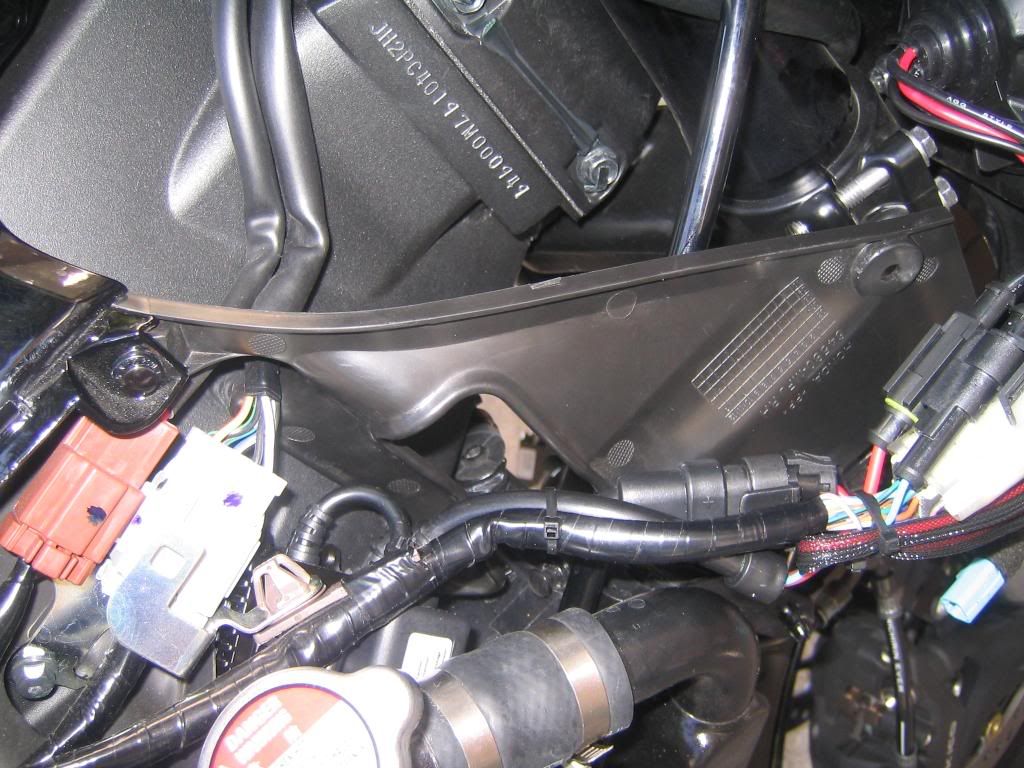
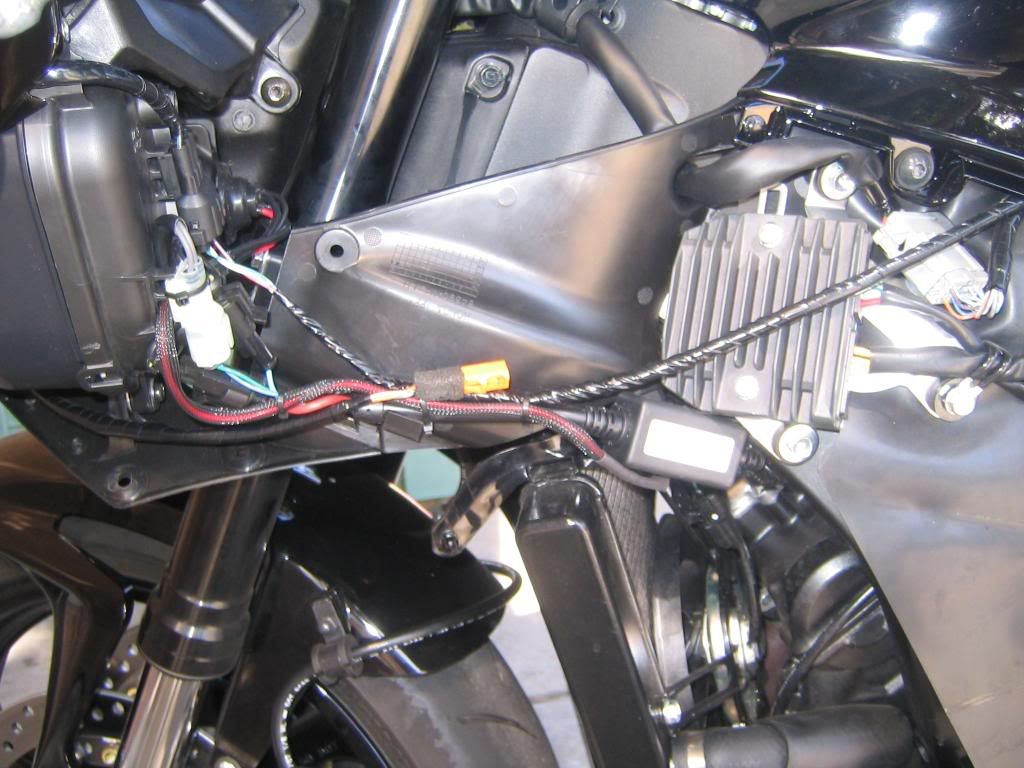
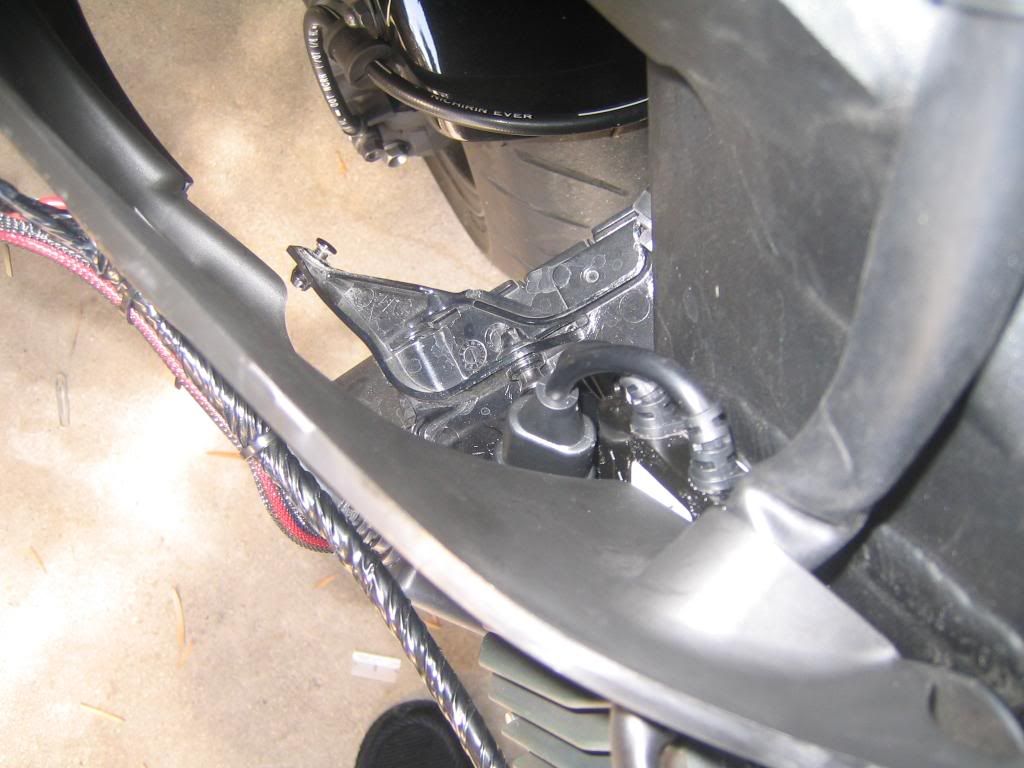
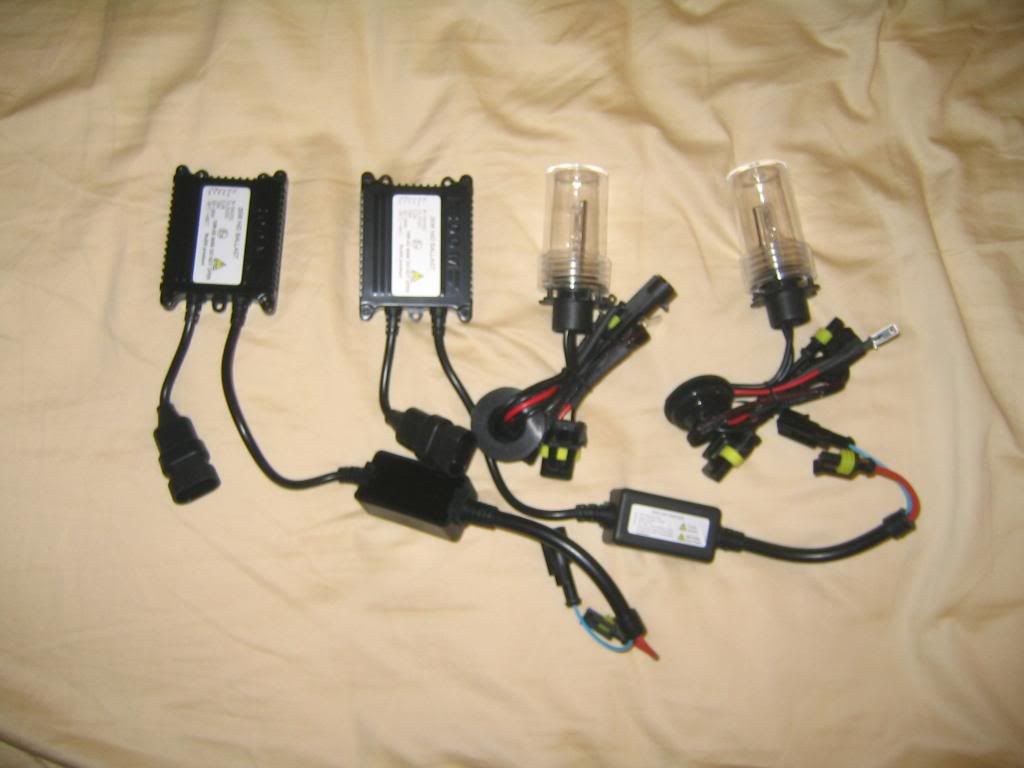
I am going to install them tomorrow morning, right after I figure out how to remove the front fairing. I will try to do a STEP by STEP install with pictures.
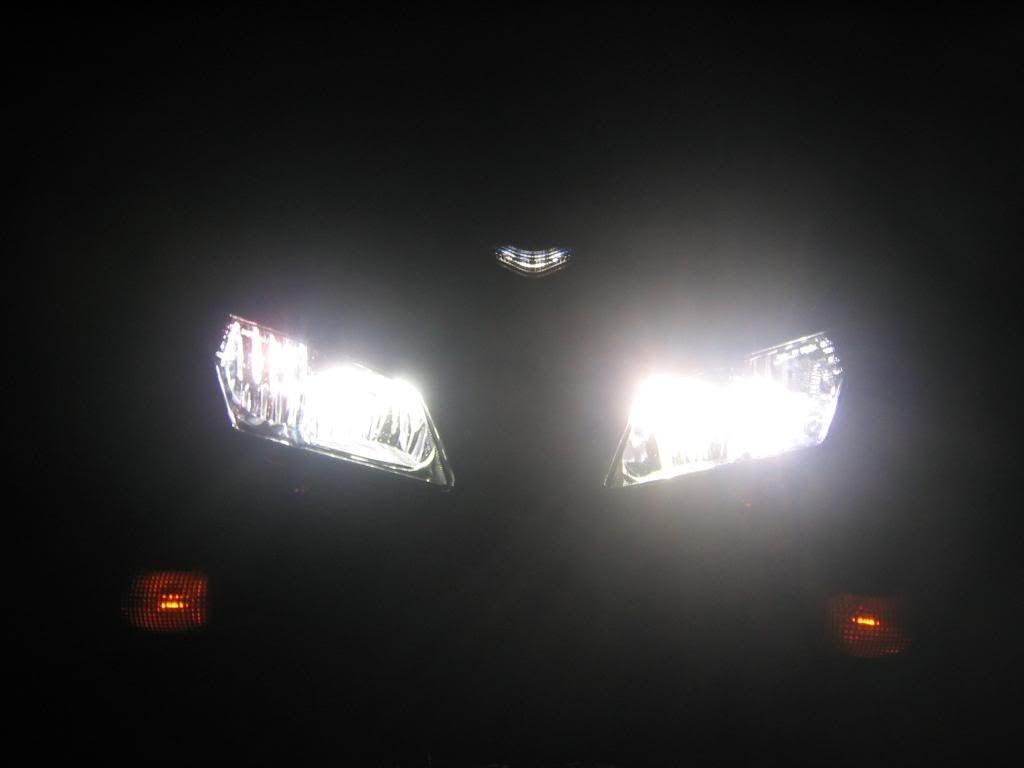
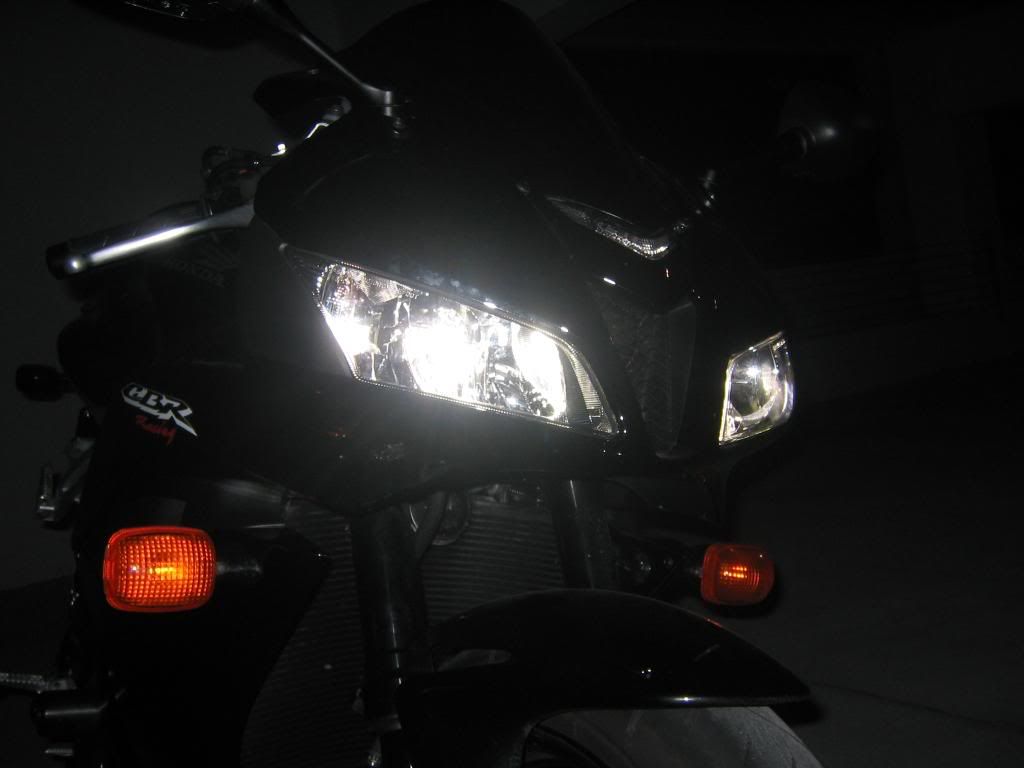
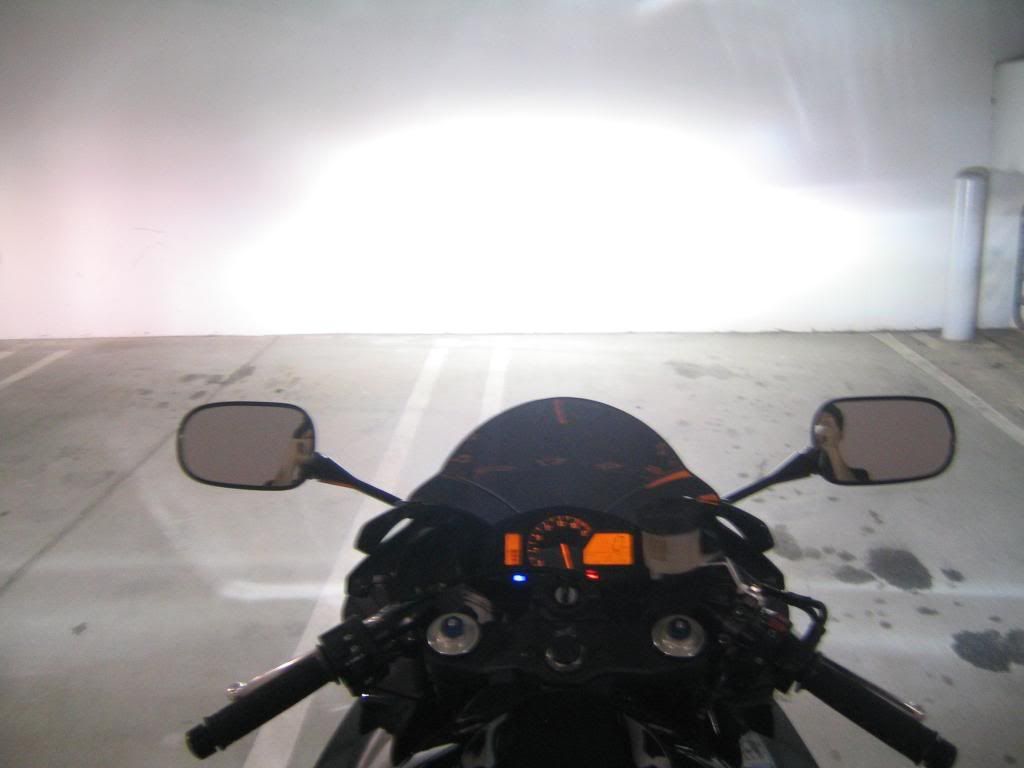
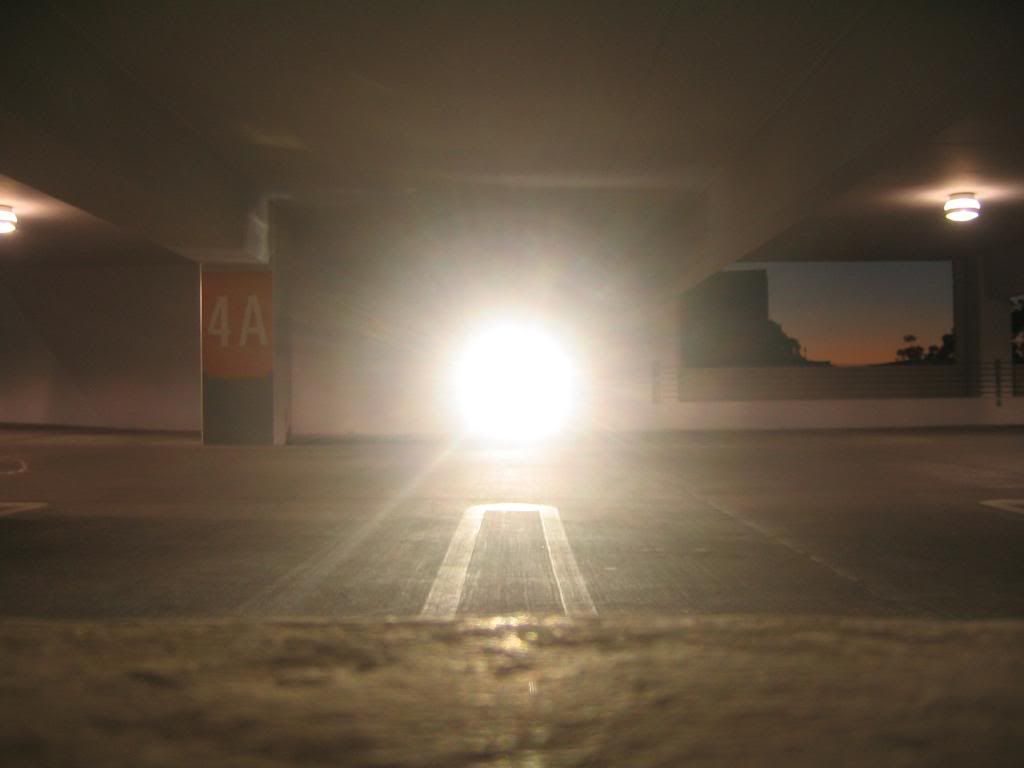
As for now check out how insane these things are! The video is cool too!
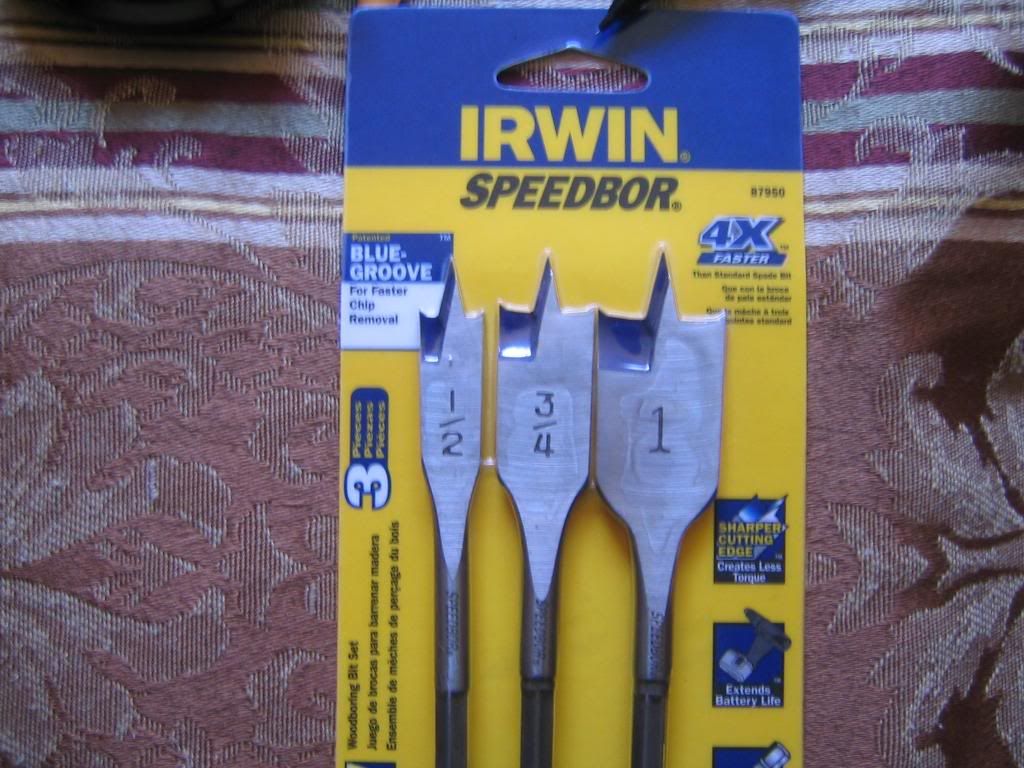
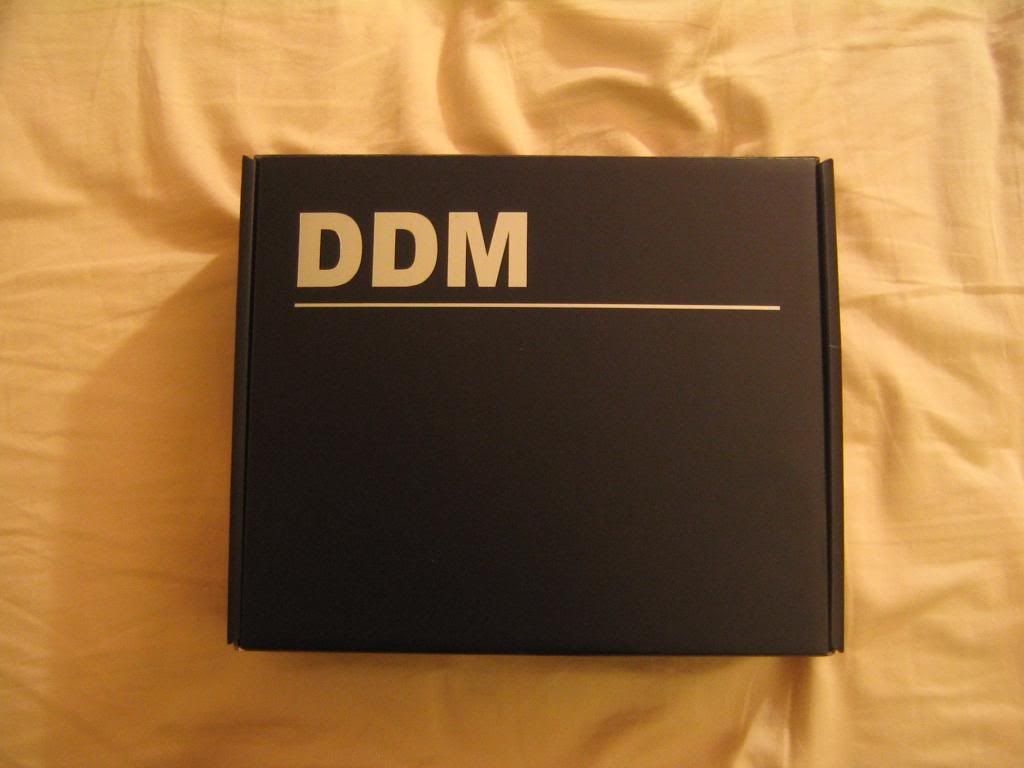
Nice Packaging!
![Image]()
![Image]()
![Image]()
![Image]()
![Image]()
VIDEO! These things get HOT, the protective bulb case was starting to melt.
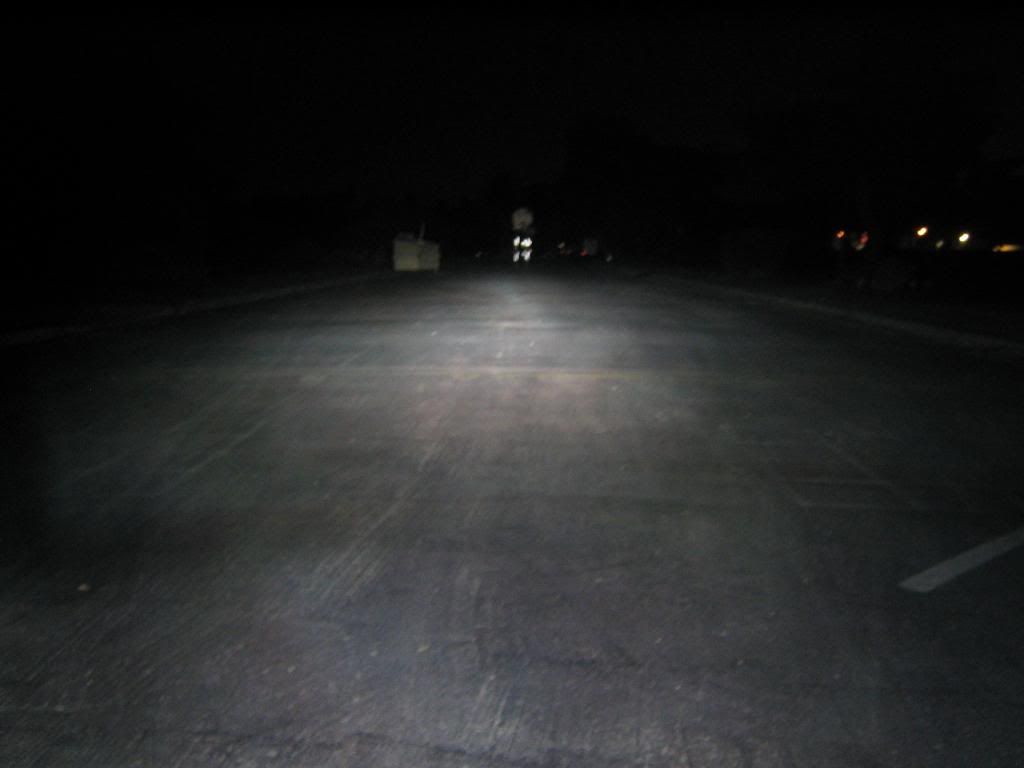
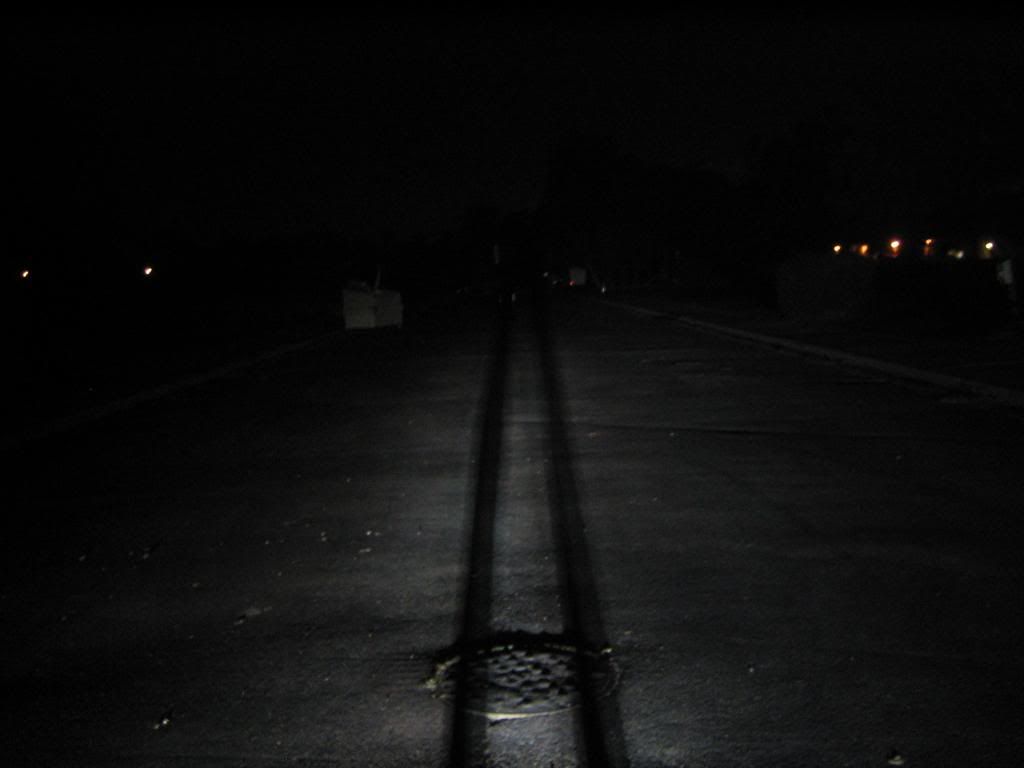
:rocker: PURE WHITE! :hump:
I just got my $130 DDM HID kit from http://www.xenonexpert.com/ddm_kit_sale.html! These things are so damn bright! I am so pleased with the PURE WHITE light output (4500k H7 Bulb)! It’s going to look so sick on my blacked out CBR!
I am going to install them tomorrow morning, right after I figure out how to remove the front fairing. I will try to do a STEP by STEP install with pictures.
As for now check out how insane these things are! The video is cool too!
Nice Packaging!
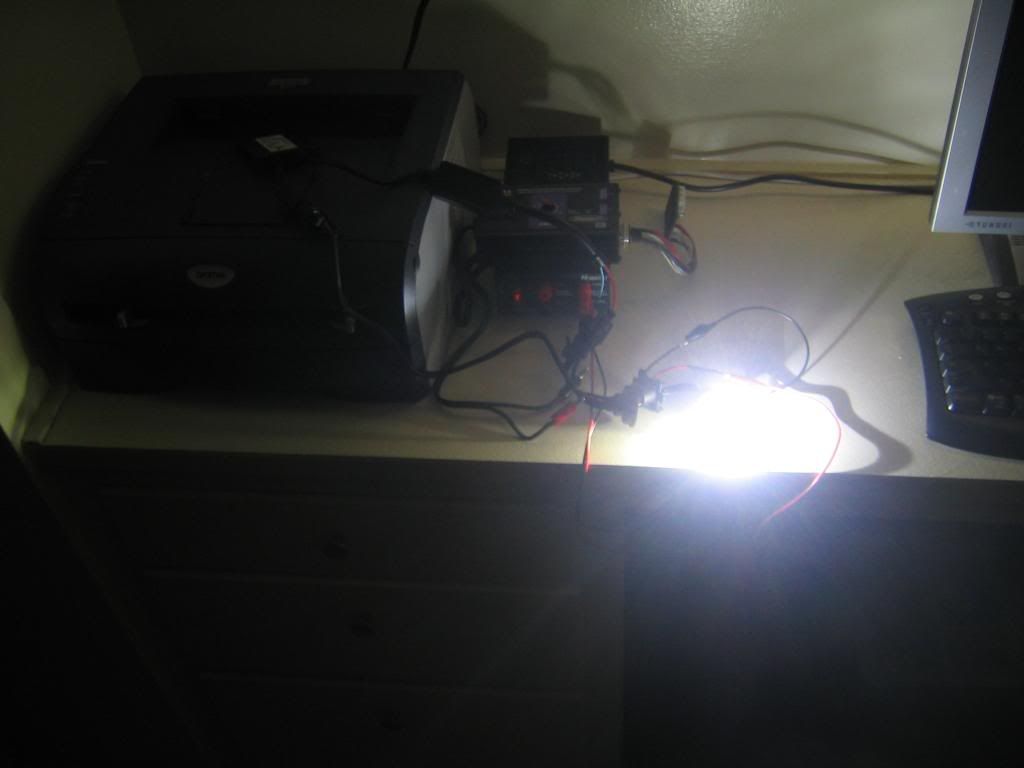
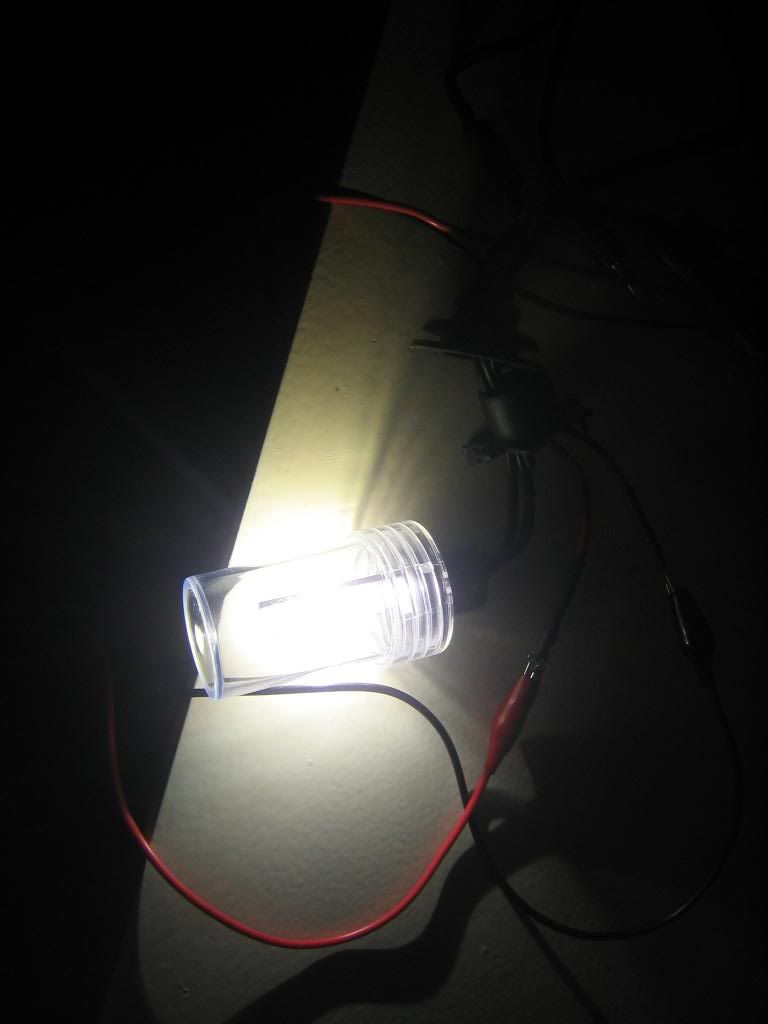
VIDEO! These things get HOT, the protective bulb case was starting to melt.
:rocker: PURE WHITE! :hump: