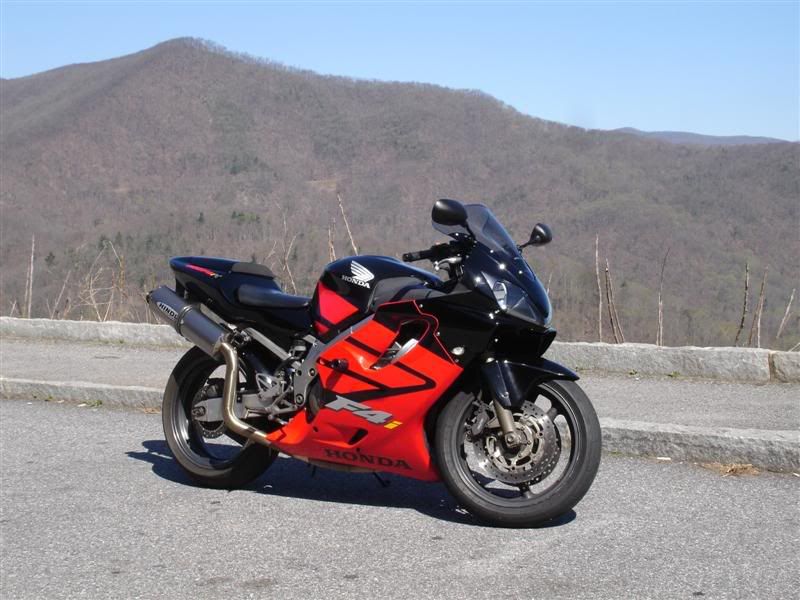

Well... I just uploaded 265 pictures to photobucket, won't be posting every one of them, but just be warned.... this is gonna be a looooong thread with ALOT of pictures!! LOL
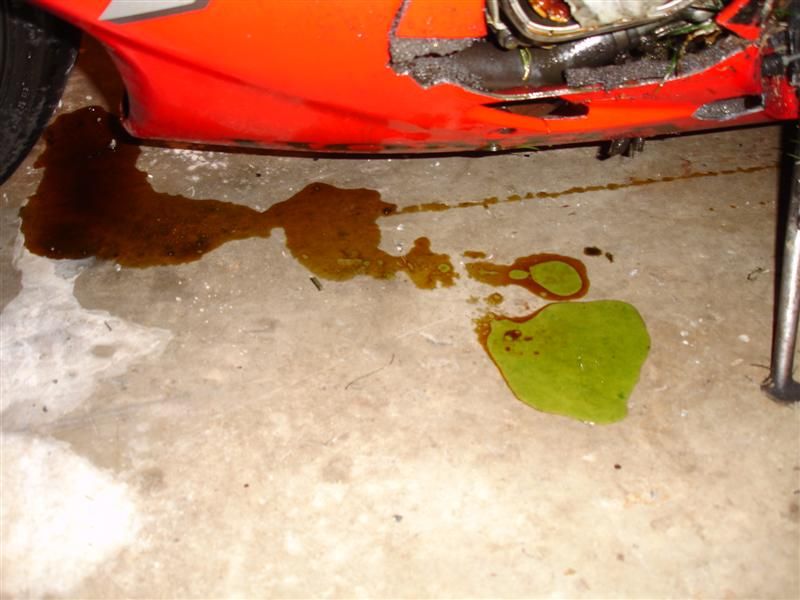
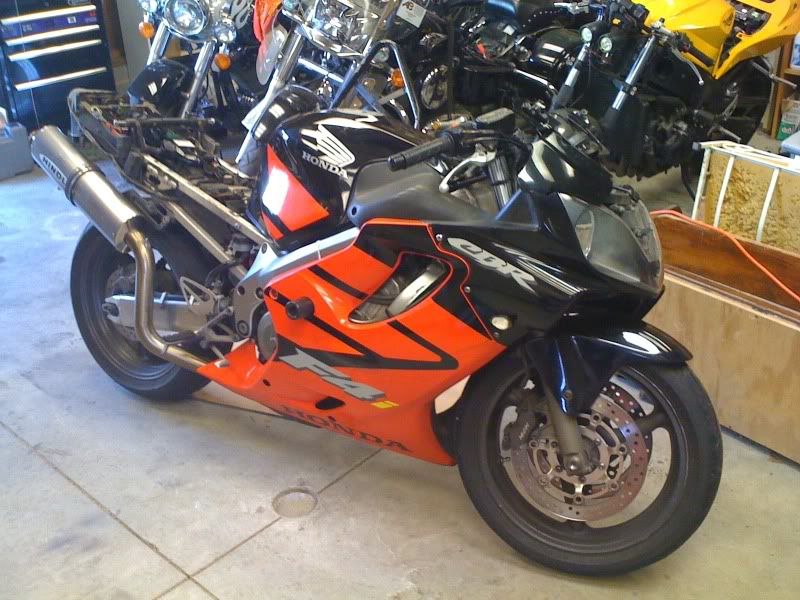
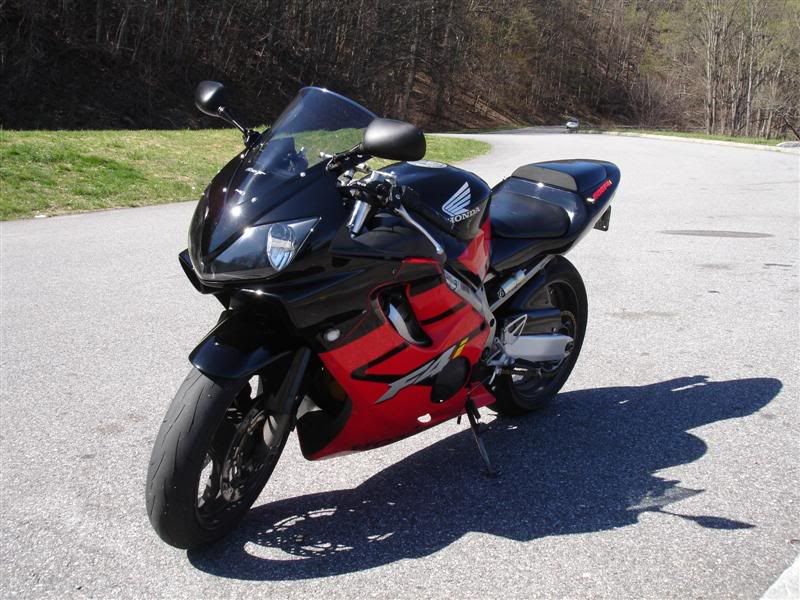
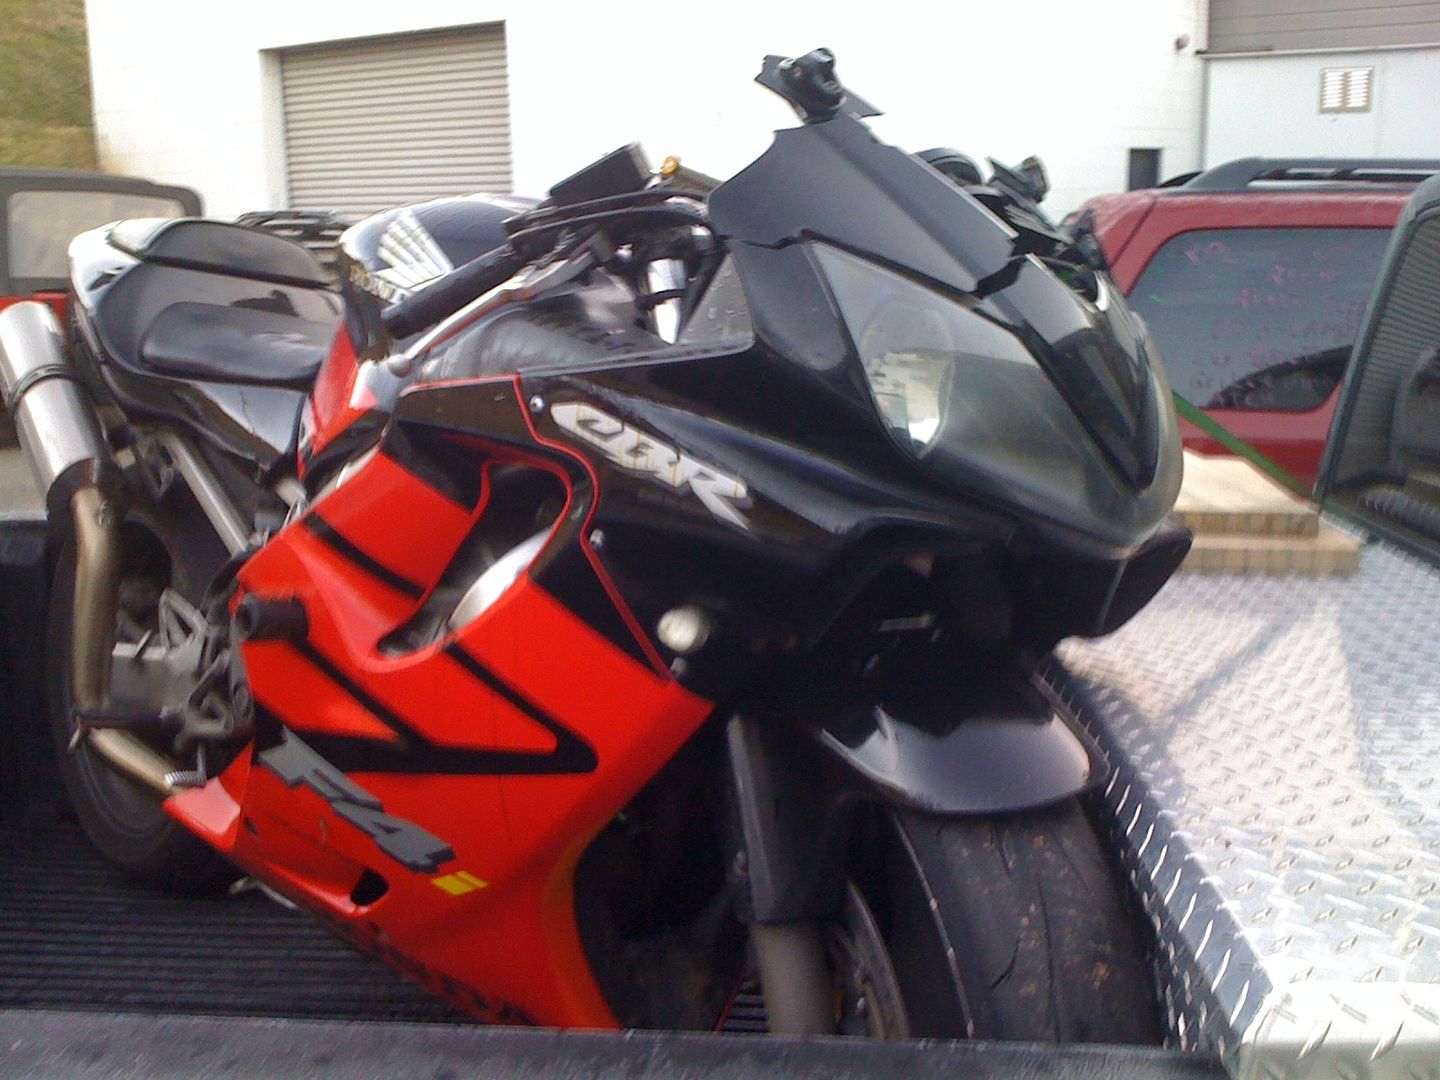
Anyways, some may remember I went down back in Dec and the whole ordeal that followed. For those that don't.... back on Dec 17th I was on my way to work and while veering off on a road to the left, I hit a patch of oil/diesel fuel/antifreeze/something slippery, and lowsided at about 25 mph. All was fine until the bike slid into the curb, did a little highside and then rolled over itself into the grass. I got right up, not even so much as a scratch on me, thank god (leathers FTMFW!!), went over to the bike and it was completely covered in engine oil. Not a good sign already!
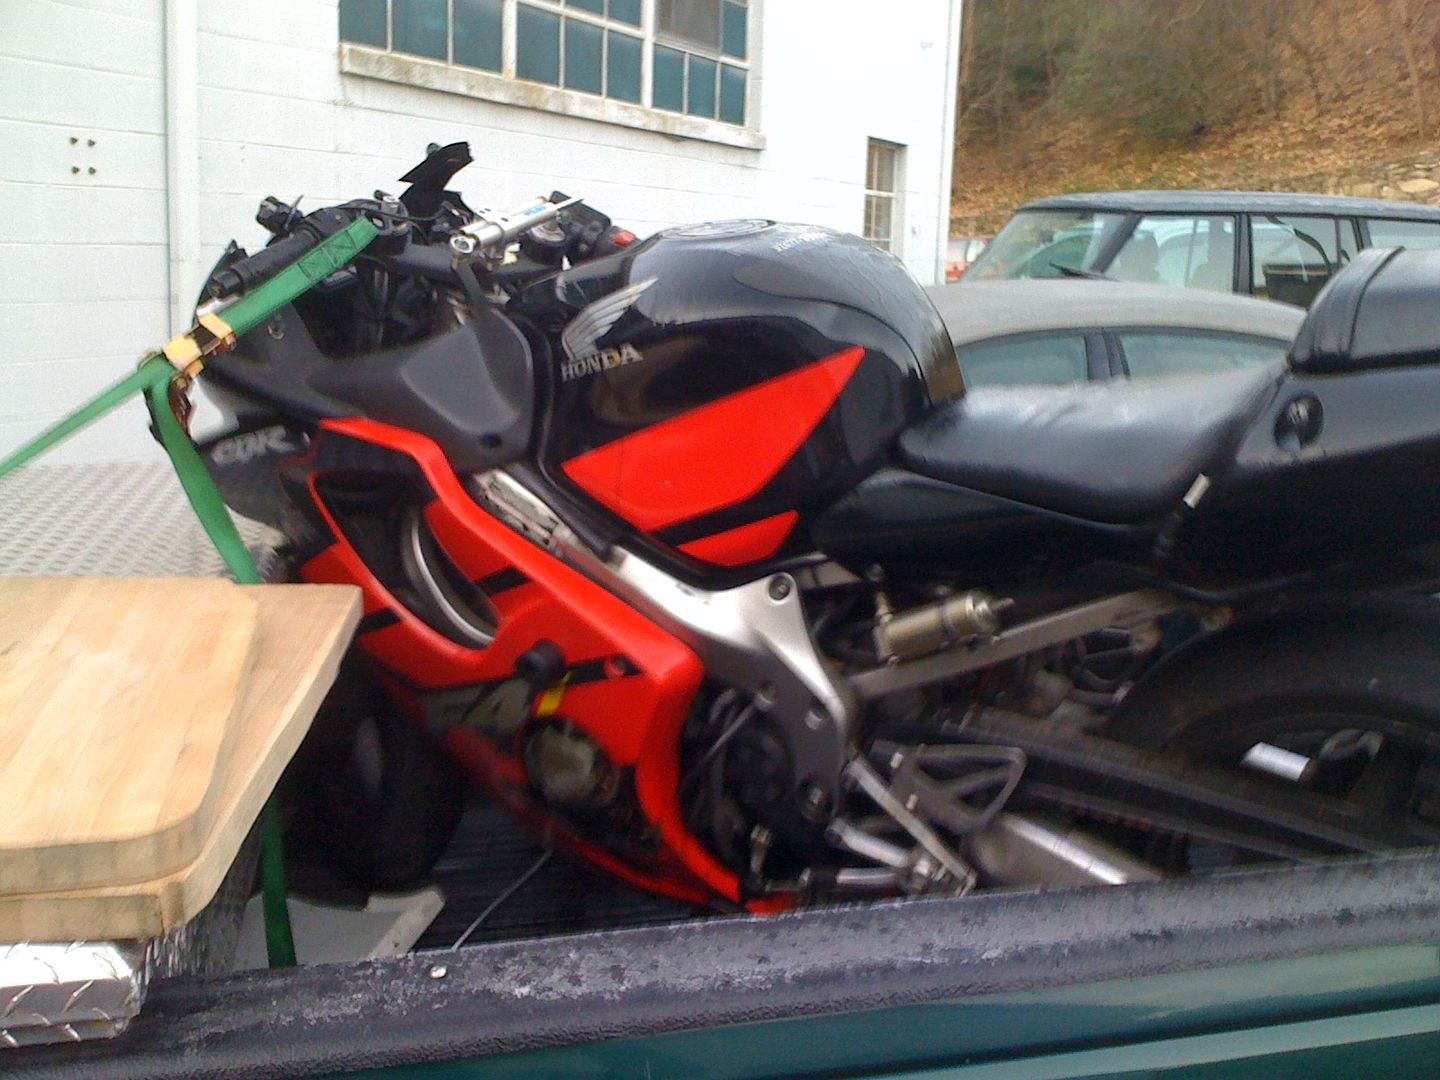
Luckily another guy from work was several cars behind me when this happened, so he saw it and recognized it as being me, and pulled right into the parking lot there and made sure I was OK. Luckily he had his pickup and an empty bed, so we lifted the bike into the bed of his truck and off to work we went
![Image]()
![Image]()
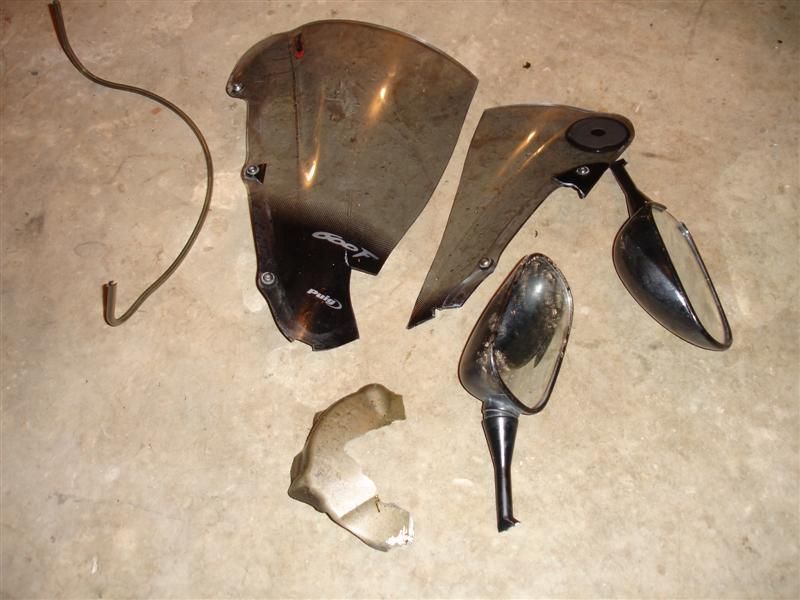
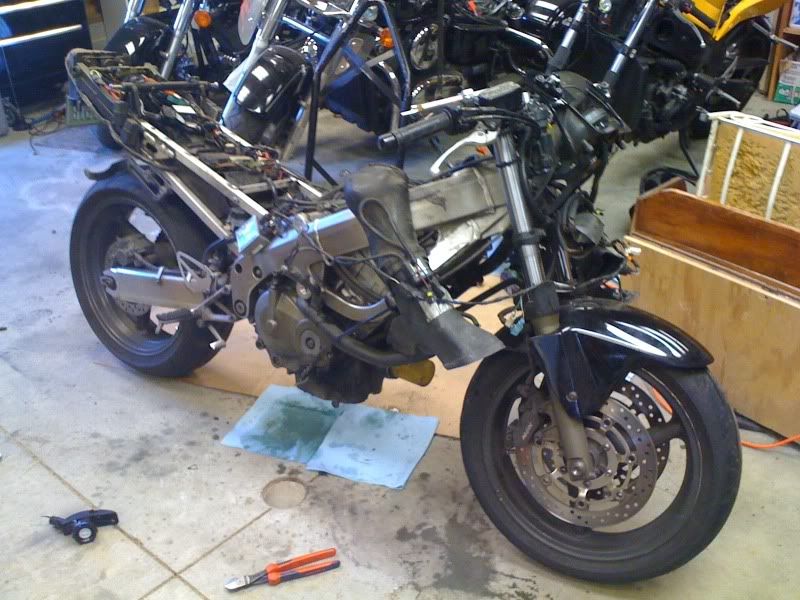
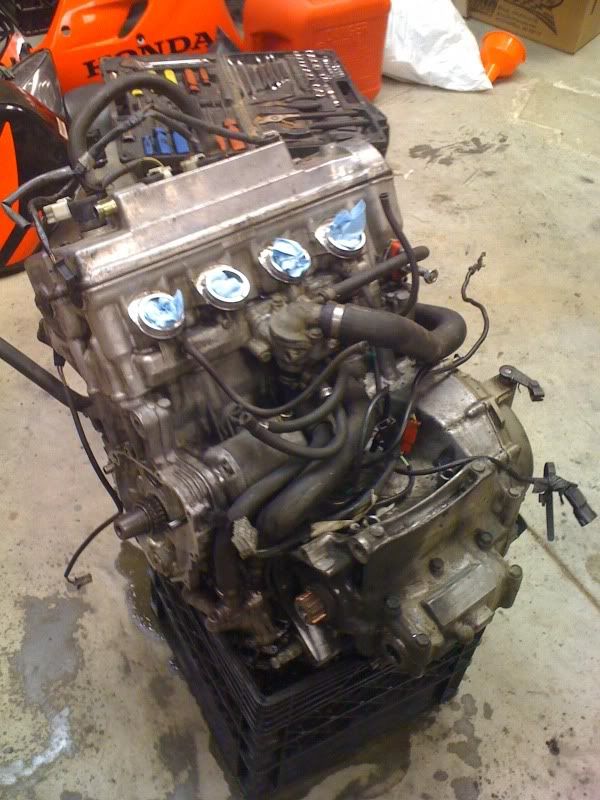
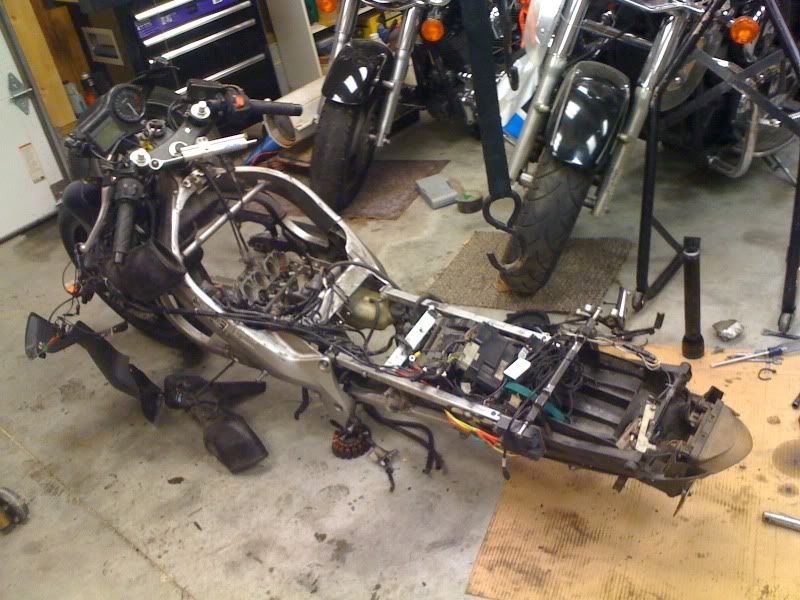
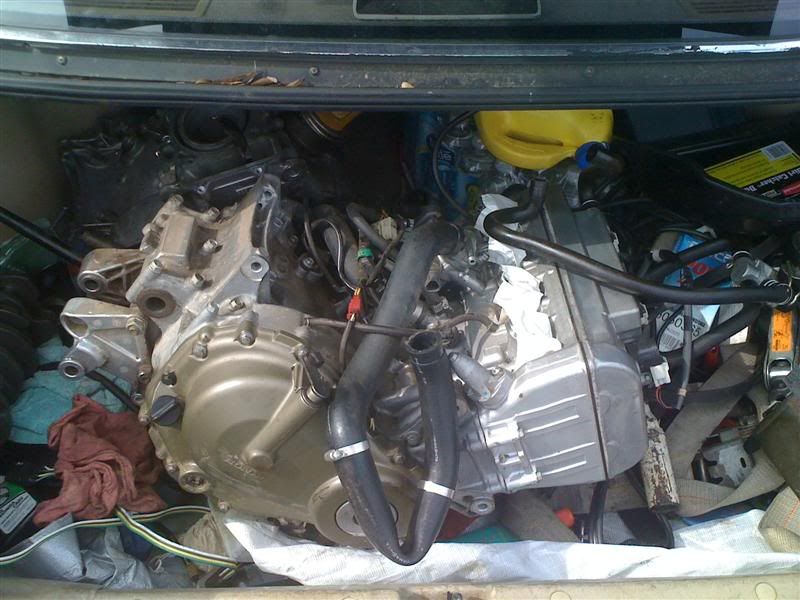
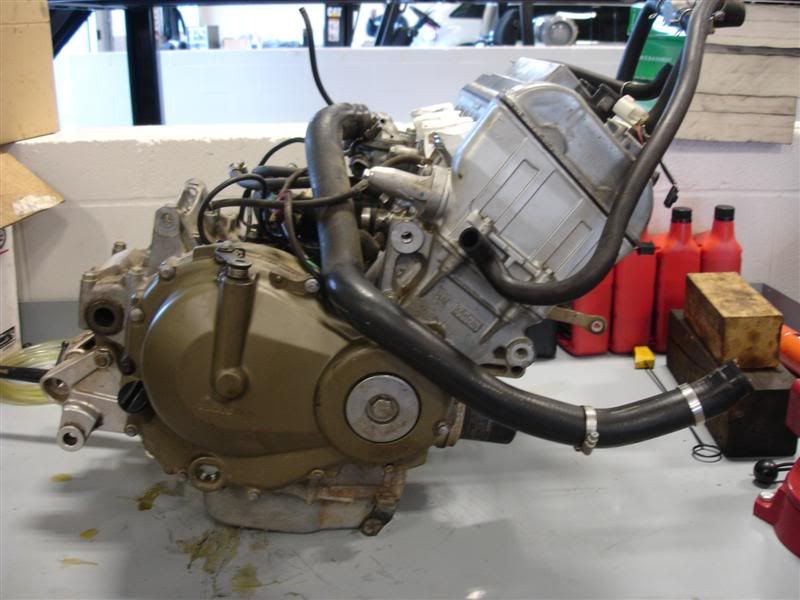
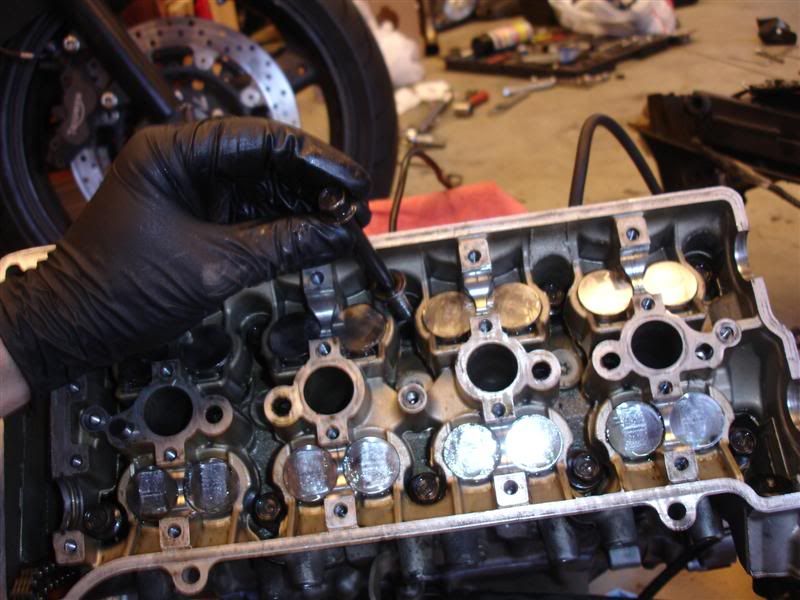
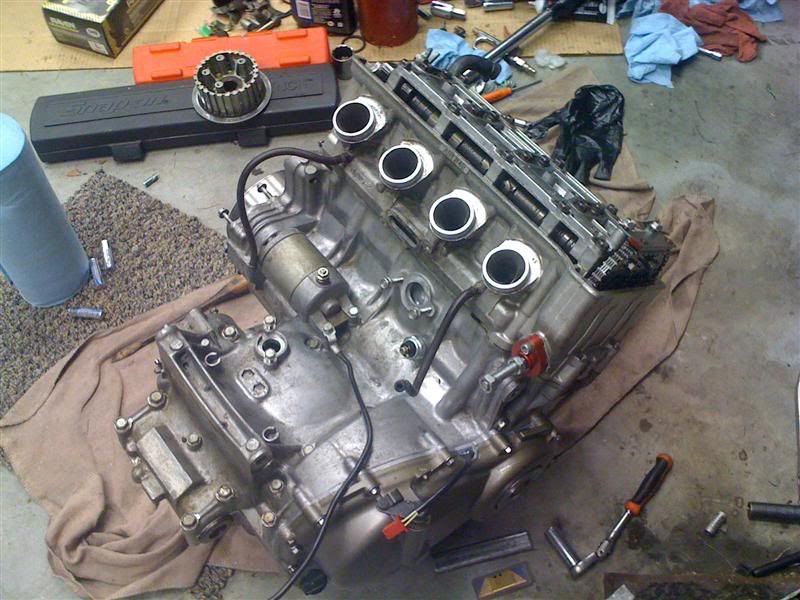
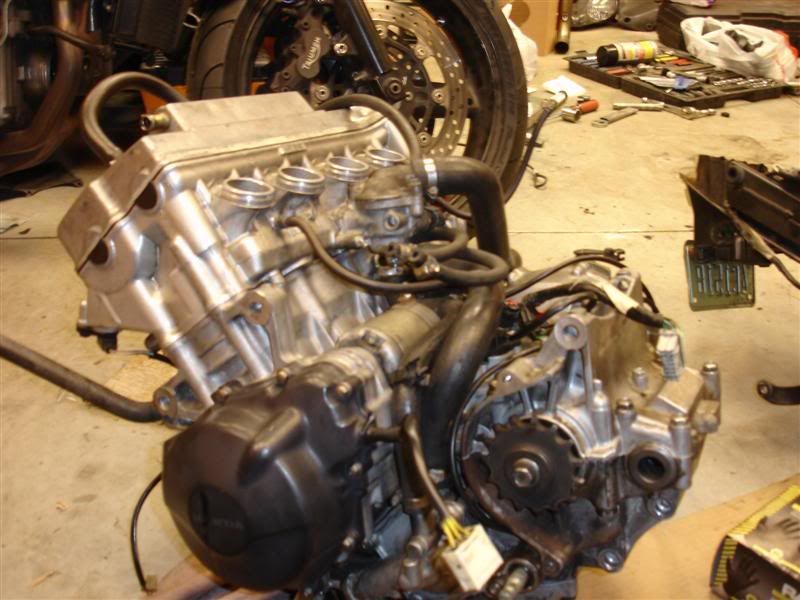
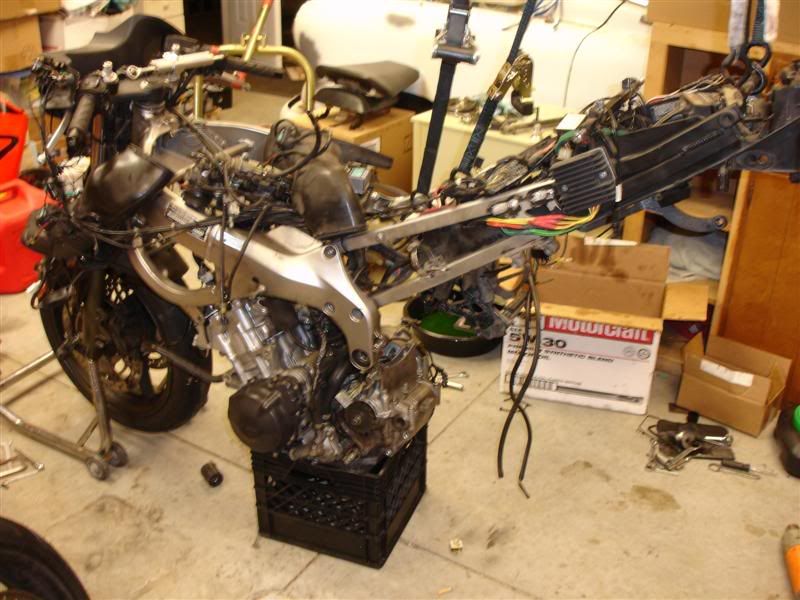
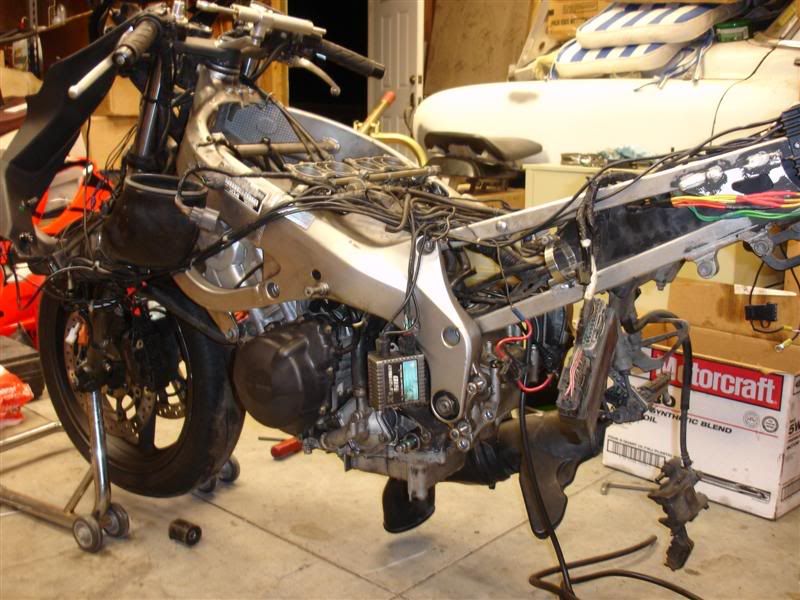
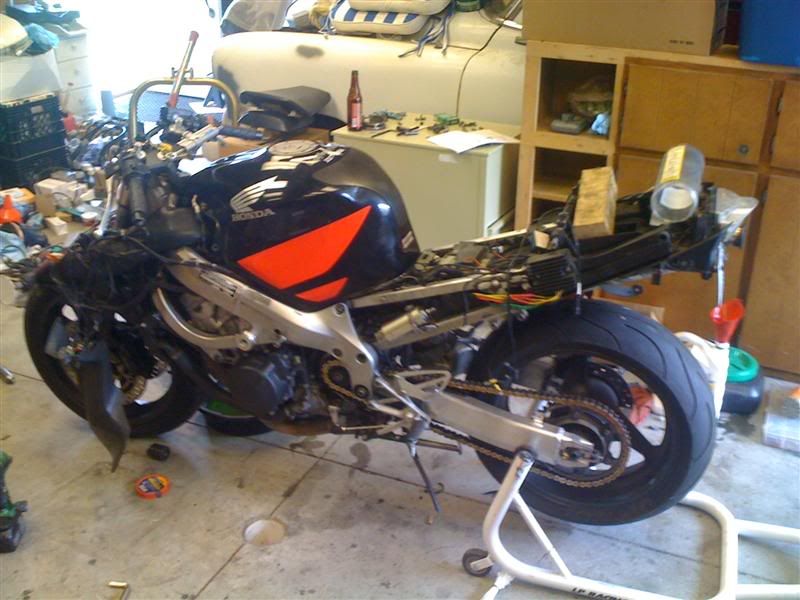
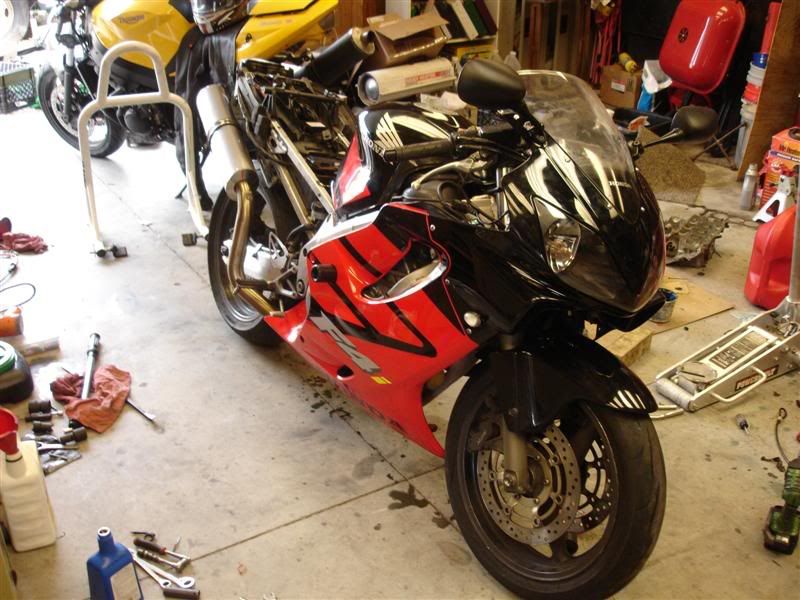
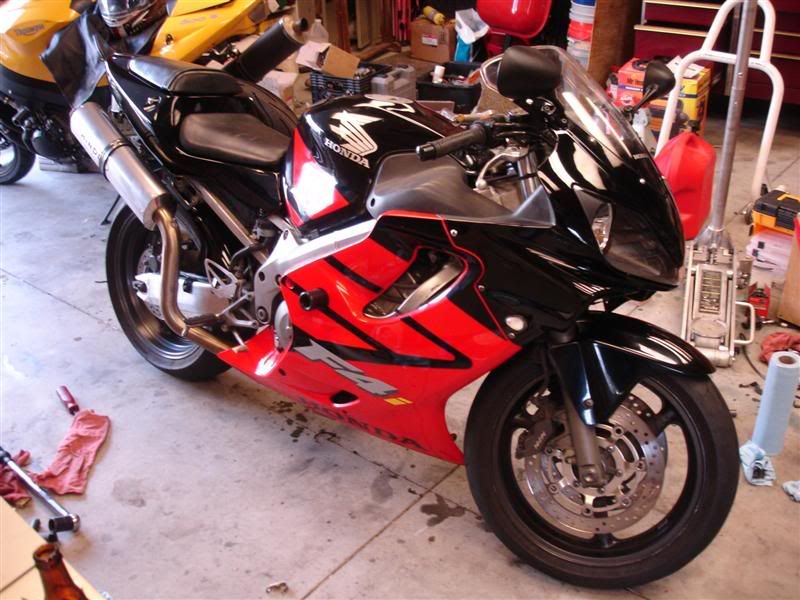
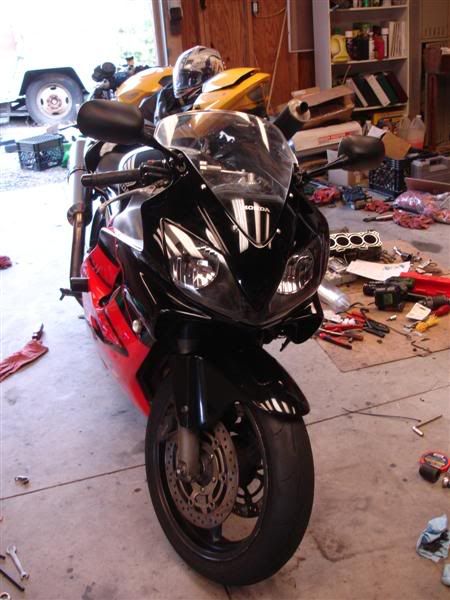
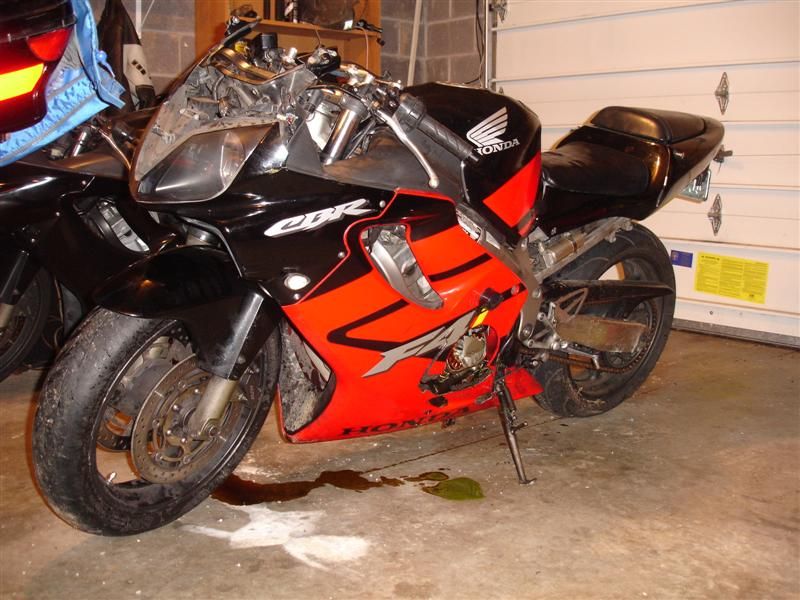
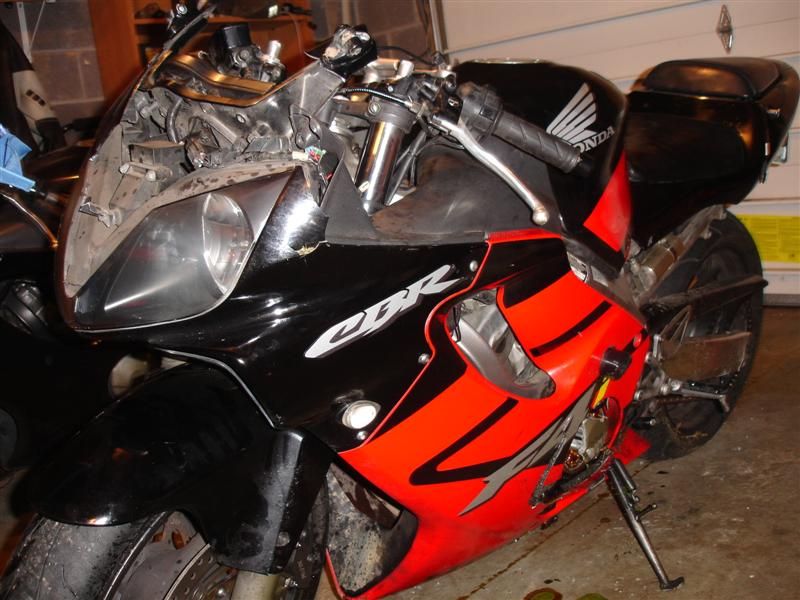
He gave me a ride home after work and we unloaded the bike into the garage. I was able to get a little better analysis of the damages
![Image]()
![Image]()
![Image]()
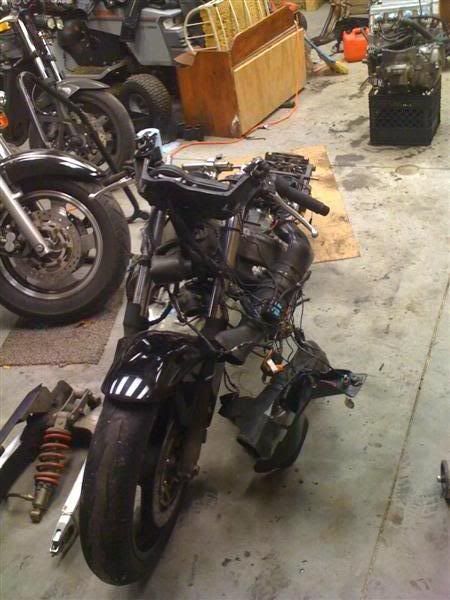
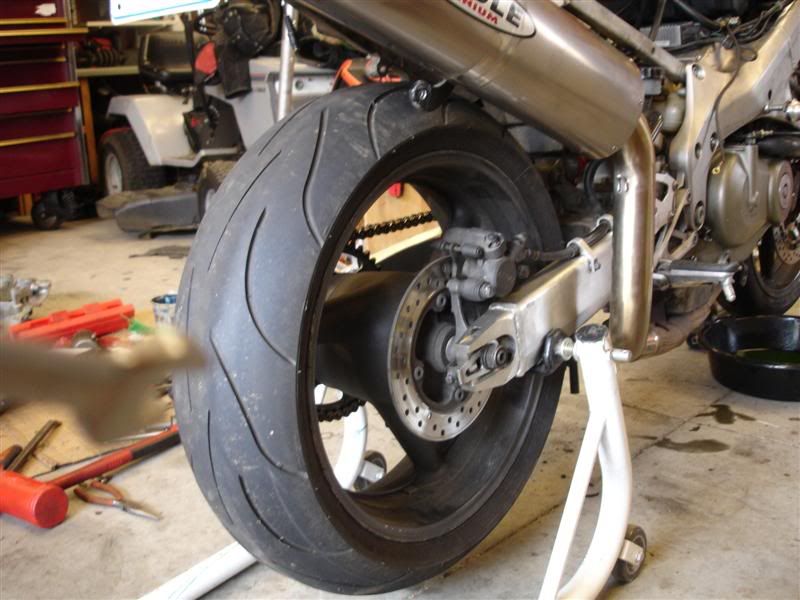
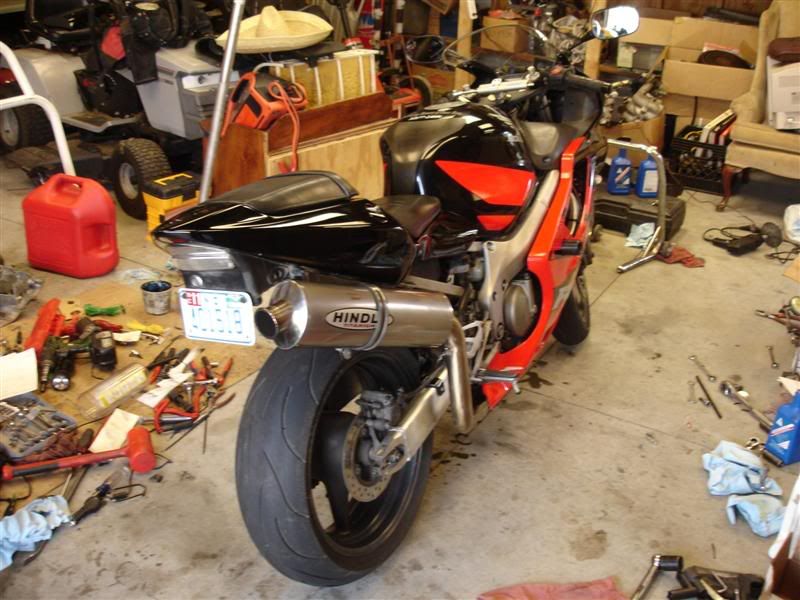
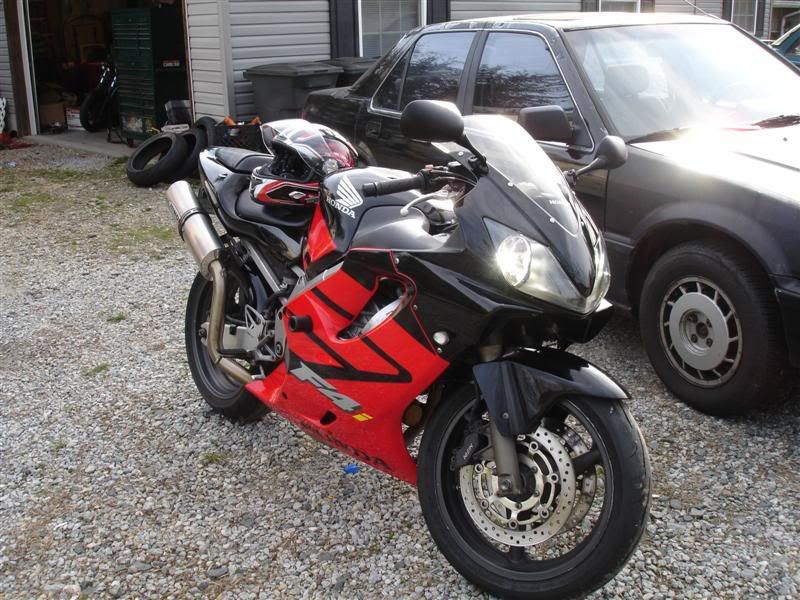
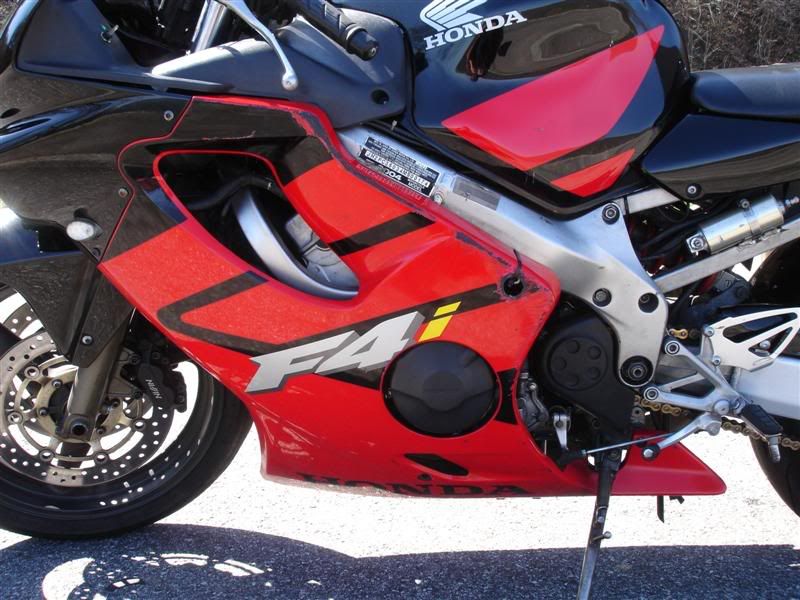
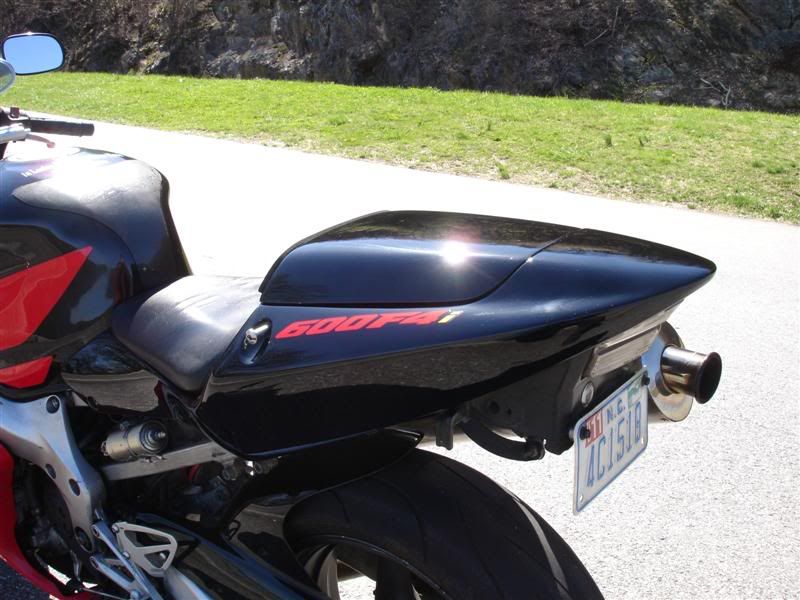
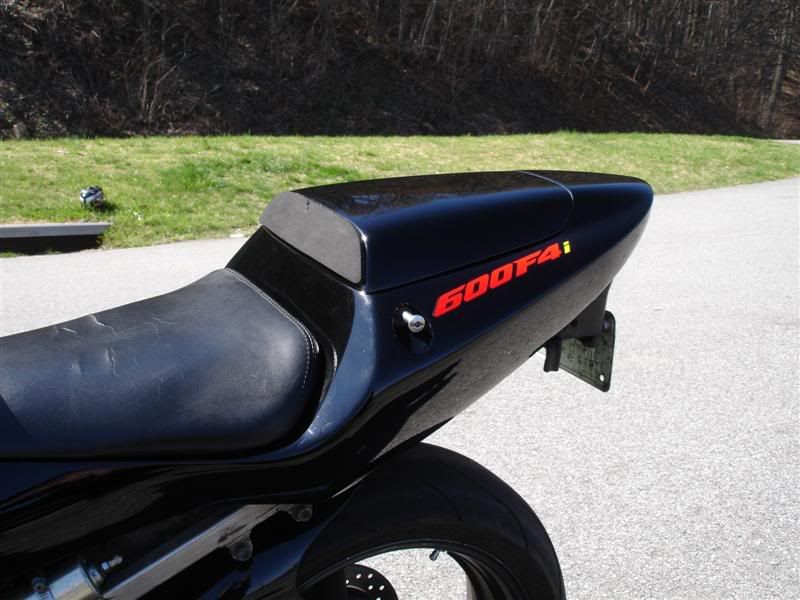
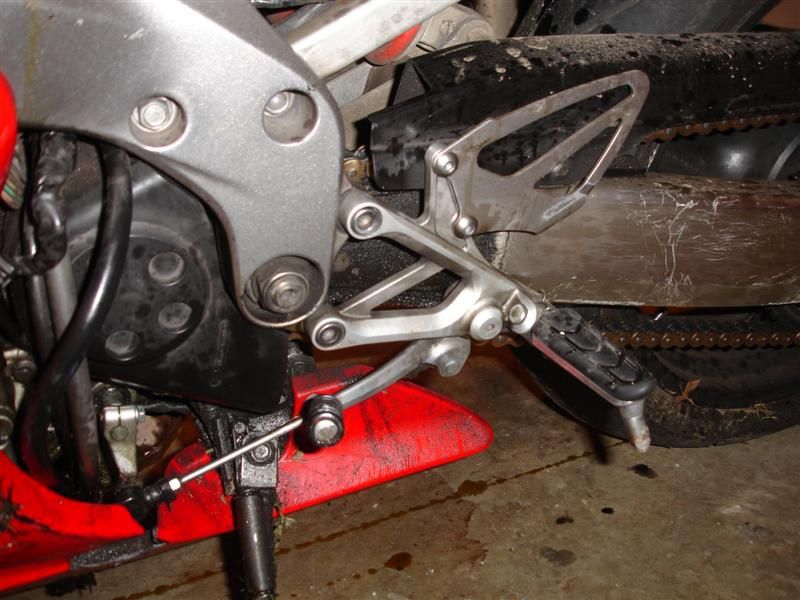
Right side didn't really get much at all
![Image]()
![Image]()
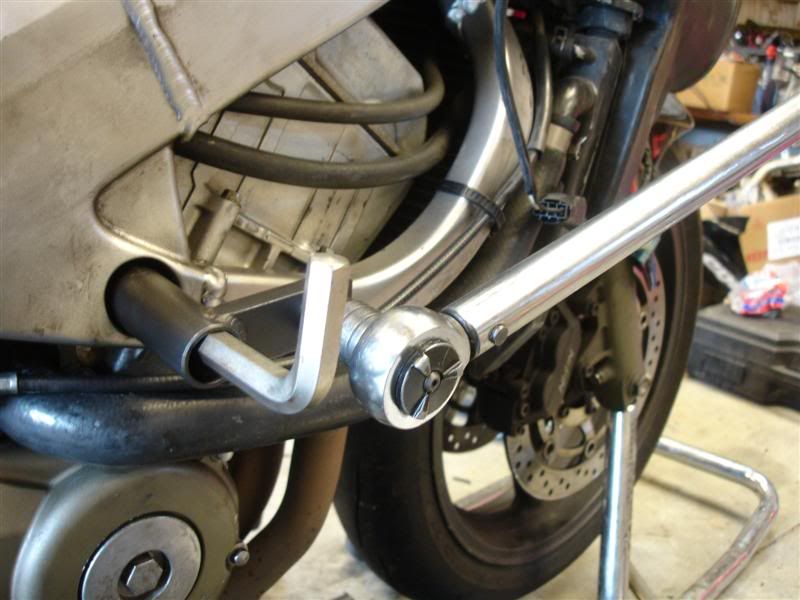
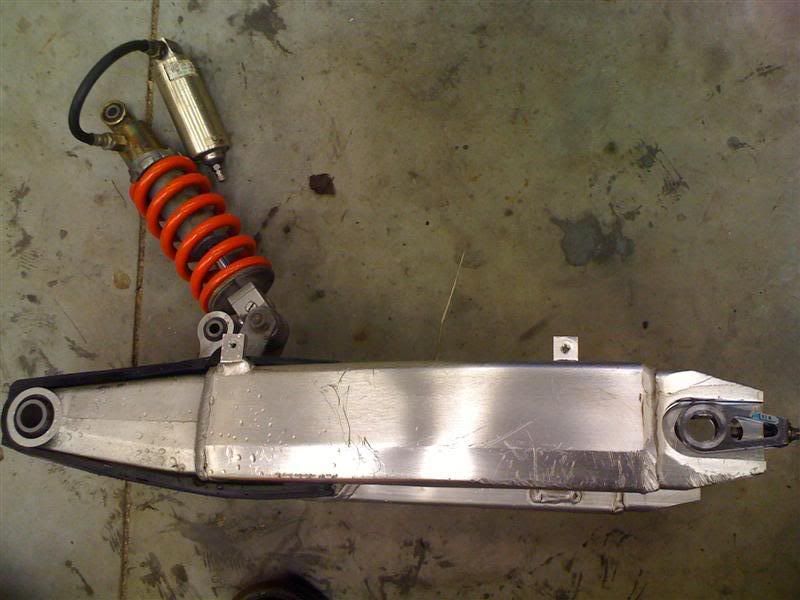
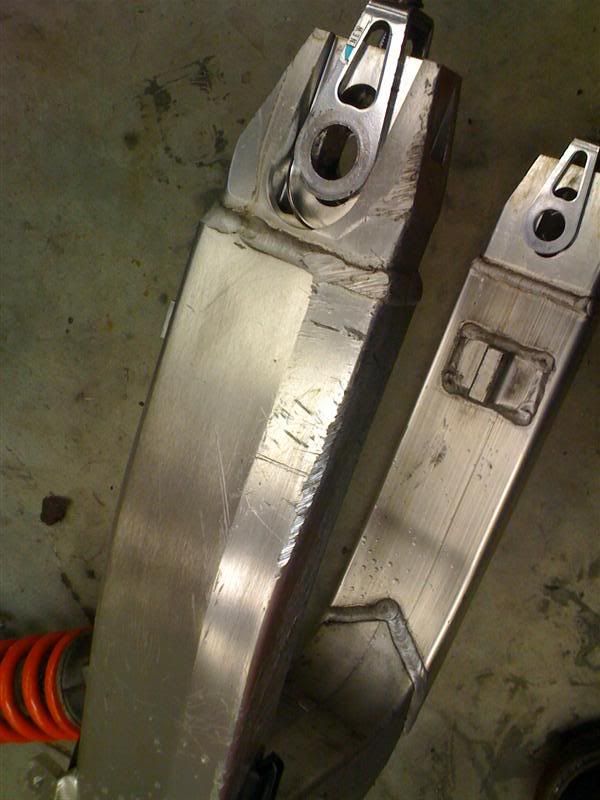
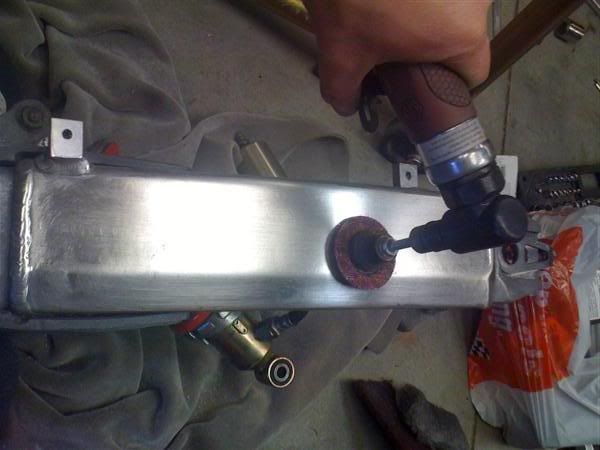
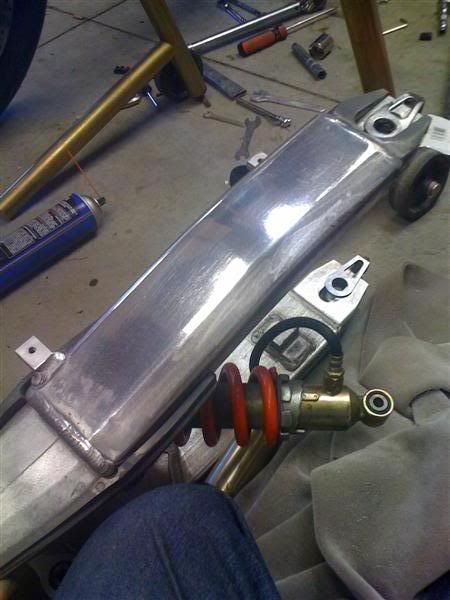
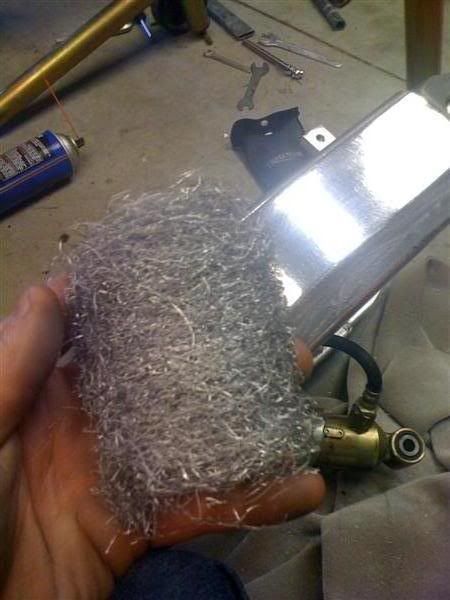
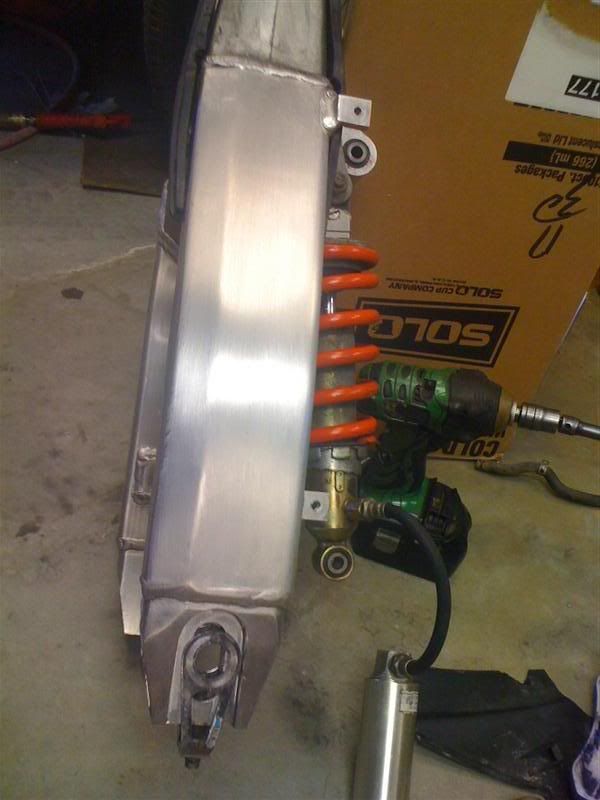
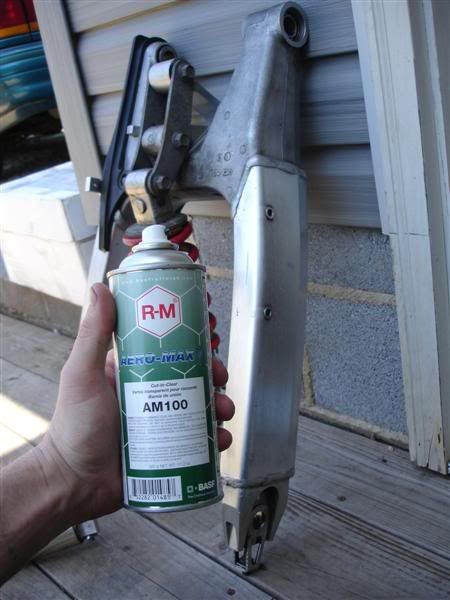
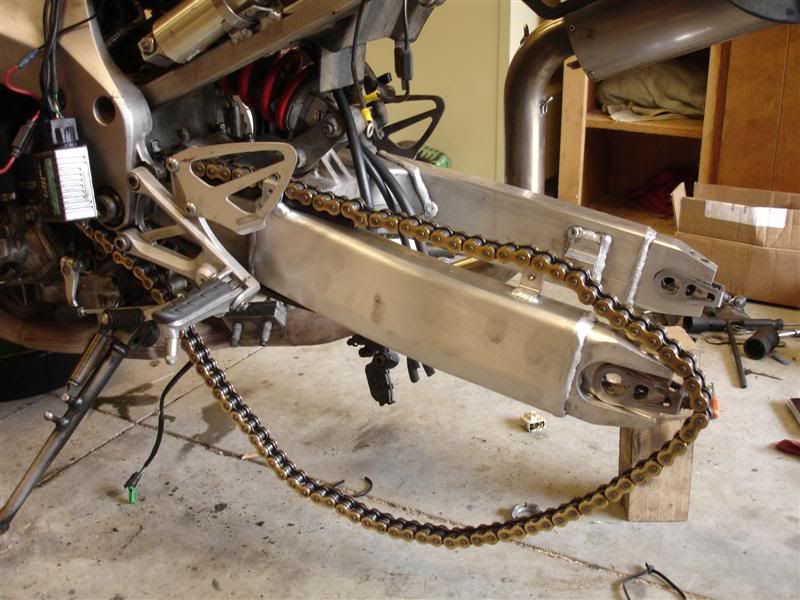
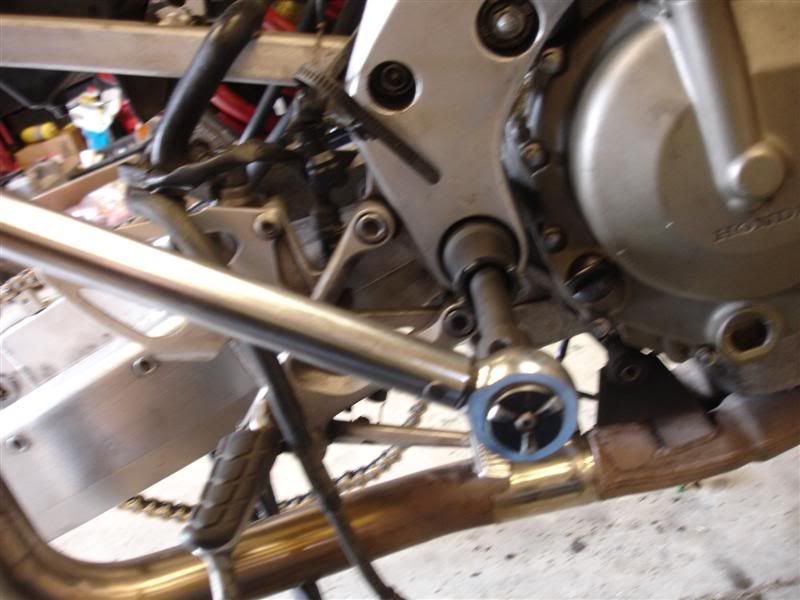
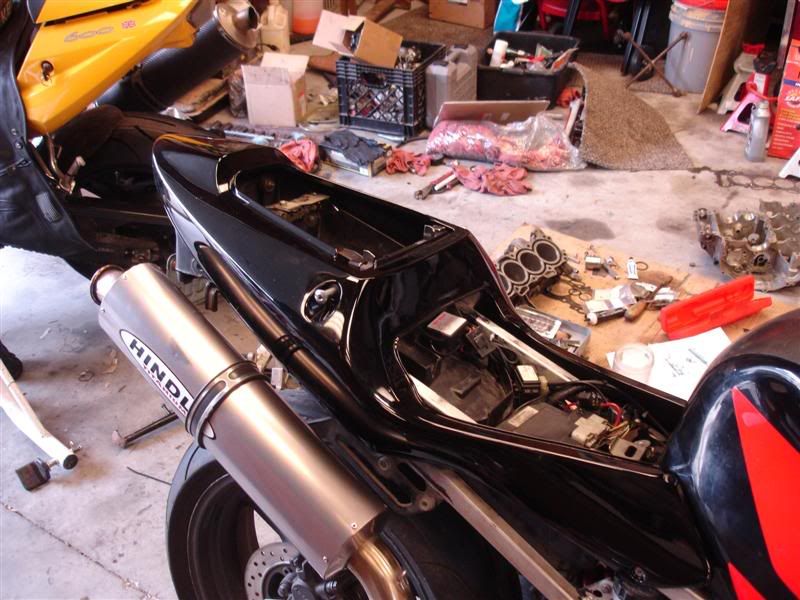
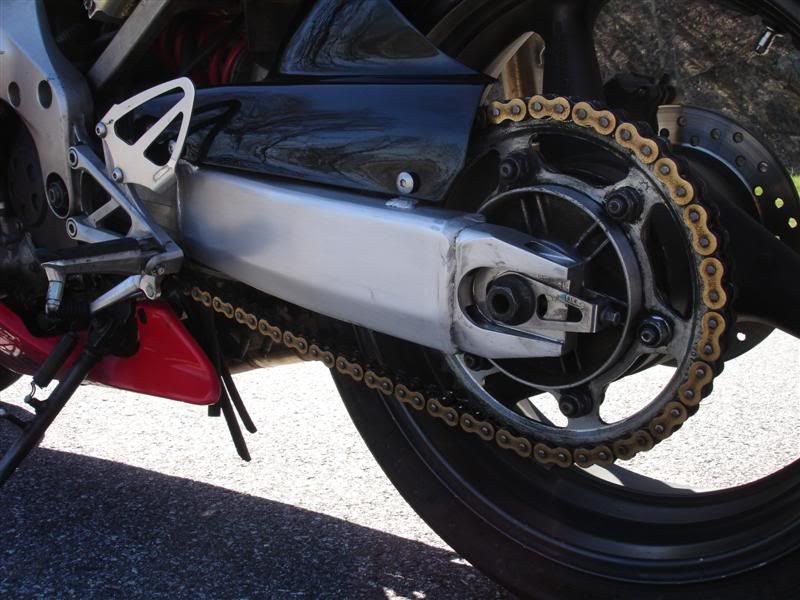
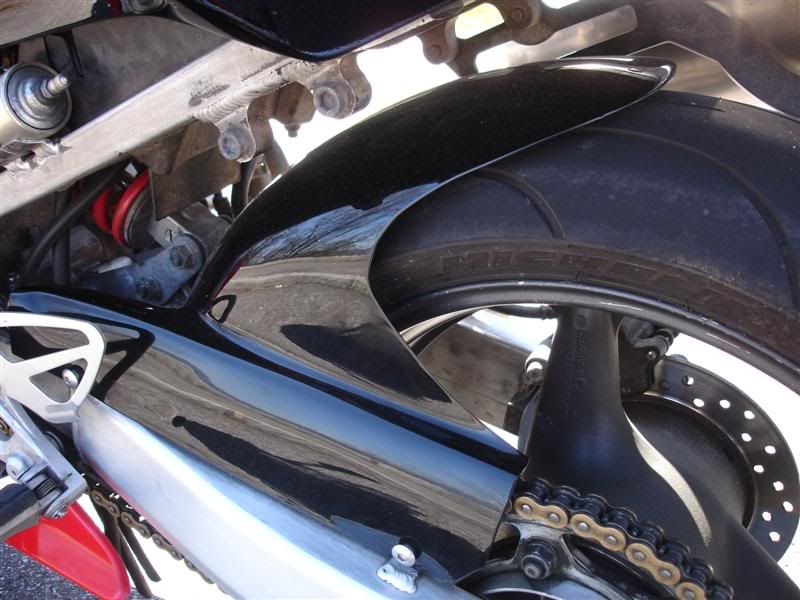
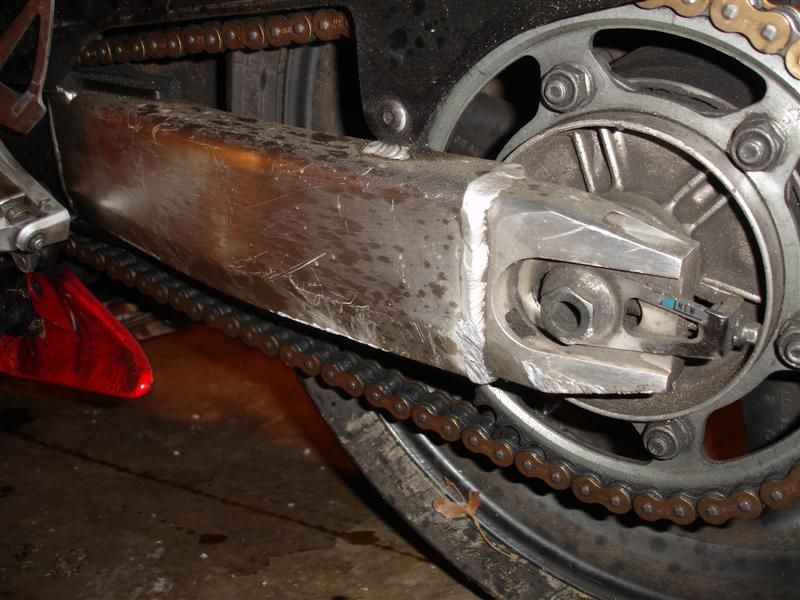
Swingarm got gouged up pretty good
![Image]()
![Image]()
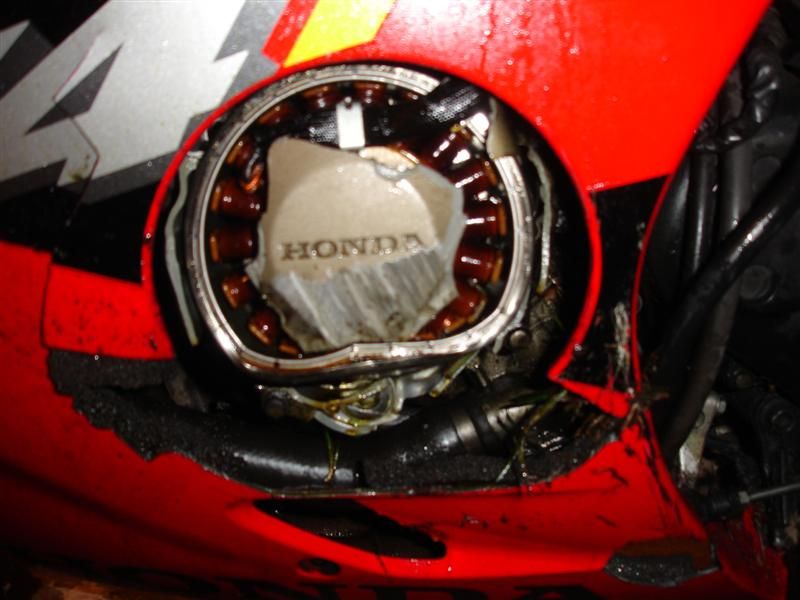
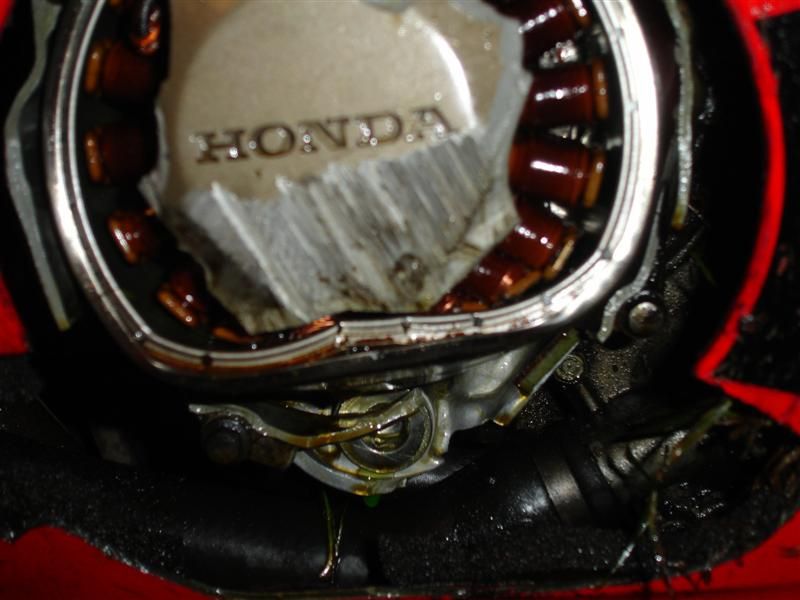
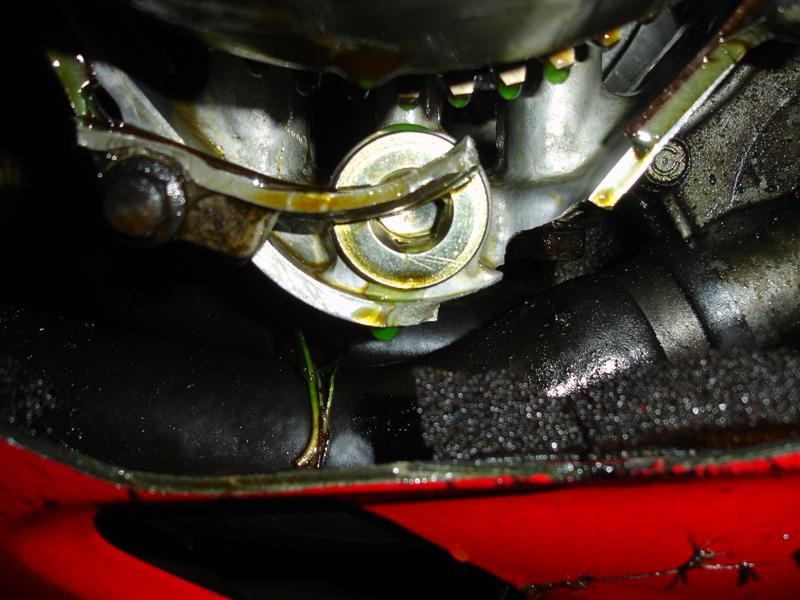
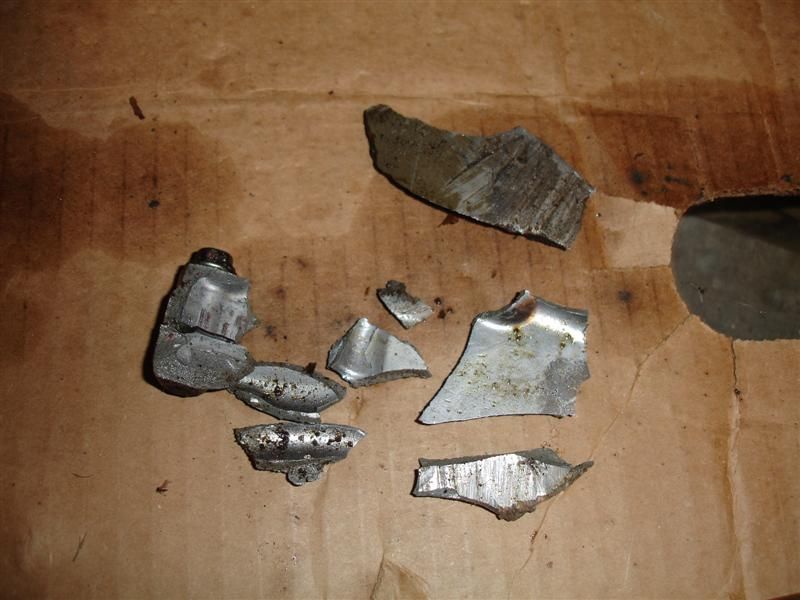
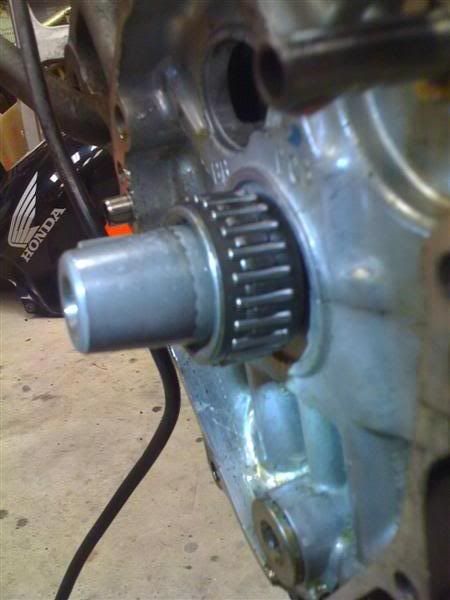
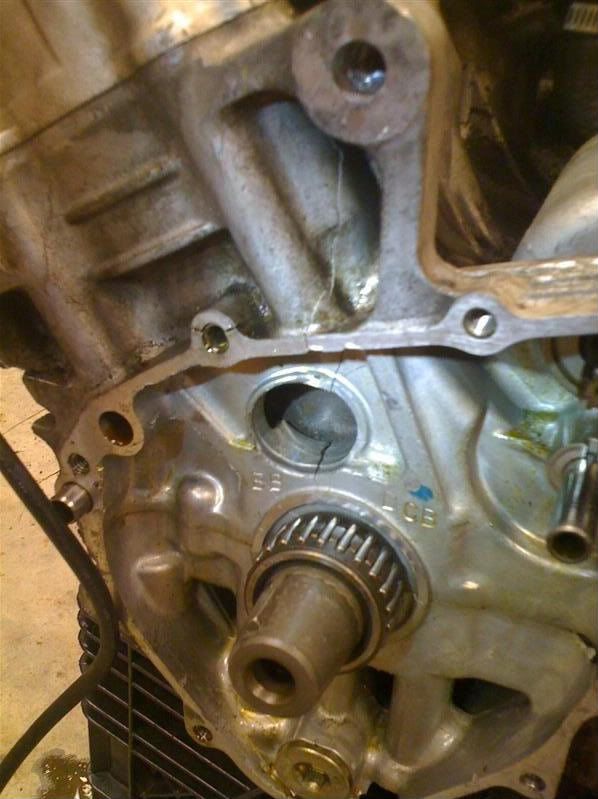
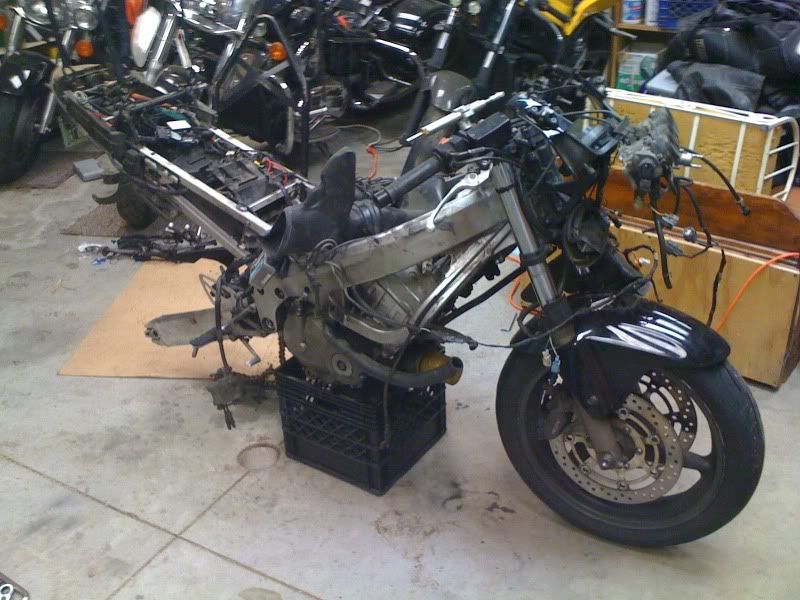
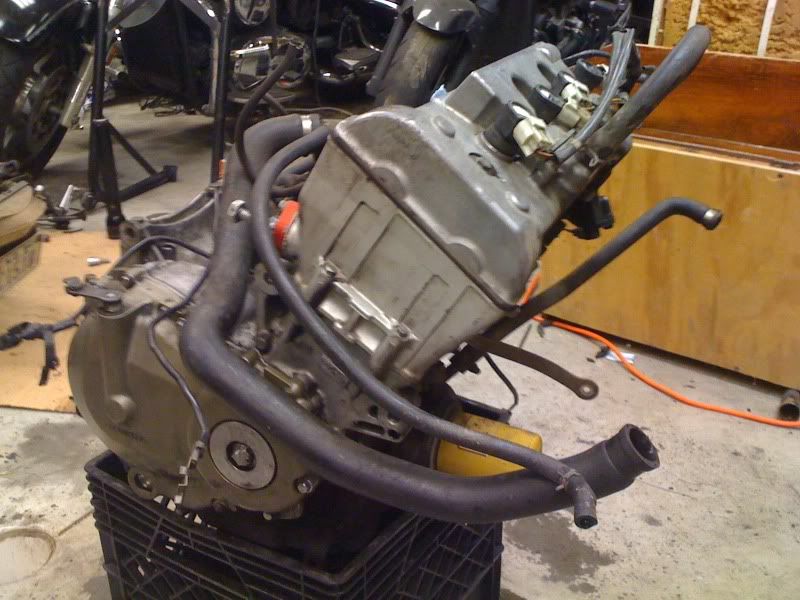
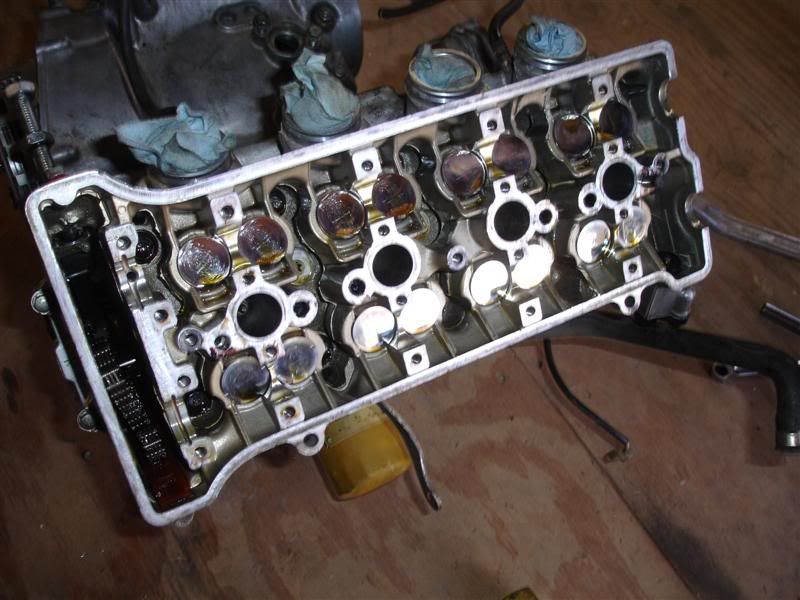
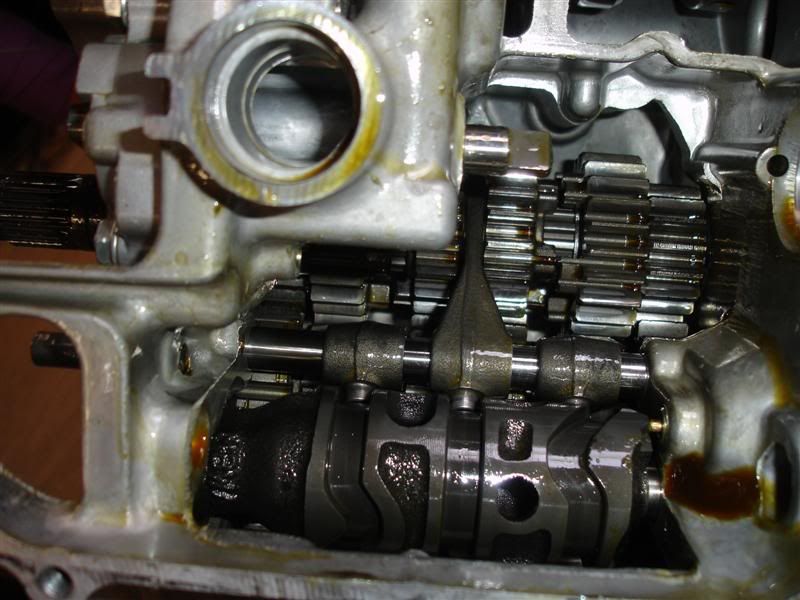
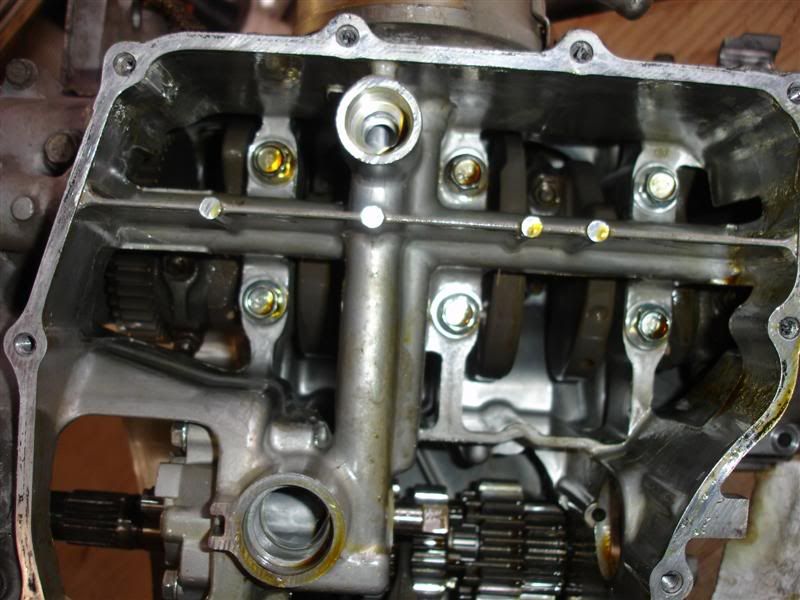
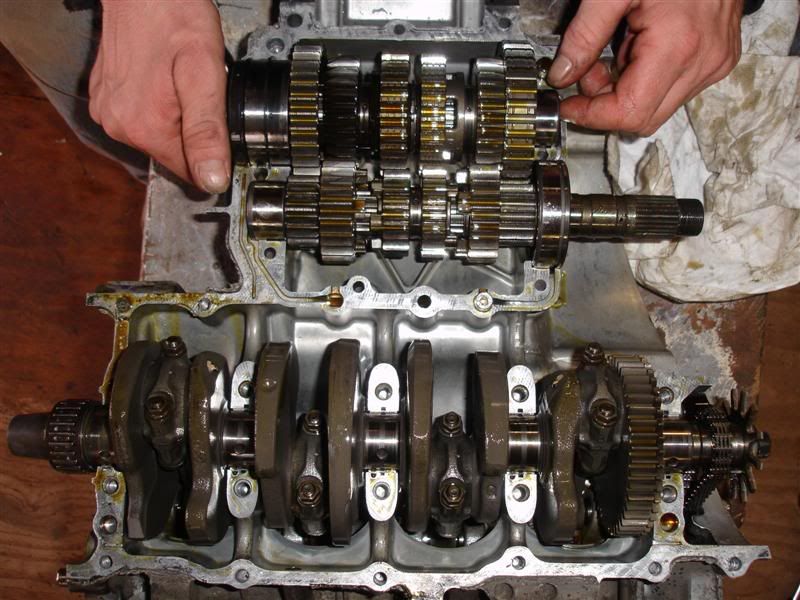
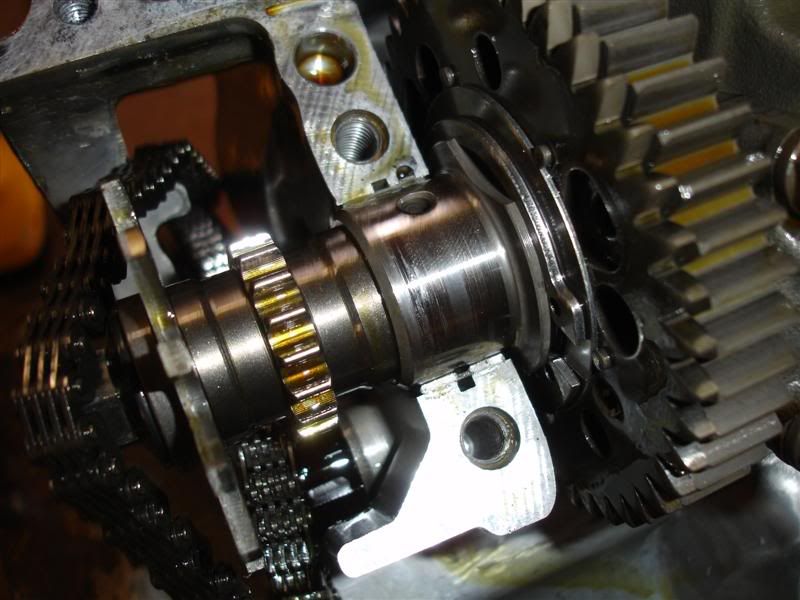
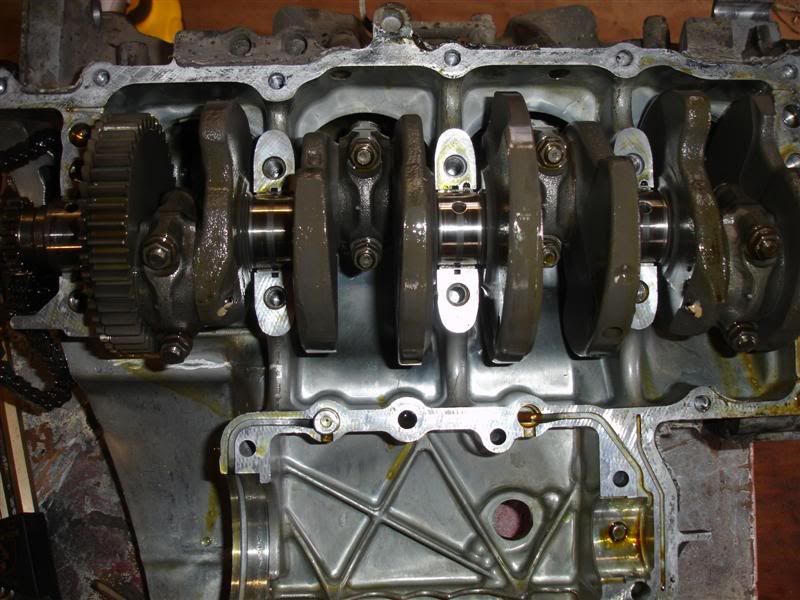
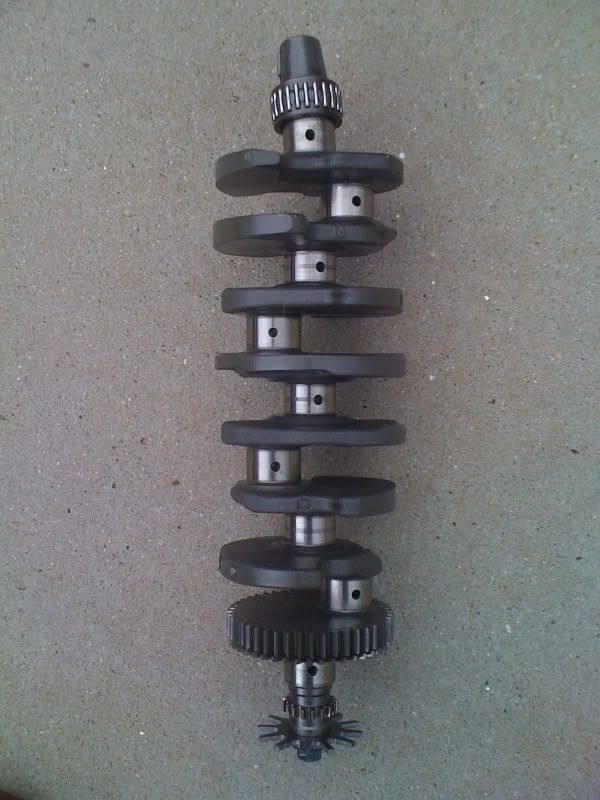
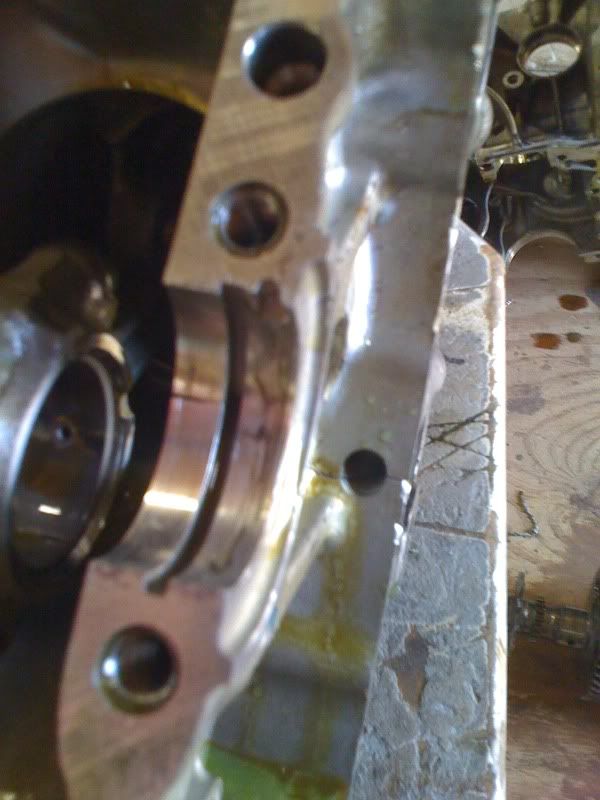
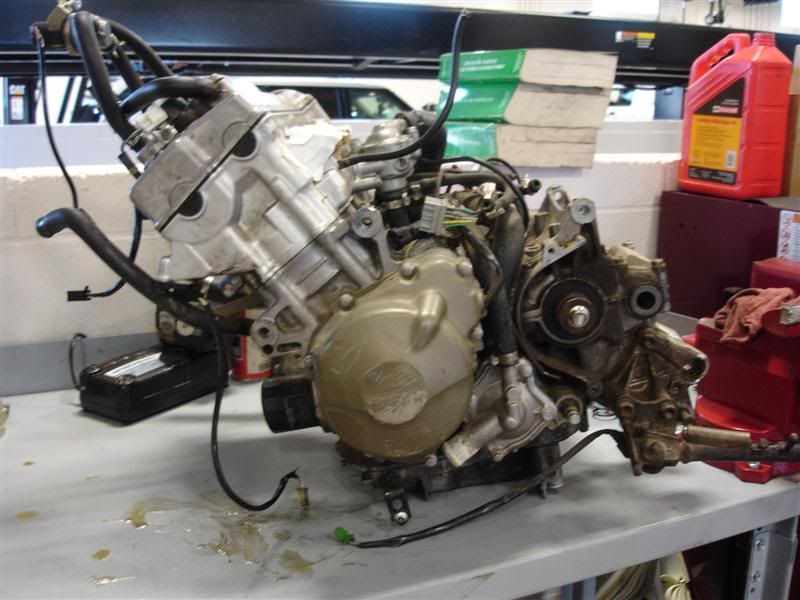
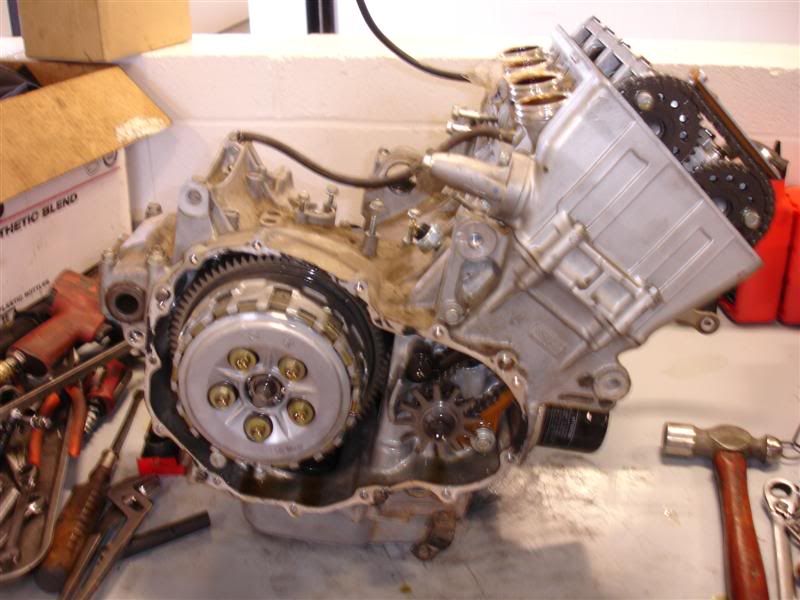
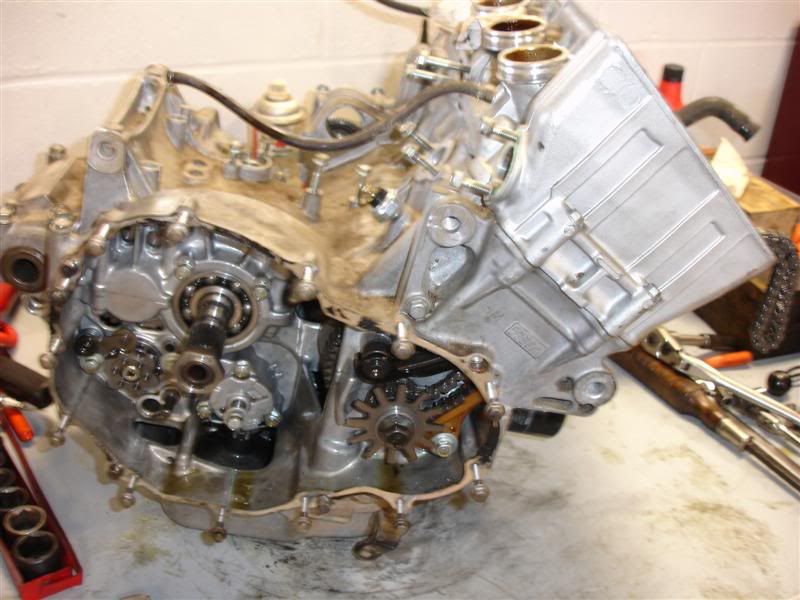
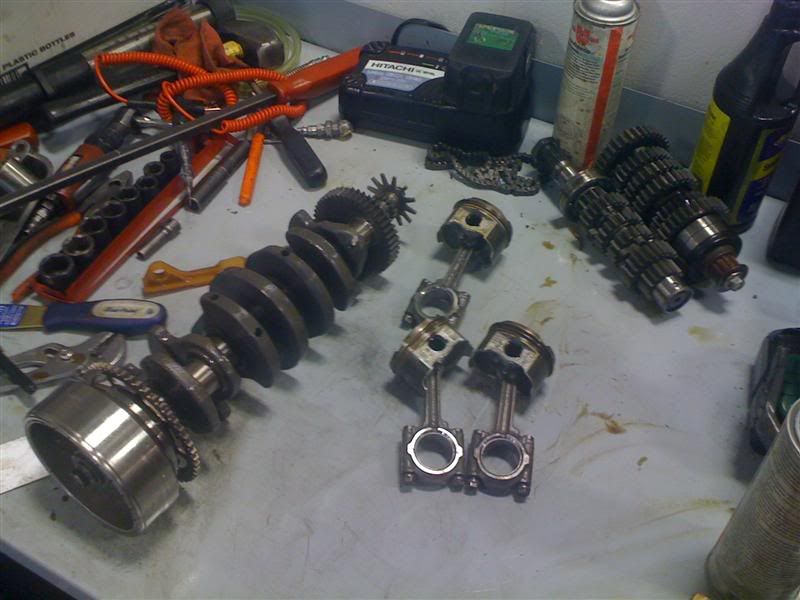
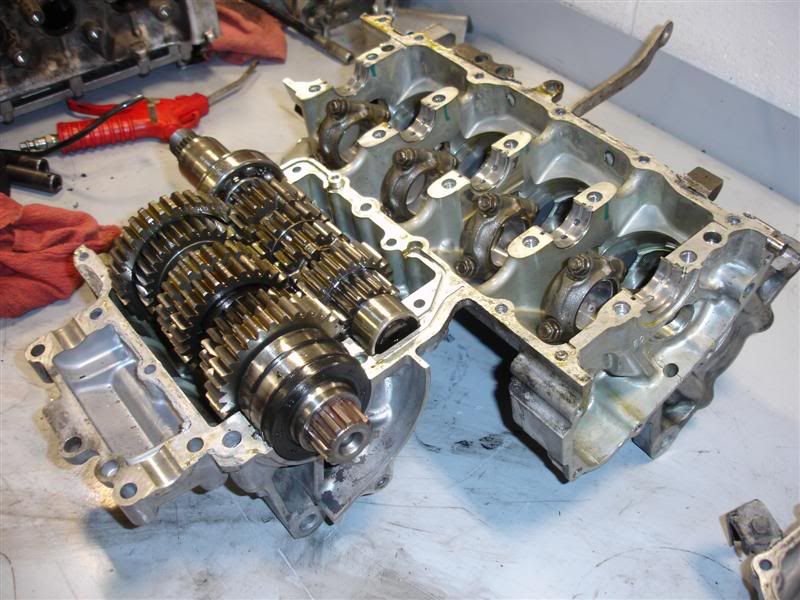
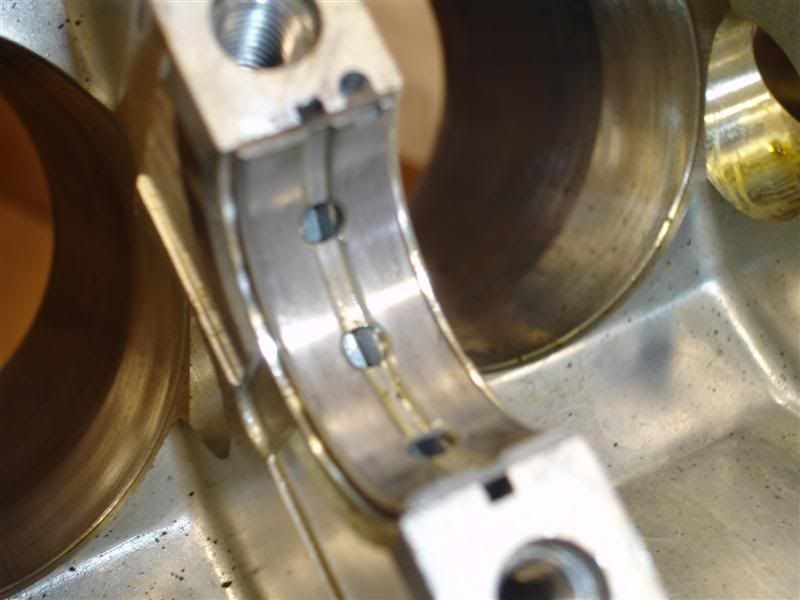
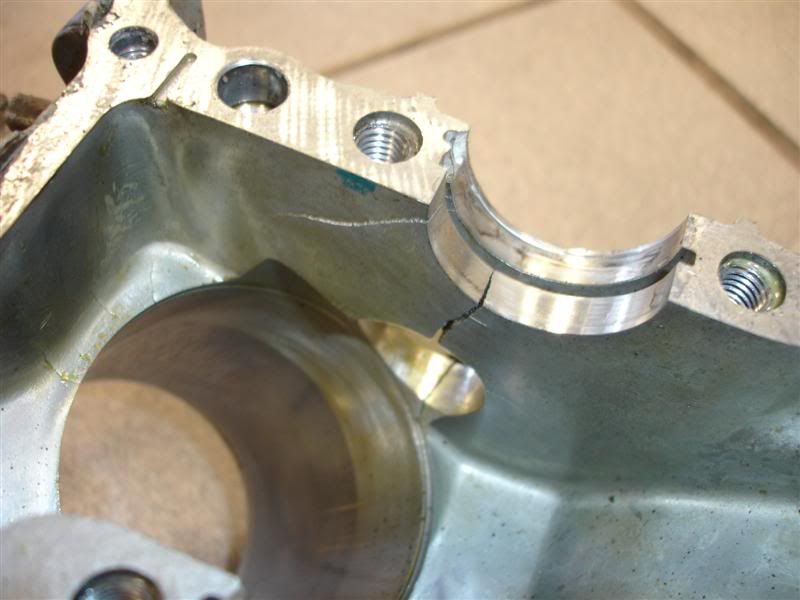
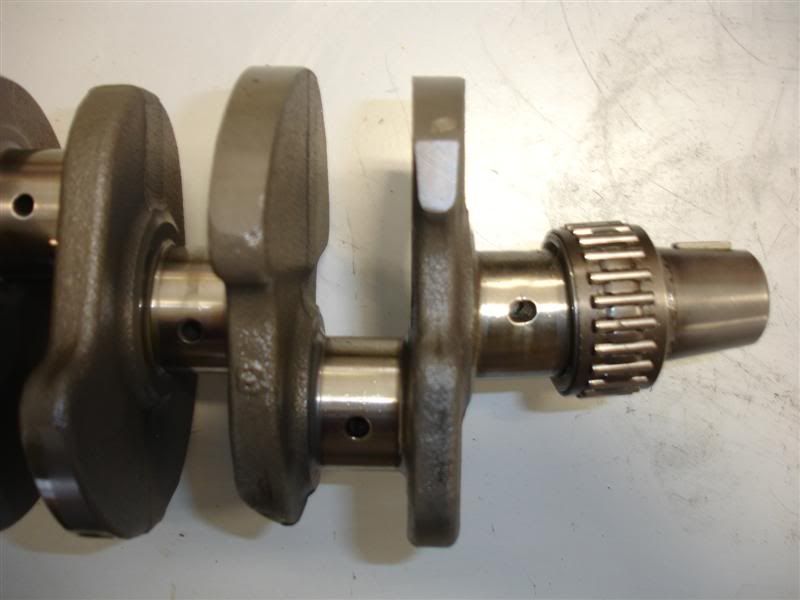
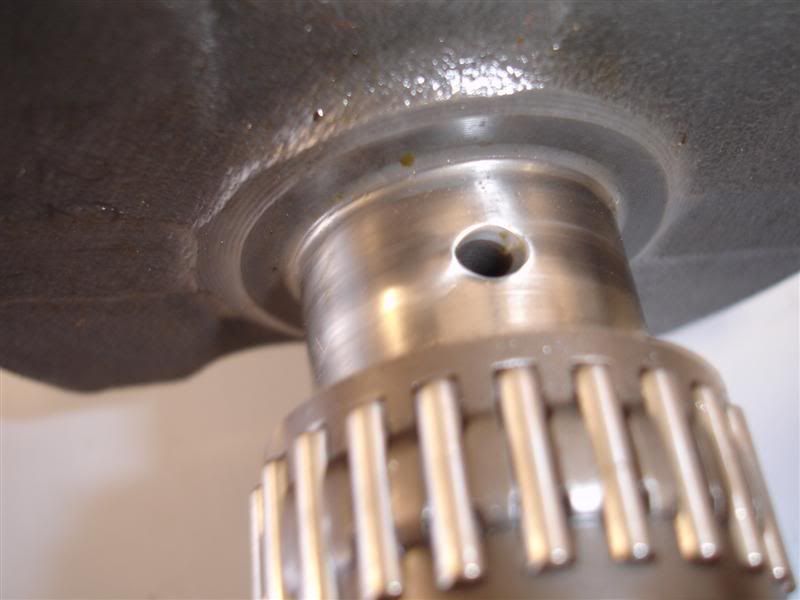
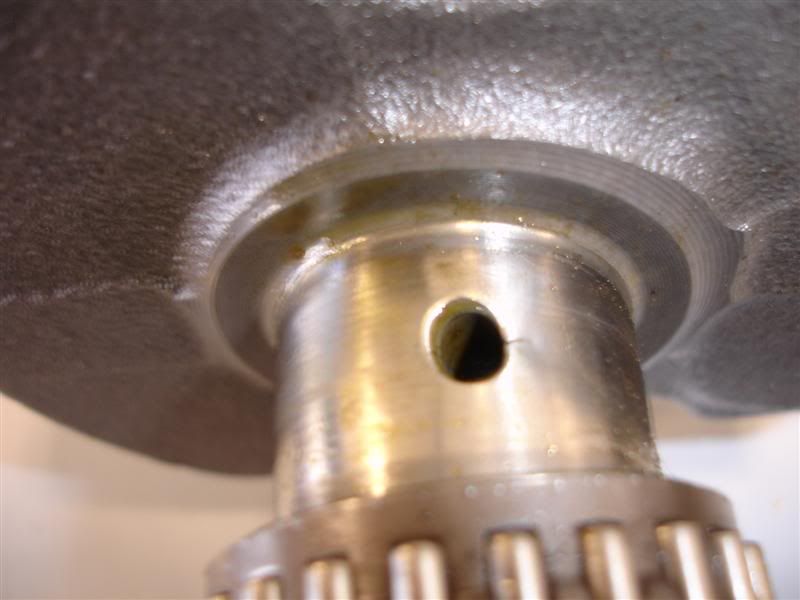
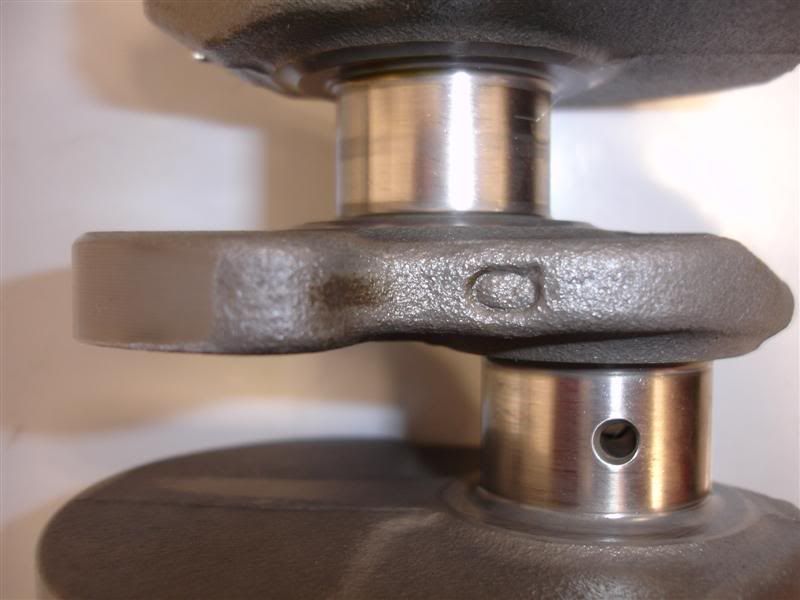
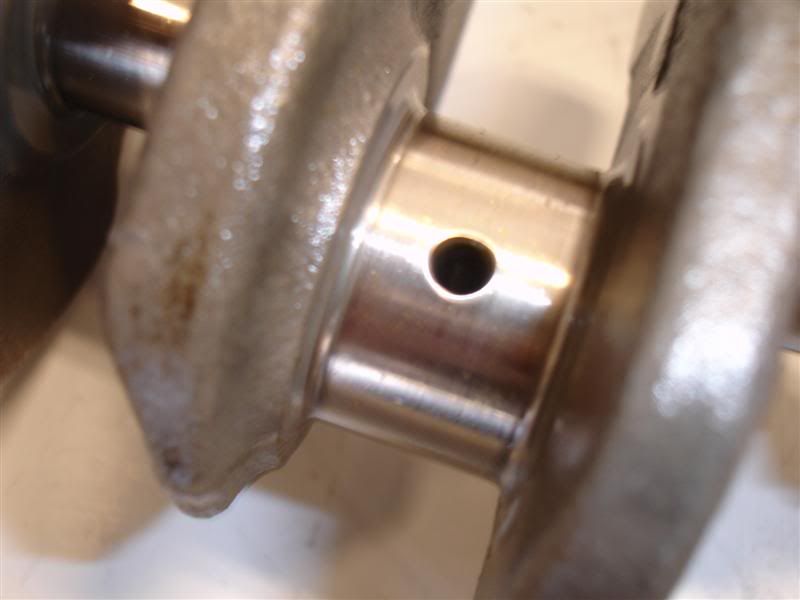
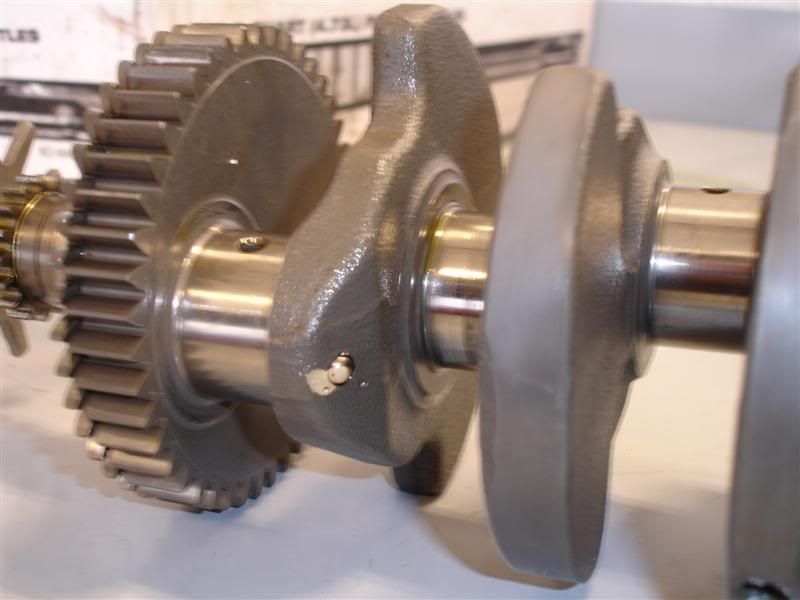
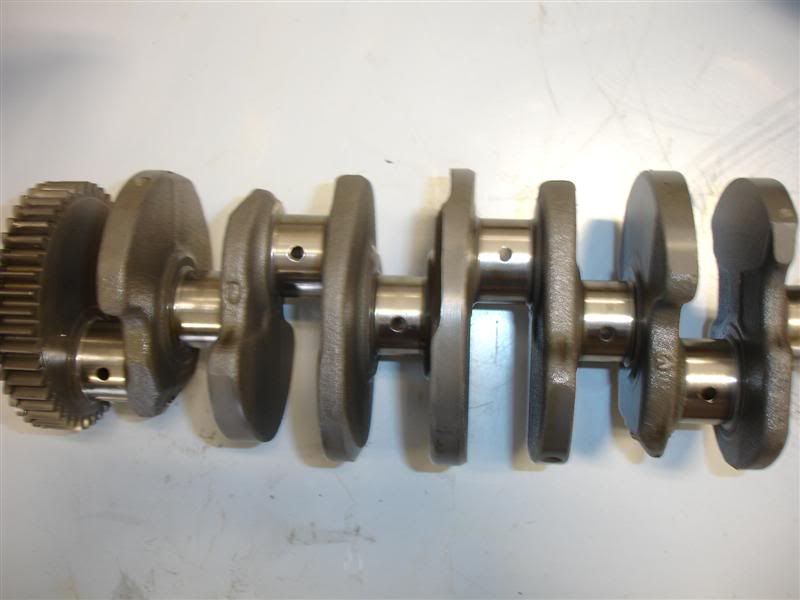
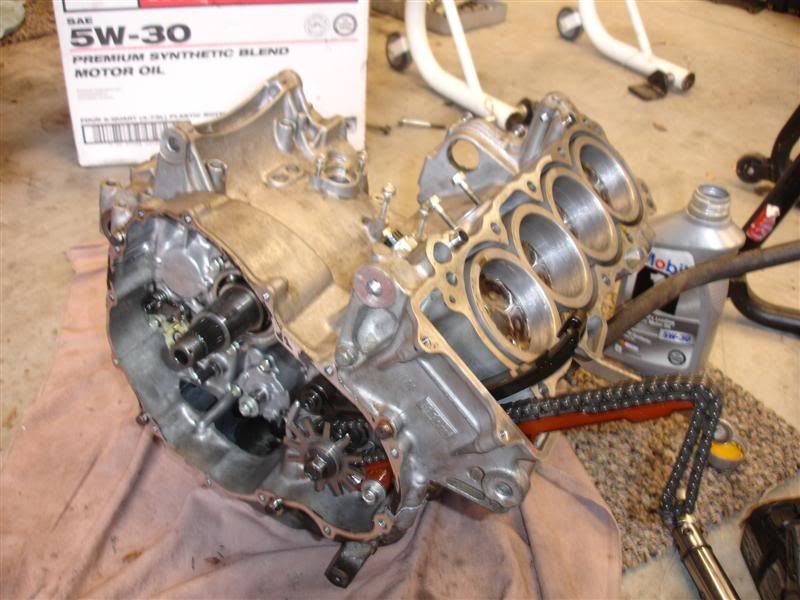
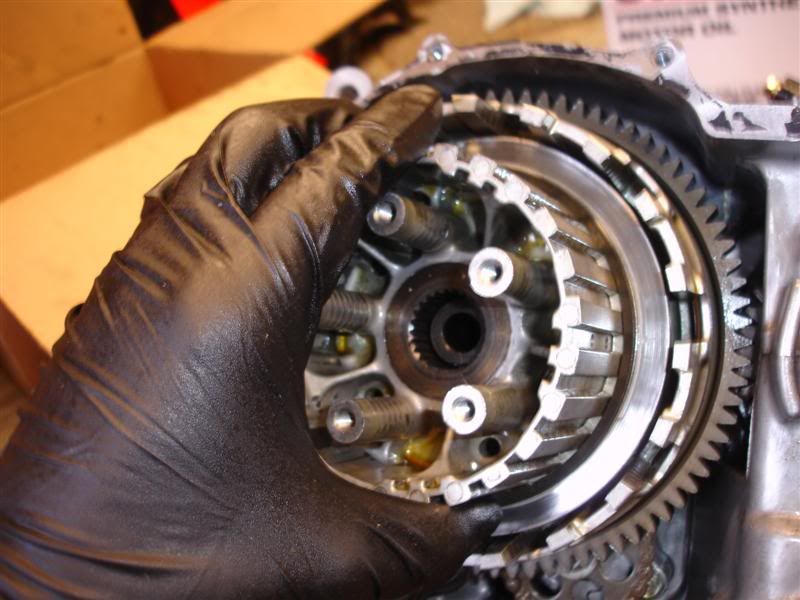
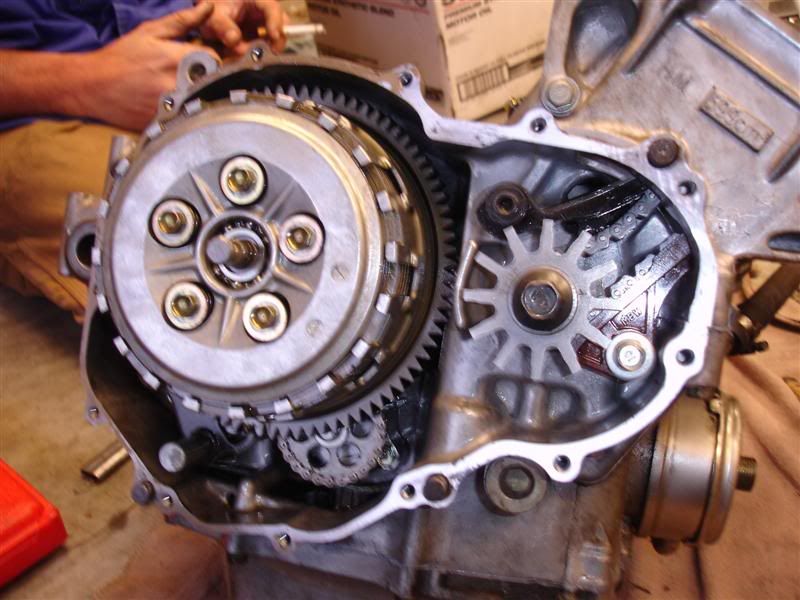
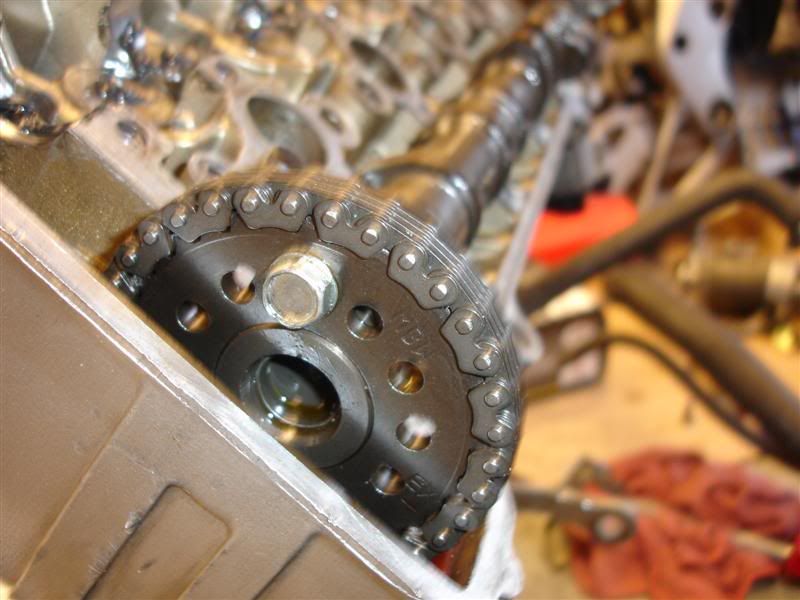
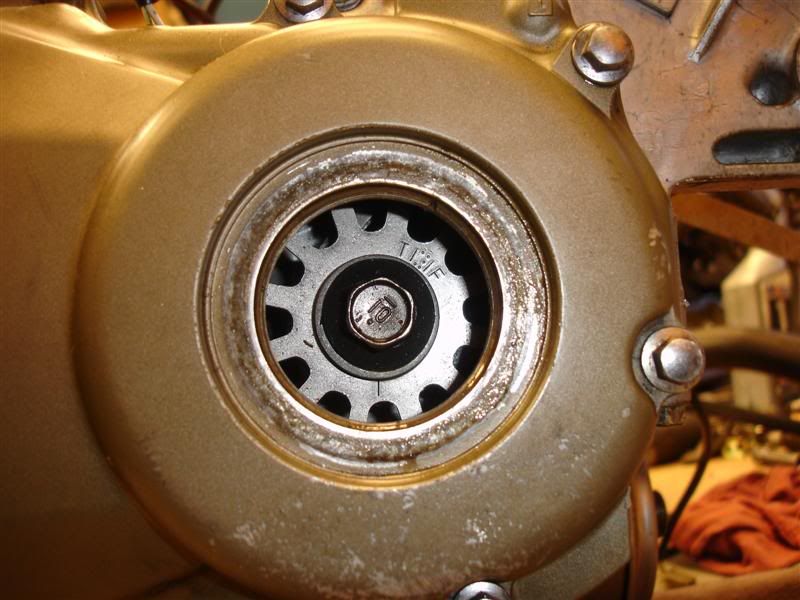
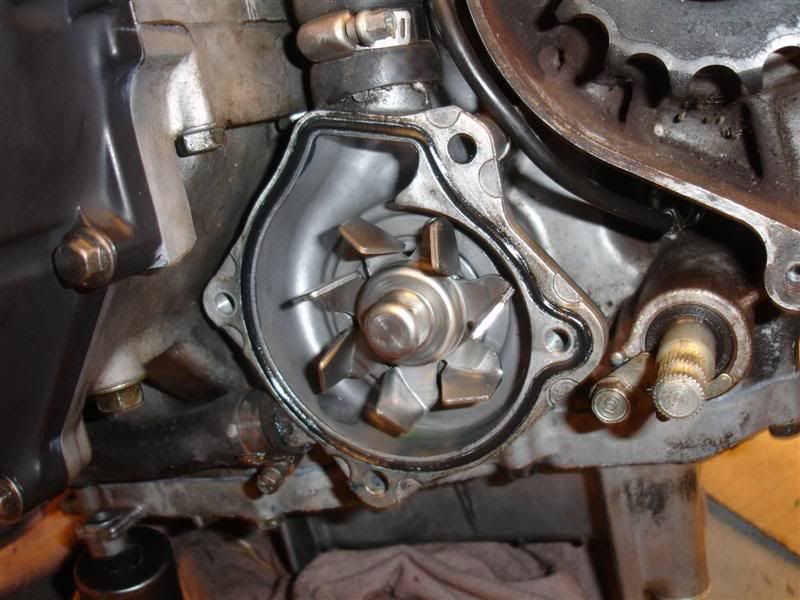
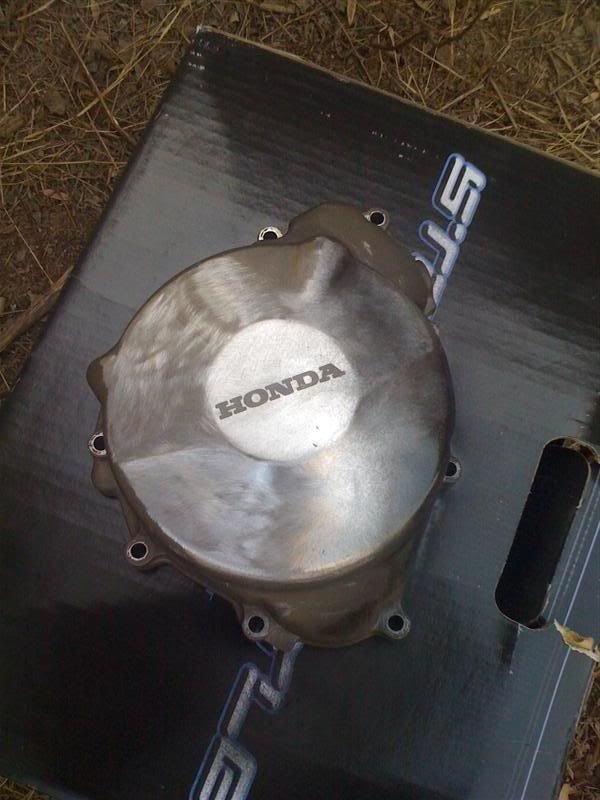
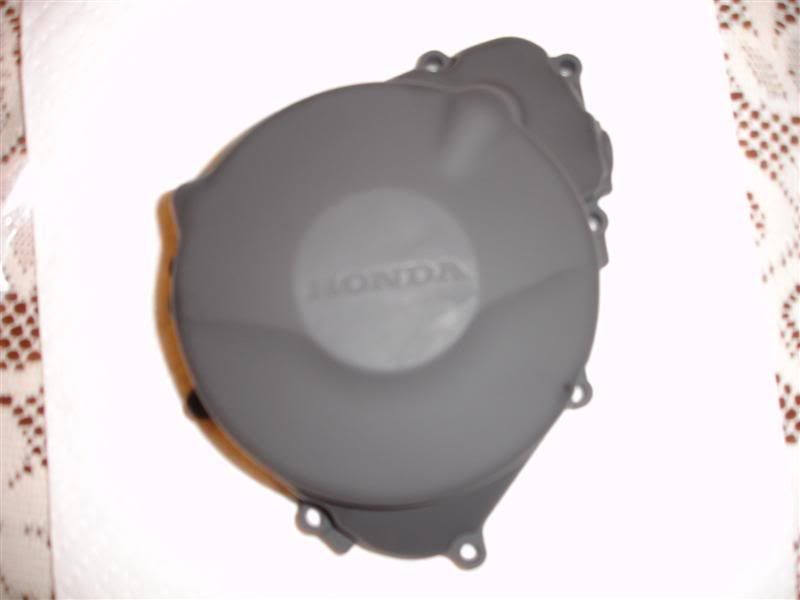
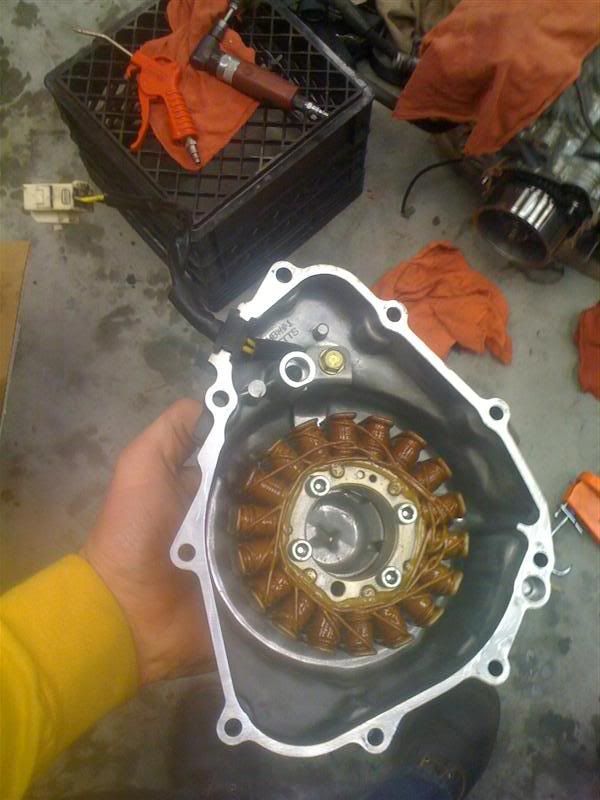
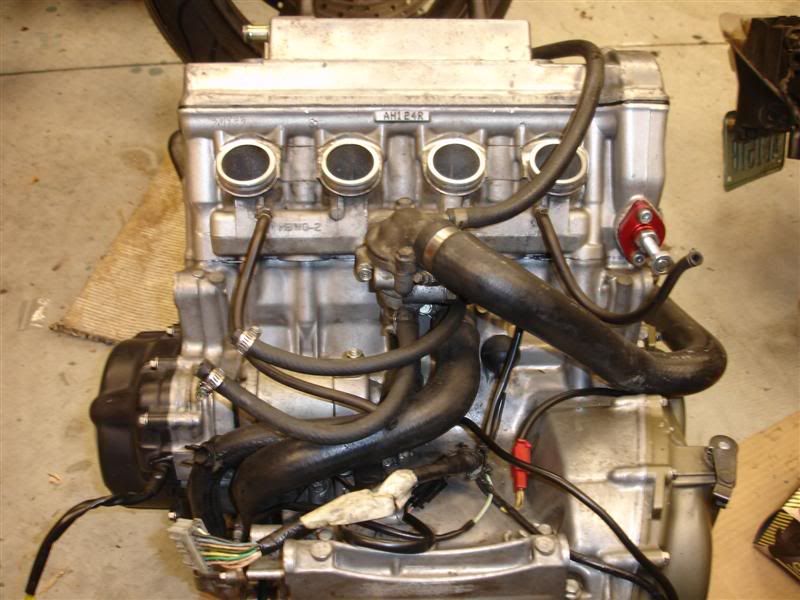
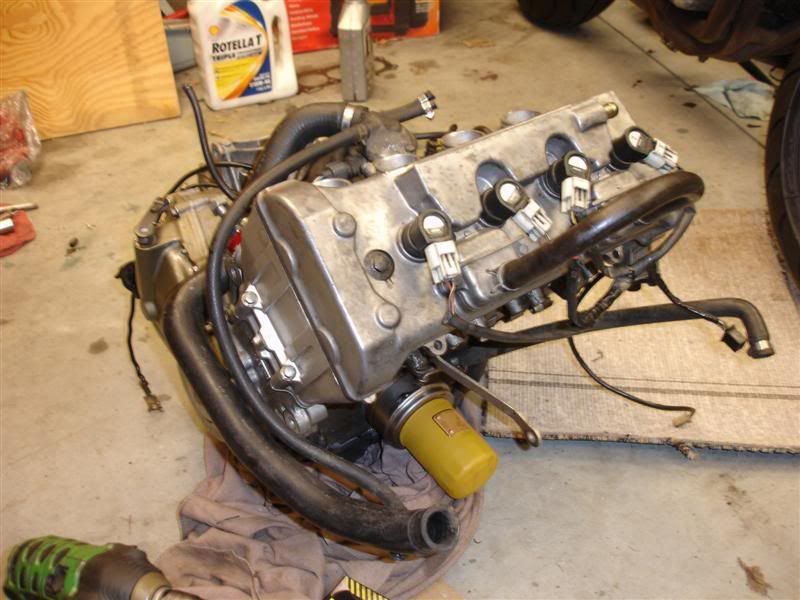
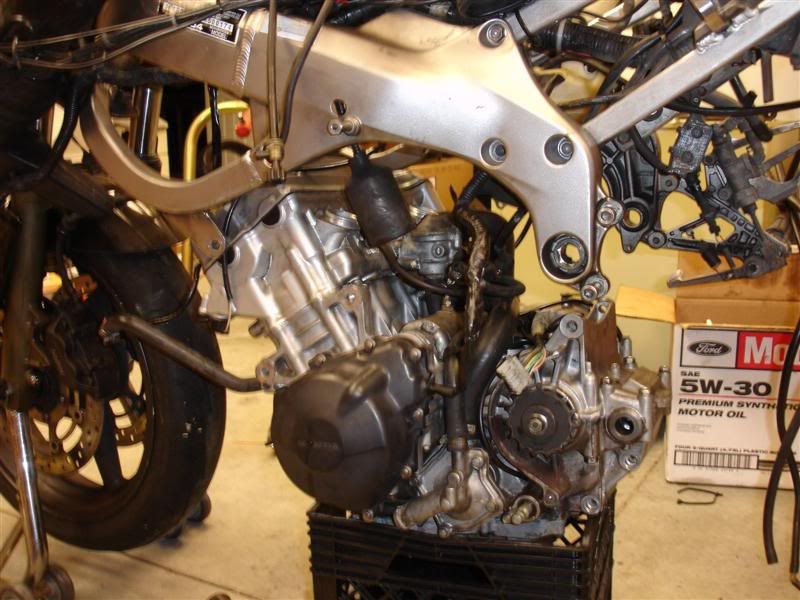
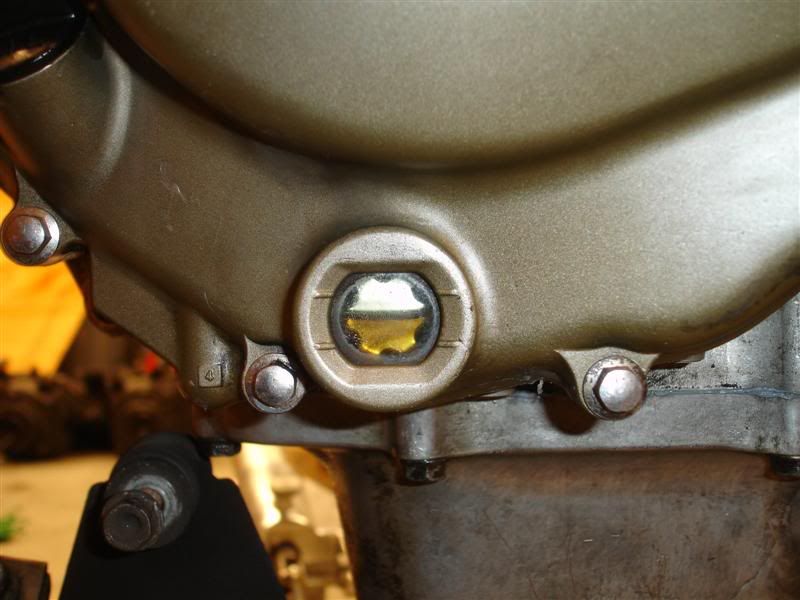
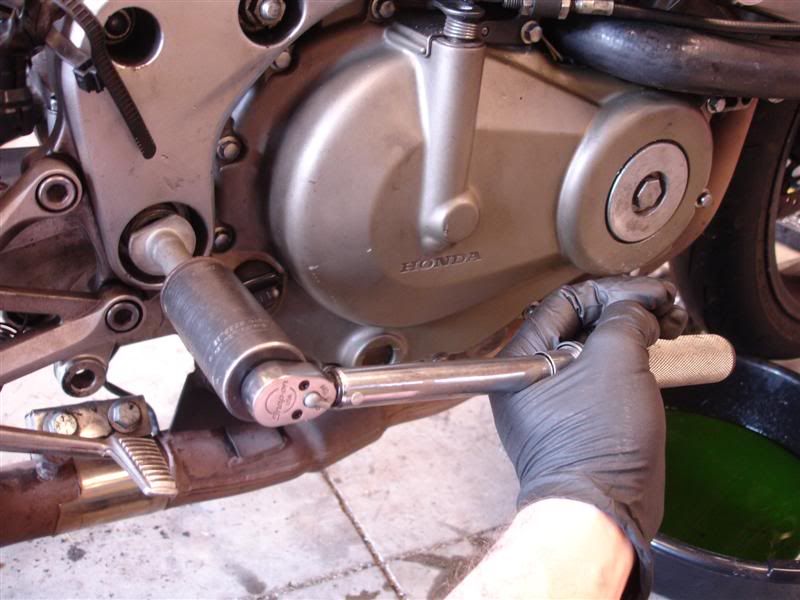
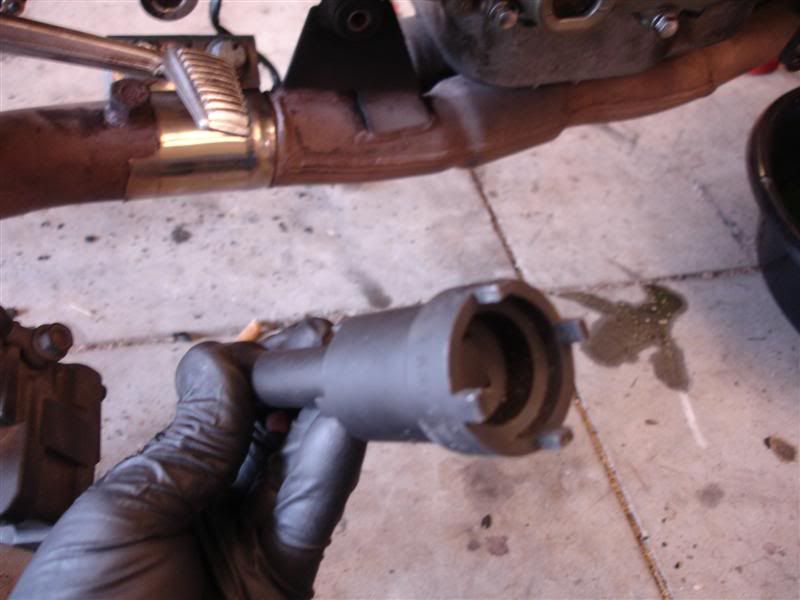
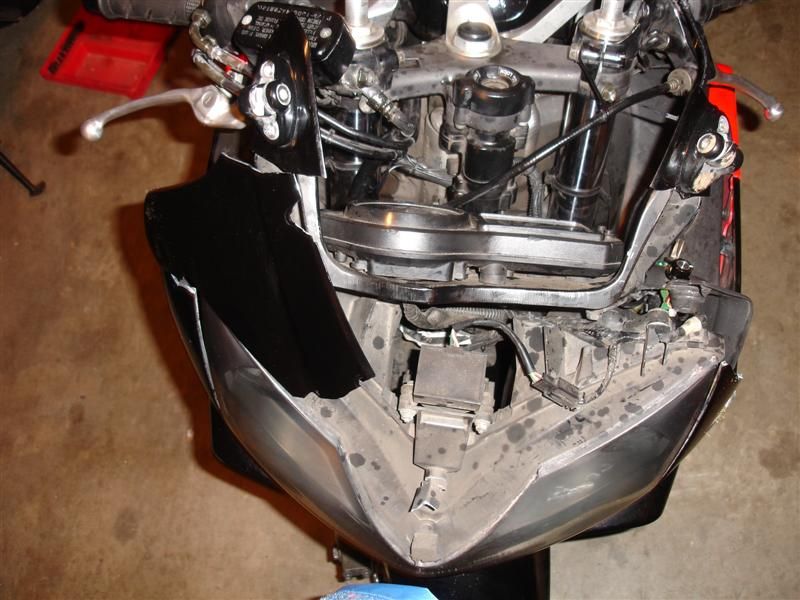
Now for the really bad part.... when it slid, the flywheel took a hard and direct hit with the curb
![Image]()
Anyways, some may remember I went down back in Dec and the whole ordeal that followed. For those that don't.... back on Dec 17th I was on my way to work and while veering off on a road to the left, I hit a patch of oil/diesel fuel/antifreeze/something slippery, and lowsided at about 25 mph. All was fine until the bike slid into the curb, did a little highside and then rolled over itself into the grass. I got right up, not even so much as a scratch on me, thank god (leathers FTMFW!!), went over to the bike and it was completely covered in engine oil. Not a good sign already!
Luckily another guy from work was several cars behind me when this happened, so he saw it and recognized it as being me, and pulled right into the parking lot there and made sure I was OK. Luckily he had his pickup and an empty bed, so we lifted the bike into the bed of his truck and off to work we went
He gave me a ride home after work and we unloaded the bike into the garage. I was able to get a little better analysis of the damages
Right side didn't really get much at all
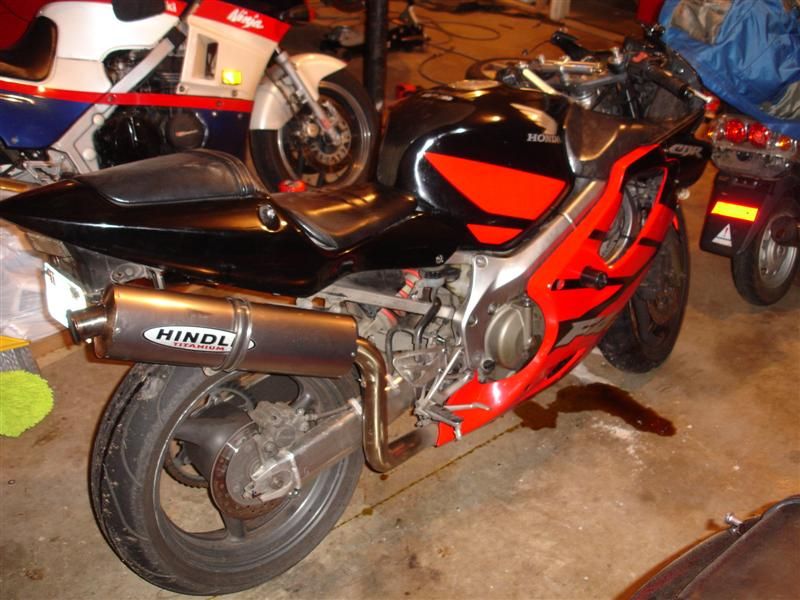

Swingarm got gouged up pretty good
Now for the really bad part.... when it slid, the flywheel took a hard and direct hit with the curb