Honda CBR 600RR Forum banner

c07byg's 08rr build

22K views 121 replies 43 participants last post by  c07byg  
#1 · (Edited)
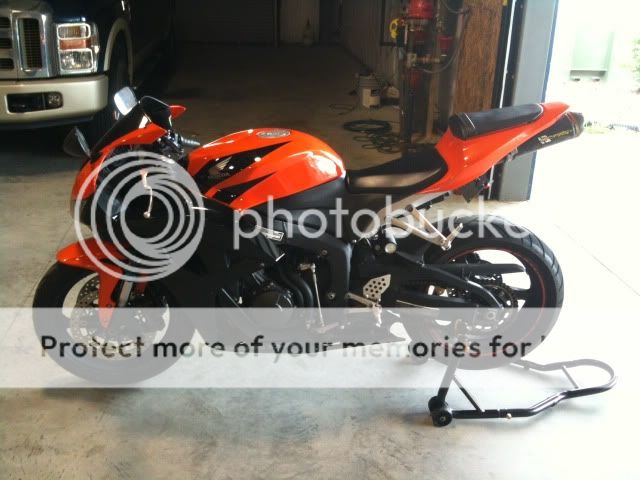
I've wanted to change the color of my bike for a while now and have decided to do it this winter. Don't get me wrong, i love the orange but after 4 years i think its time for a change. About 6-8 months ago i decided on white and am sticking with it, personally i have a thing for white bikes. I want to stay unique in the color dept (exactly why i bought the orange), now looking on this site I see no shortage of white bikes. But i have honestly seen zero white CBR's in my area and very few other bikes that are white.

I'm not just painting the bike I'm also throwing some other Mod's on like:

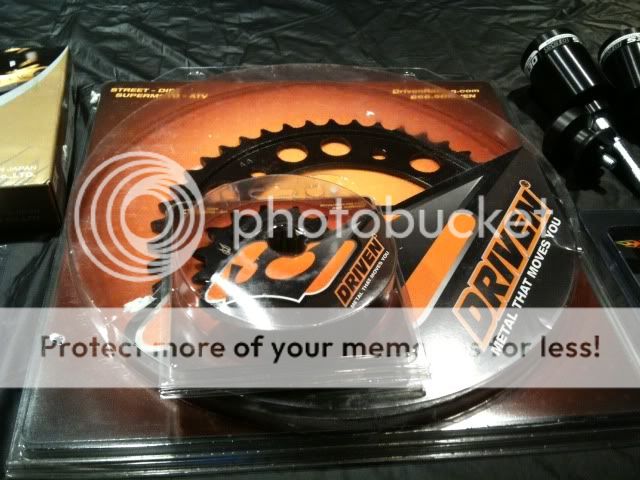
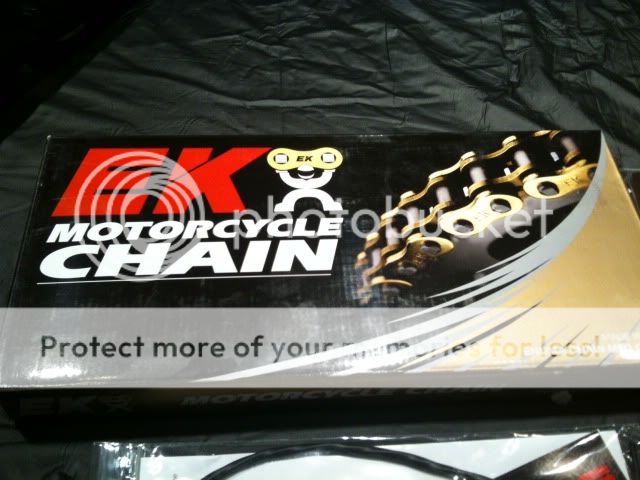
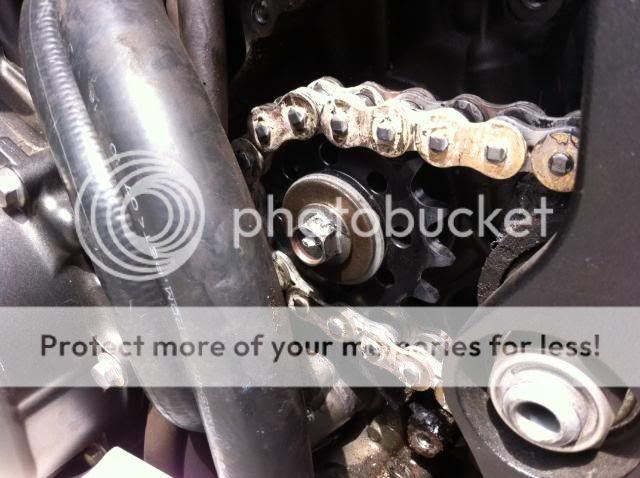
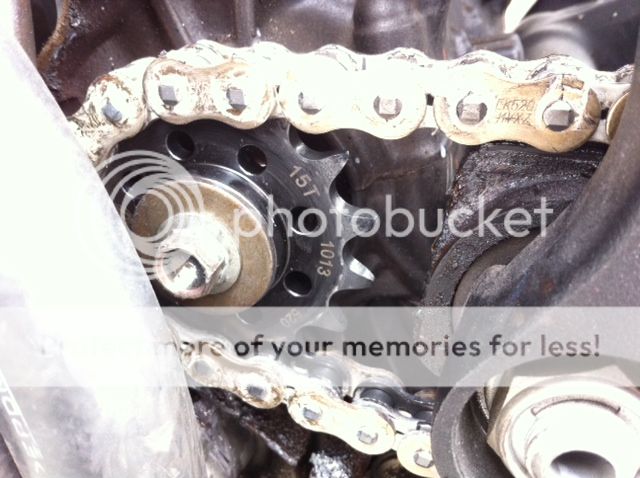
Driven Evo-Spec -1+2 sprocket set with EK MVXZ 520 chain - Gold (Motomummy)
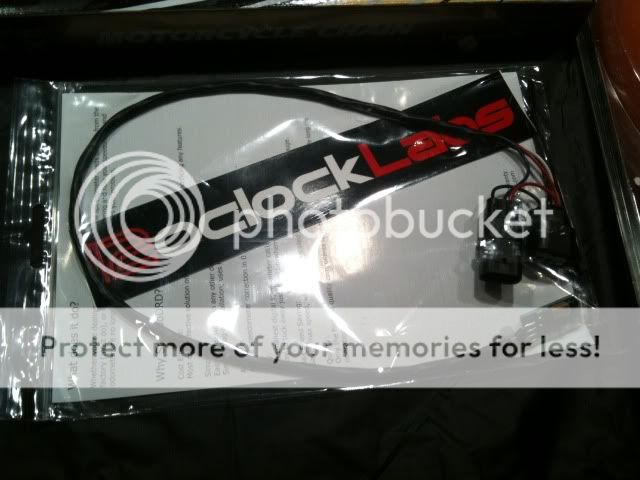
SpeedoDRD (Motomummy)
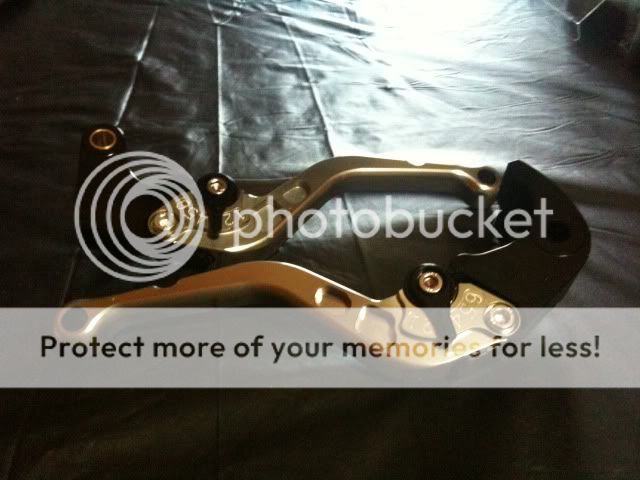
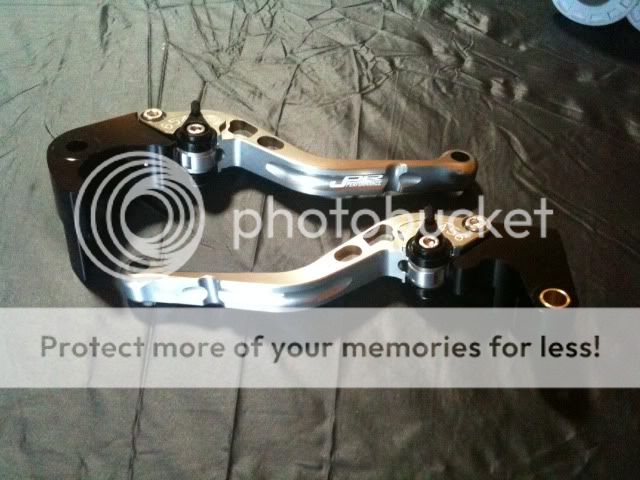
JPR Levers - Titanium w/ black adjusters (Cycle Sector)
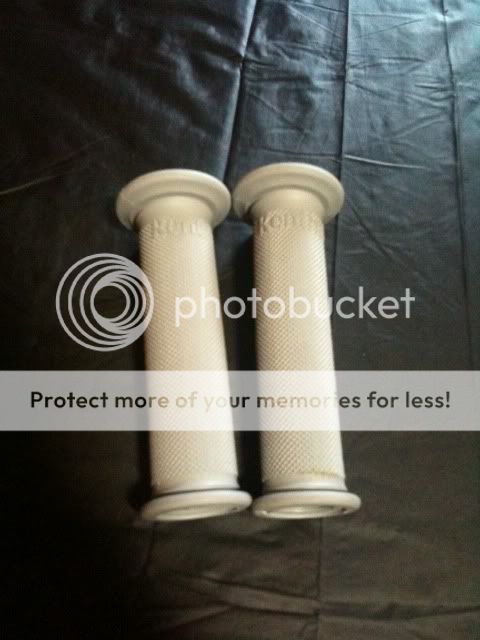
Renthal Grips - soft (Cycle Sector)
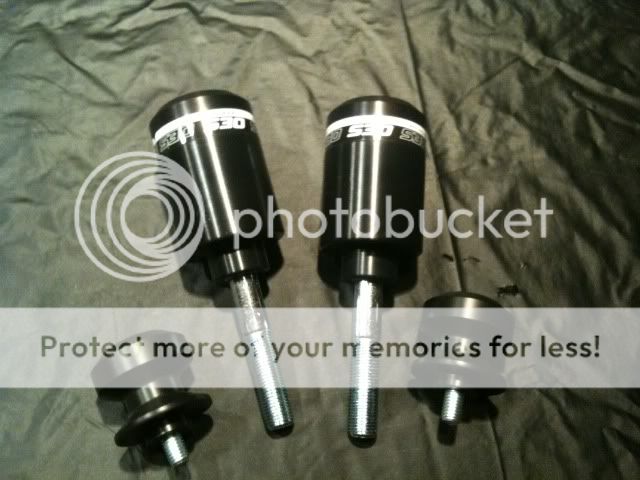
OES cut frame sliders and spools
DEI black heat wrap for midpipe
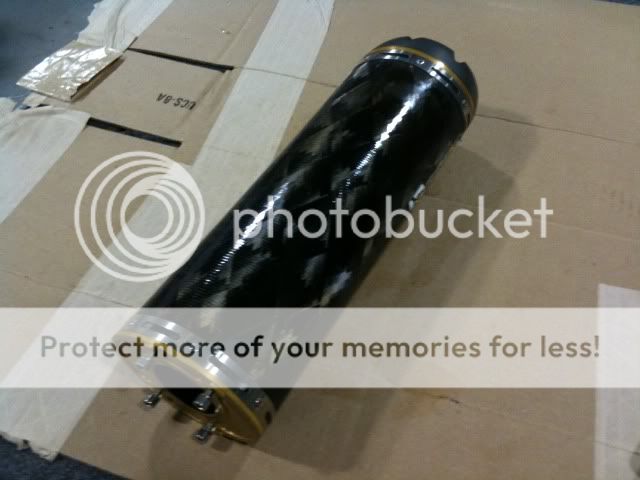
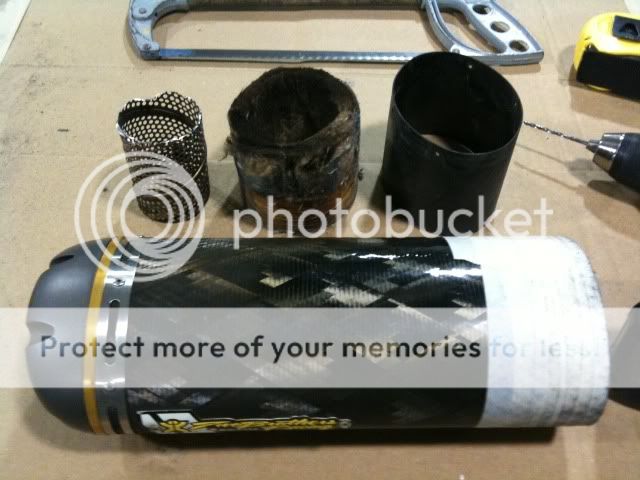
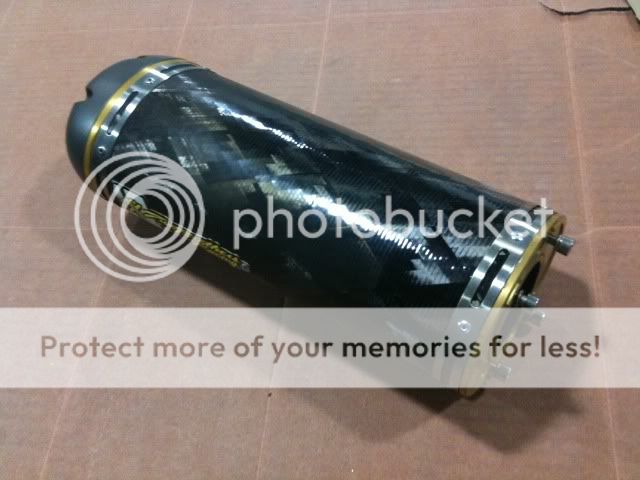
Cutting 2bros pipe down 3-1/2"
ProGrip 3D tank pad
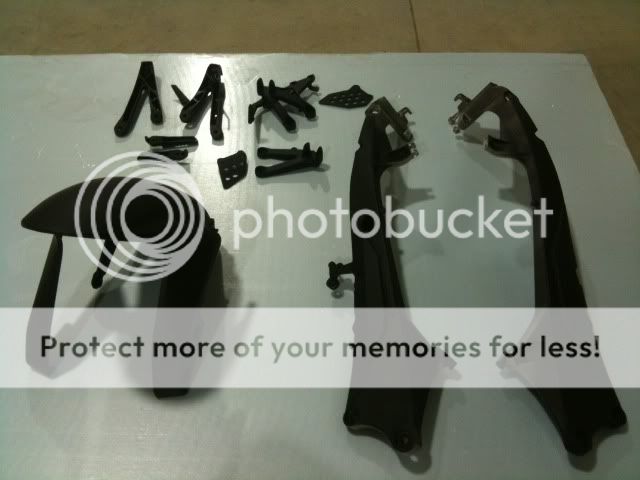
Painting subframe, rearsets & passenger pegs black

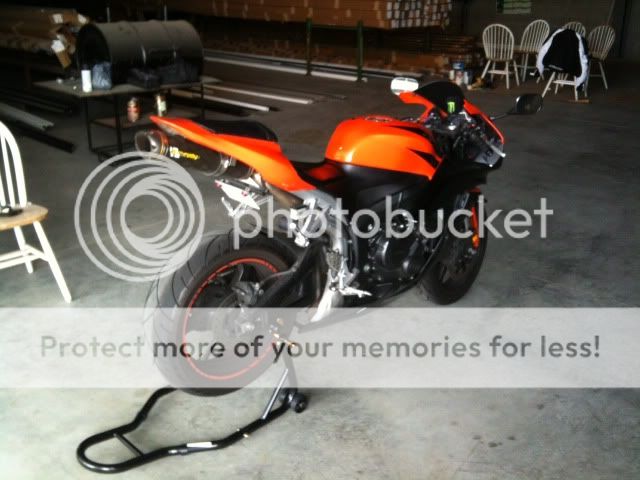
Here are a couple 'before' pics

Image


Image


All the goodies

Image


Image


Image


Image


Image


Image


Image


Image
 
#3 ·
I cut down my 2bros pipe last weekend which was a must. I cut a total of 3-1/2" off, it looks like I might have taken a little to much off but ill find out when i throw it back on the bike. Either way i plan on getting a black edition Leo next year so ill deal with it until then.

Before

Image


Total cut off

Image


Finished

Image


I'll get pictures of the wrapped midpipe up here too.
 
#102 ·
It's been one hell of a day..

An hour and a half after they started working on my bike the mechanic asked me to come out into the shop, he showed me that the new front sprocket he installed had some wobble in it and said it was not supposed to be like that. He said I had the wrong one, I looked up the parts I ordered and it said that it was in fact the right one. He went back into an office and did some research, I tried calling Motomummy to ask about the situation but they were closed; he came out and said he could make it work by using a spacer to stop the wobble, I figured this was okay and waited until he was done.

I rode home and was still curious to why this happened so I called Motomummy anyway and thank god i did. I talked Anna (I think) and she knew what I was talking about right away about the wobble, she eventually transferred me to Corey who informed me in great detail of what is and isn't normal with these kits. I wanted to get the part number off the sprocket so i could confirm they sent me the right one so I sent him a picture, and he confirmed it was on backwards.

I went back up to the dealer where I had the mechanic call Motomummy to figure this out since they were claiming it was not on backwards and it works fine. They agreed to turn it around for me but said the chain isn't going to be straight but whatever.

Shout out to Corey at Motomummy for being such a huge help all day.. I was on the phone with him several times throughout the day and for a good amount of time to, he definitely knows what he's talking about. If there was more I could do to thank him besides praise him in a forum I would do it.

Below is the picture I took of the sprocket on backwards.
Image


Below is the picture of it on correctly.
Image
Just had a quick read of your build sorry about the Drunk a$$ who knocked the bike over if it were mine a broken leg would be the least of his worries. How it the short Two bors holding up. I did mine but i didnt cut as much off. Last this post you have here them pictures should be put in the kits to make sure that they are fitted right. took me ages to find out if i had min on right. Not a lot of info with pictures out there.
 
#4 ·
i got the same sprocket kit on my 03 still haven't put in on yet i also went with the oes sliders and spools. My baby was previously all black and wanted a change and like you want to i went with a white scheme and I'm loving it I'm still in the process of putting it together but good luck man. You'll love the white.
 
#8 ·
Threw the levers and grips on, the levers were easy but different story for the grips.. I've never replaced grips before but noticed that one was a slightly thicker rubber than the other, i assumed it was the throttle grip. About 15 mins of pushing it on millimeter by millimeter i was done, now over to the other side. the clutch side slid on and looked to big for the bar. this is when i said to myself, ****.. they're on the wrong sides..

They didn't come with a box or anything they were just thrown in the package with the levers so I'm not sure if it comes with instructions clarifying this but o well.. Now i know lol anyway this is how they look. kinda wish the soft grips came in a different color but I'm going for comfort so whatever, i hear these are the best.

Image


Image


Image


Image
 
#77 · (Edited)
kinda wish the soft grips came in a different color but I'm going for comfort so whatever, i hear these are the best.
I did a good bit of riding yesterday and noticed they were uncomfortable after about 15-20 mins, kinda disappointing really.
Most racers and track riders use the meduim compound Renthal or Domino grips. They are not known for comfort but for grip level and hand positioning.
Domino grips are available in several different colors.


For comfort you're going to want something different.
Cheaper options are the following:
Spider Grips new Peak Grips
Driven Skully (They are available with an open end)

More expensive options are the following:
Rizoma Sportline
Driven D3
There is a company on ebay that sells China knock offs of these for much cheaper. I don't know there name but a few members have them.
 
#14 ·
Not sure, but ill post updates with pics throughout the summer. I'm pretty sure others have done this before with success just not sure what type of paint they used.

Updates? Give us more, we wants MORE!
Fairing paint was back-ordered and will be in tomorrow, starting paint this week and should be done this weekend!
 
#15 ·
I have the same plans as far as the rearsets, pegs and subframe go. The only thing that scares me is the passenger pegs I dont want any paint to mess up the little clamps that click when you move them.
 
#19 ·
i wouldnt worry about it, there's a little ball bearing in there that falls right out when you take them apart. the paint will be marked up on the inside where the ball slides but will be hidden by the peg.

Good luck, as I previously stated before I have a thing for white bikes. Can't wait to see the finished product.
Awesome! I too have a thing for white bikes & can't wait to see yours altogether! Keep 'em pics coming!
thanks guys!

Is that your garage at home? That place looks massive!
i wish lol that's the shop area at my workplace, but your right it is massive!
 
#16 ·
Good luck, as I previously stated before I have a thing for white bikes. Can't wait to see the finished product.
 
#20 ·
update: so the paint i ordered on March 1st was back-ordered on the 6th and was scheduled to come in today. I called just now and they said they forgot to re-order it so ill have to wait another week.. screw those idiots i'll figure something else out for paint today. Either way i aim to have this completed this weekend.
 
#23 ·
at first i sprayed the rearsets, passenger pegs & subframe with Rust-oleum 500 degree paint and they came out alright. i ran out of paint after 2 coats and wanted one more so i figured the 2000 degree paint would be fine (pics in post #11) but it turned out like my CAT and looked charcoal grey. last night i re-painted them with Duplicolor 500 degree paint and wow what a difference. lets just say i won't be using Rust-oleum paint anymore.

Image
 
#90 ·
I want to use the dupli-color gloss black to paint my exhaust and rearsets, like you did but I didn't see any pics of what it looked like after you used it. Also would you recommend using the dupli-color clear ceramic on top of the black to lock in the paint so it doesn't chip
 
#24 ·
I'm still sanding/prepping the fairings for paint, I only get a couple hours to work on it on the weekdays but I hope to get at least two coats of paint on this weekend. I'm almost there!

Quick question to whoever may know the answer:

The stickers on the tank.. They’re not like the other stickers where you can peel them off, they have a light clear coat on top of them it seems. I took a razor blade and started to peel one off at the edge of the tank but after about 1 minute I realized this is going to take FOREVER. Does anyone know an easier way of getting these stickers off that I'm not aware of? Because if I can’t figure something out I'm just going to spray over them.

Image
 
#31 ·
Finally I'm almost done. the only thing i need to do at this point is mount my license plate and throw on my LED's for the plate light. I also have a ProGrip 3D tank pad coming along with Stomp grips. I worked on this later than expected last night but once it starts coming together it's hard to come to a stopping point lol.

First of all.. my favorite Mod is the shortened TB pipe, who would of knew there a taillight behind that huge pipe? haha looks so much better now, but i have a feeling I'm going to cleaning that taillight and the underside of the tail quite often.

Image


Image


Image


Image


Image


Now for the mostly finished bike:

Image


Image


Image


Image


Image